I’m pretty sure that when most people think of the love associated with Valentine’s Day, our minds tend to go directly to romantic love. But February is a month to celebrate any and all kinds of love in your life! With this watercolor tutorial, I hope you’ll be able to use a hobby that you love to create a finished piece that you love and that you’ll be able to share your beautiful creation with someone you love (wow, that’s a lot of love!!).
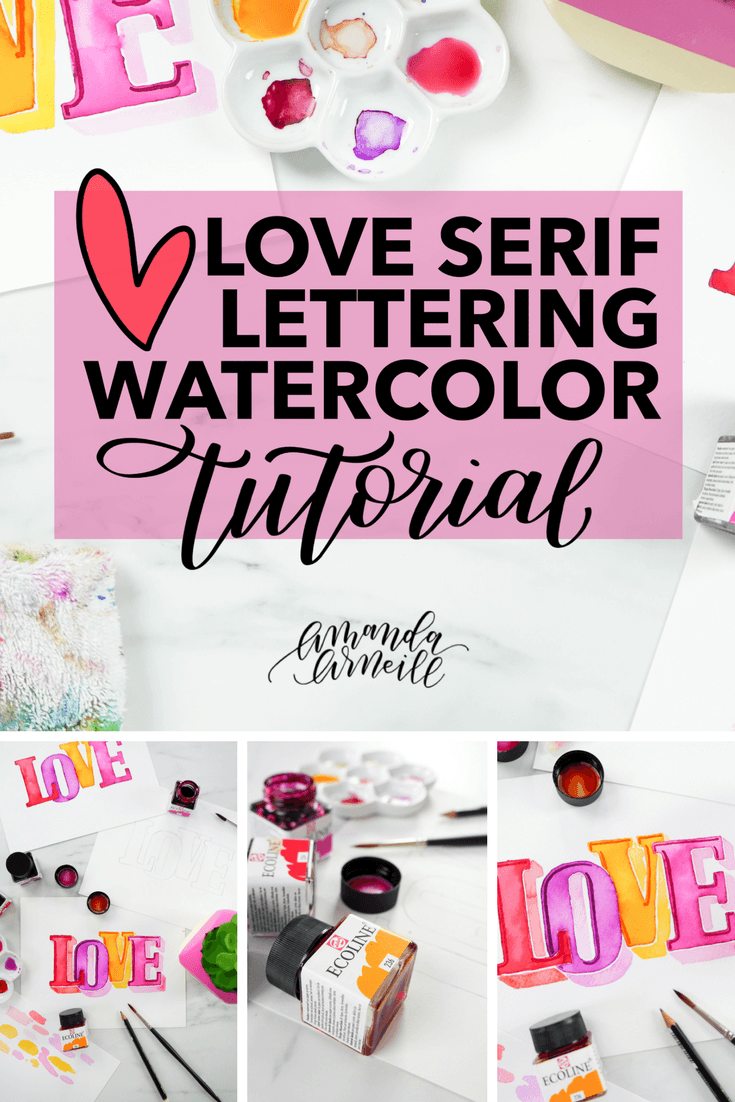
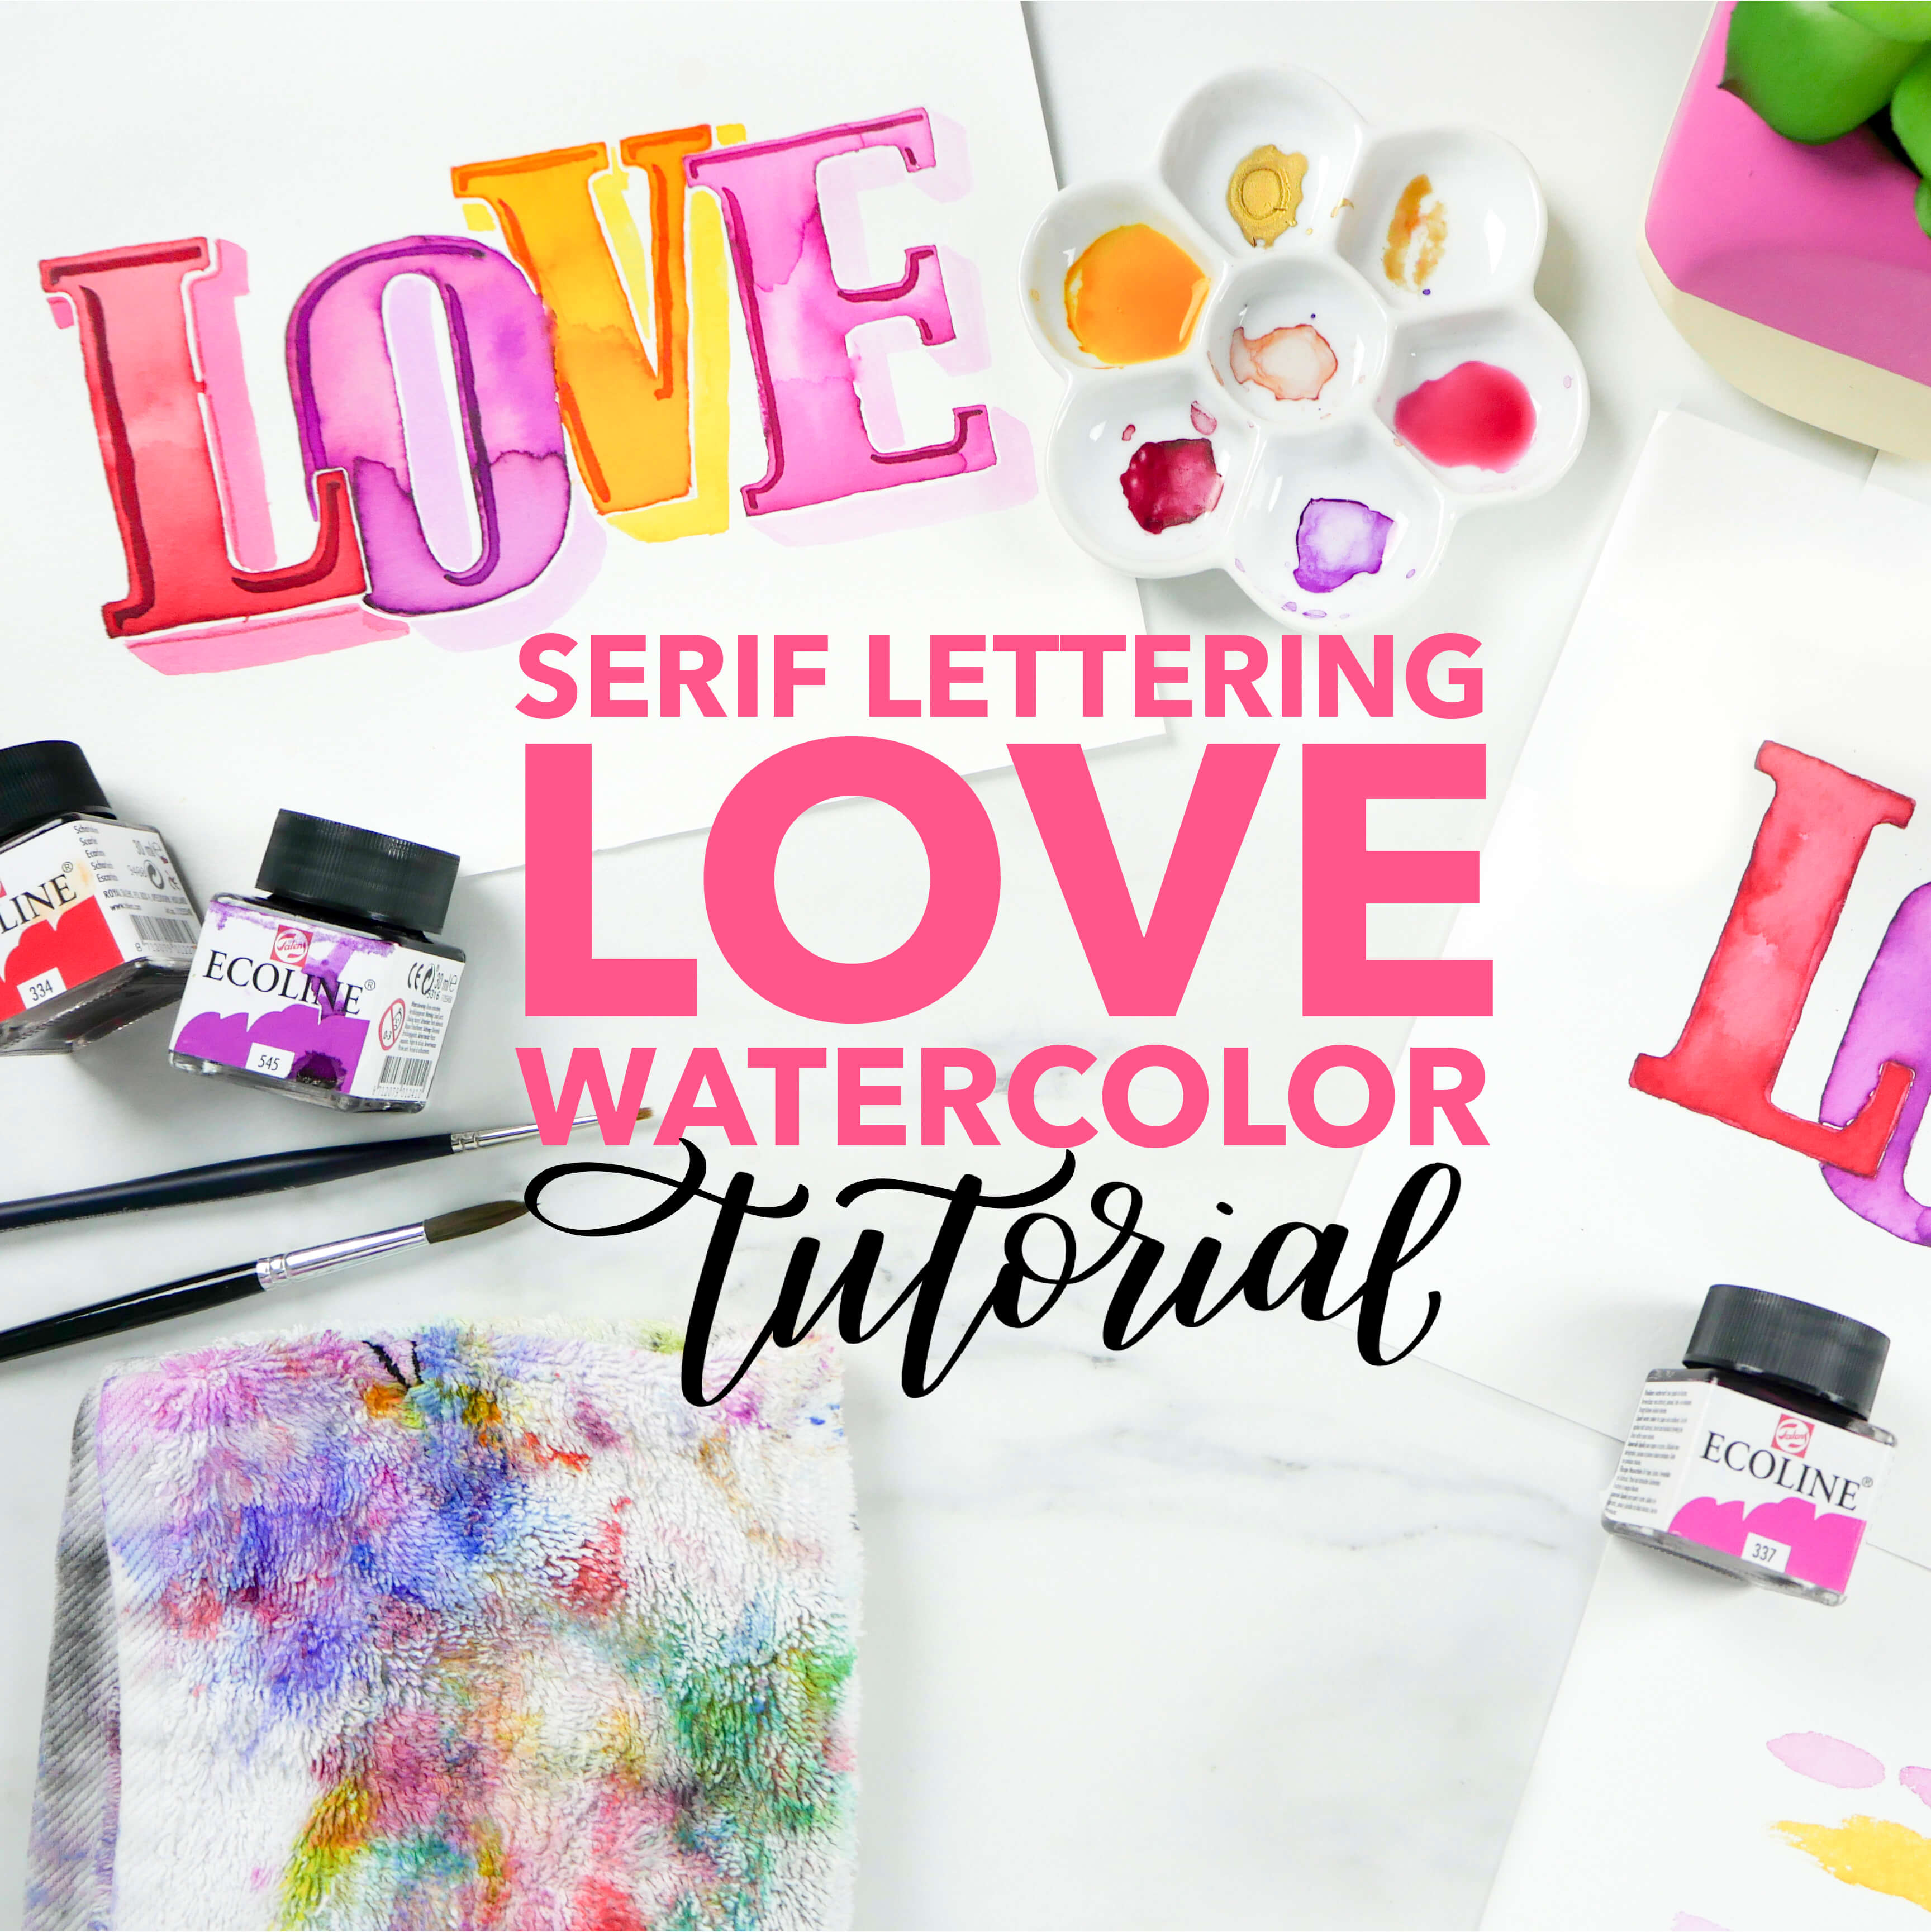
So let’s celebrate the love in the air! I’m excited to share this step-by-step watercolor tutorial with you so that you can snatch the love from the air and slap it on to paper by creating your own “LOVE” watercolor piece using Serif lettering. I’ve also included a tracer to help you get your design started. Or, you could always use the techniques and tips in the watercolor tutorial with your own lettering design!

Just scroll down to watch the video tutorial, see the full supply list and get your LOVE printable tracer.
Happy February!
xo Amanda

Watch the full “LOVE” watercolor tutorial below!
MATERIALS:
- Two cups of water (one for clean water and one for the dirty water)
- The design tracer
- Dbmier light table (or light table alternative)
- Strathmore cold press watercolor paper
- Paintbrushes in a variety of sizes
- Royal Talens Ecoline liquid watercolor (I used numbers 236 – Light Orange, 334 – Scarlet, 545 – Red Violet and 337 – Magenta)
- Paint palette
- Paint blotting towel
- A pencil
- A kneaded eraser
HOW TO:
- Place the tracer under your watercolor paper on a light table (or other light source – iPad, window – anything that allows light to shine through the papers).
- Gently trace the design on to your watercolor paper.
- Use your eraser to lighten the pencil lines.
- For the letters:
- Fill your brush with water, then load your brush with watercolor paint.
- Quickly (but carefully) paint the letters before any of the paint has a chance to dry.
- Wash your paintbrush in the dirty water cup, pick up clean water with your brush and drop some water in to the center of the letter. Use your paintbrush to push the water towards the sides of your letter to create a light center with darker edges. Keep cleaning your brush off in the dirty water cup and reloading with clean water as needed.
- If too much water pools within your letter, wipe off your paintbrush with a cloth and with the dry paintbrush, place your brush inside the letter to wick the excess water away.
- Dip the tip of your paintbrush into the watercolor and tap the edges of the letter to darken.
- Leave a little bit of white between your letters to give more dimension to them (and stop paint from spilling from one letter to the next).
- For the inner shadow lines:
- Use the full strength of the watercolor paint by wetting your brush a little bit in your clean water, then drying off the paintbrush before dipping it into the watercolor paint.
- Paint your inner shadow lines below the straight lines of your letters and to the right of the lines on the left hand side of your letters.
- For the outer shadow lines:
- Trace the outer shadow guidelines lightly in pencil.
- Lighten your pencil lines with an eraser.
- Put clean water in to your paint palette.
- Drop a small amount of the watercolor paint into the water in your paint palette.
- Test the color on an extra piece of watercolor paper.
- Adjust color as needed with more water or more color to make the perfect, light shadow shade.
- Paint your shadows leaving a small amount of space between the shadow and the letter.
- Let it dry completely and then frame your masterpiece!
STEPS:
- Paint your L and V
- Let it dry completely
- Paint your O and E
- Let it dry completely (are we seeing a pattern here?)
- Paint your shadow lines
- (You guessed it!) Let it dry completely
TIPS AND TRICKS:
- Patience, patience, patience – make sure your design is completely dry before moving on to the next steps!
- Get all of your paint inside of the letter before any of it dries.
- Use the tracer as a guideline for the placement of your shadows.
- Work from your non-dominant handed side to your dominant handed side to avoid smearing.
2 Comments

I'm going to assume that you're here because you love calligraphy, hand lettering and art... or maybe you just want to know more about it. Either way, you're totally in the right place!
xo
Amanda


Join over 5000 others who have learned to letter (and more) with these lettering courses

The video was great. The printable link (either) is not working.
Thanks so much for letting me know! Sometimes it can be blocked by a pop-up blocker, so I’ve sent a copy to your email! xo