CREATING NEW COLOURS OUT OF YOUR TOMBOW MARKERS

I don’t know if you’re like me, with an exploding collection of art supplies, half of which you never use, but, if you are, then the likelihood is that someone has tried to craft-intervention you before. “Amanda, your addiction to art supplies is affecting me negatively in the following ways… we don’t have any more money for any more supplies.”


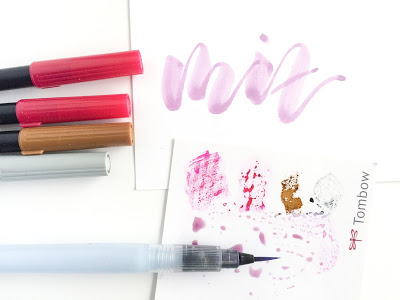
In an effort to quell my addiction, I’ve had to be creative. I love my Tombow pens but there are some colours that I don’t have in my collection that I absolutely need. I love my Ph Martin Watercolours but a few more bottles would make so many new art experiences possible. But the spending freeze means that I have to see what I can do with what I have. I’ve been coveting a deep blue Tombow Dual Brush marker. The only ones that I have in my collection are bright or royal blue and they just don’t seem right sometimes. Then I wondered if I could make navy using my watercolours and that was hopeless. I always seem to purchase the brightest, happiest colours available which makes things like navy difficult. It was after my last blog post when I was playing around with using my Tombow Dual Brush Markers as watercolours with my water brush that I stumbled across a way to make my dreams a reality without spending anymore money or begging the powers that be at Tombowusa.com to find some sort of reason to give me a navy marker for the price of a smile.The whole point of the Tombow Dual Brush markers is to mix colours together. Usually you use them so that one colour stacks on top of another before it fades away but what about combining the ink of multiple colours together to achieve endless possibilities?! (Insert a visual representation of my mind being blown here.)
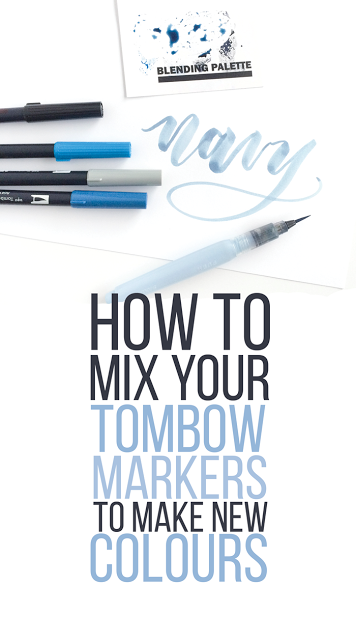
How-to-Create-New-Colours-with-your-Tombow-Markers-Blog-Image

YOUR TOOLS:

Tombow Dual Brush Markers
Tombow Blending Palette
Pentel Aquash water brush or Sakura Koi water brush with a fine tip

LET’S GET MIXING!

1. Get ready to experiment. I find that if I know I’m experimenting, I’m less likely to fear “mistakes” that I might make.

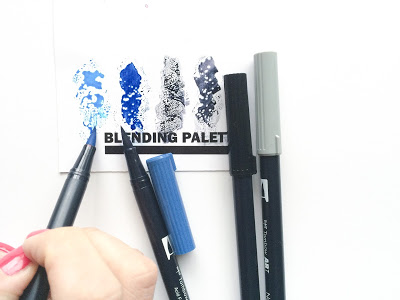
2. Using your markers, scribble areas of colour next to one another on your blending palette. I did mine as lines of colour so that I could add only as much of each as I wanted. I also took into consideration how much influence I wanted each colour to have and made the line larger or smaller accordingly.

Blending Palette

3. Prep your water brush by ensuring that there is water in the barrel and that the tip is damp (remember that you can squeeze the barrel to force some water out onto the nib but don’t do this over your work paper in case the drip falls!)

Water Brush
4. With your wet brush, start to combine the ink spots on your blending palette by swirling them together or pulling the colour down into a common area in another area of the palette.
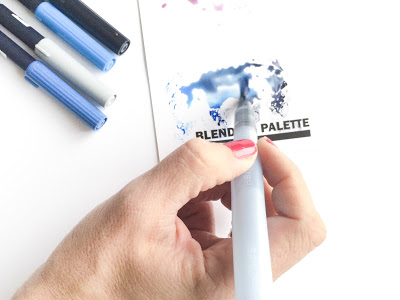
Blend
5. Remember that the saturation of your final colour will be directly influenced by the amount of water that you add to your palette while you are mixing. If you want a more diluted colour, drip some water onto your palette. If you want the colour to be more saturated, try to use as little water as possible. Once your ink is mixed, use your brush to push it all together into one spot.
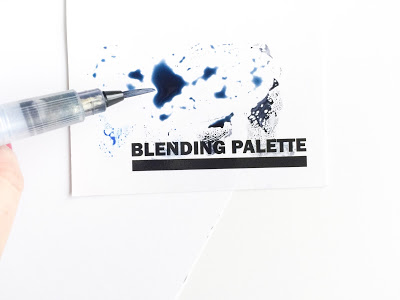
Navy
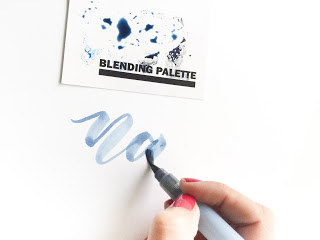
6. Take your water brush with the mixed colour still on the tip and begin to write with your new and unique colour!

Write

HELPFUL HINTS

Because you are using a marker ink instead of a watercolour, the ink dries much faster. Within seconds of writing, your ink will be dry. That is great if you don’t want to have to lay pages around the room and wait until they dry but makes blending on the paper tricky. If you are going to blend or use multiple colours, plan that out beforehand and do as much of your blending as possible on the blending palette, not on the paper.

Mix
Use black sparingly! A little bit of black goes a long way. Instead of using black to make a colour deeper or darker, try using a dark grey. It won’t overtake the other colours that you’re mixing nearly as quickly.
Finished

Amanda

Being able to teach you more about lettering marries my passion for teaching with my obsession for lettering. It's like the perfect storm. But a good storm of unicorns, rainbows and letters.
Learn hand lettering with Amanda Arneill

I'm going to assume that you're here because you love calligraphy, hand lettering and art... or maybe you just want to know more about it. Either way, you're totally in the right place!

xo
Amanda

Brush Lettering and Hand Lettering Blog | Amanda Arneill
Learn Brush Lettering Online Courses

Join over 5000 others who have learned to letter (and more) with these lettering courses