Whenever I have flowers delivered (I say that as if it happens all the time – to put this into perspective, I’m talking once a year, on my anniversary, which is fine because I prefer chocolates for most occasions), after those flowers die, I always find myself holding on to the vase thinking “One day, vase, you will have another purpose.” Well, if you have a cupboard full of purposeless vases, have I got great news for you (and bad news for me, because I’ve since gotten rid of nine years’ worth of anniversary vases), I have found a purpose for them. I bet you’ll never guess…yes! You’re right, we’re going to hand letter those vases to turn them into gorgeous, hand lettered votive candle holders.
Since I made the mistake of recycling my old, glass vases, I was able to find an inexpensive glass vase/votive at my local craft store using a handy 50% off coupon that I always seem to find a use for, no matter how hard I try to stay away (please tell me I’m not the only one!). My girls’ new pet fish is lucky that I was able to find one on the cheap, because I was eyeing Sparkle Flash’s shiny glass bowl as an option (yup, you read that right, Sparkle Flash the fish).
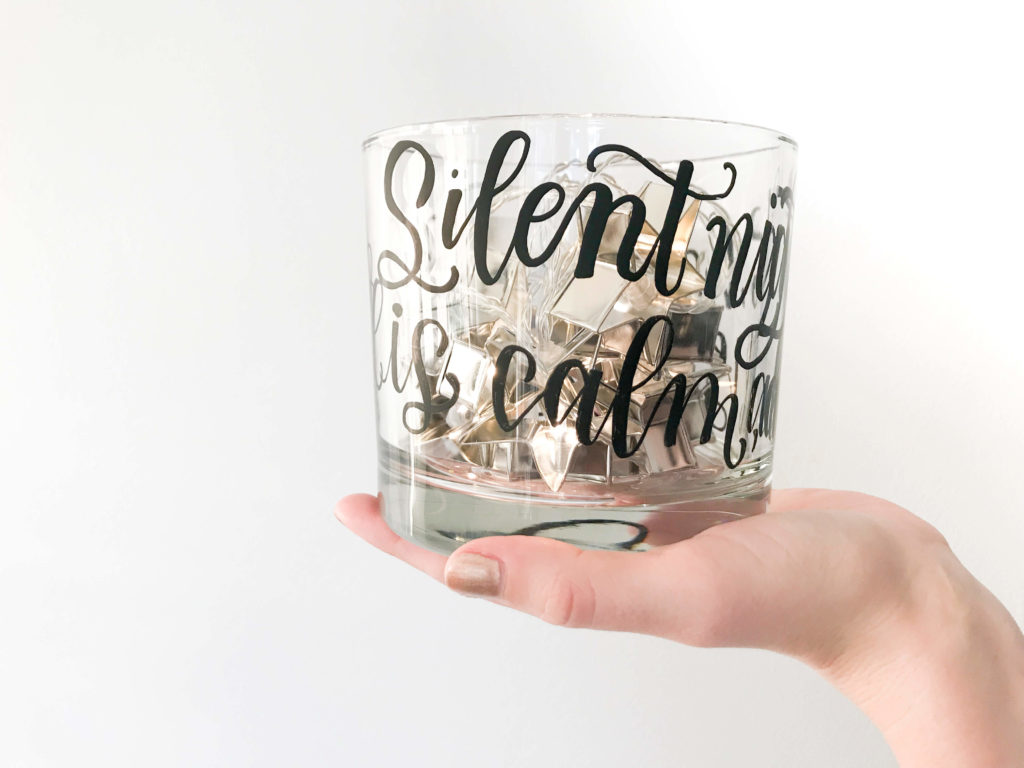
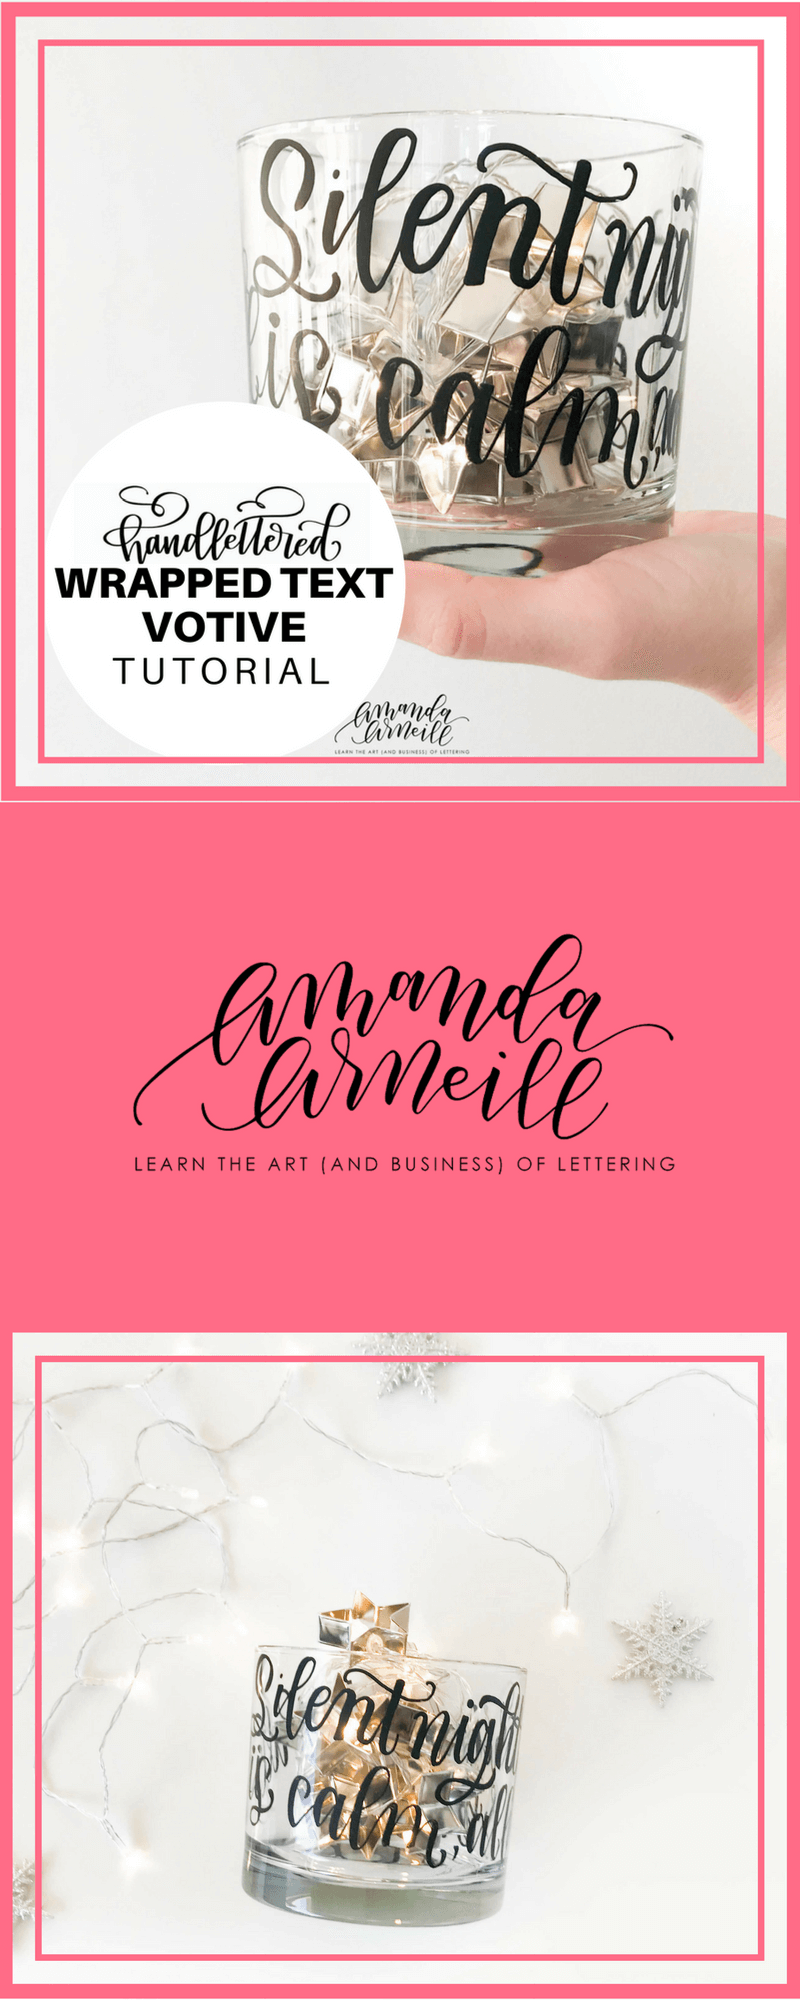
With this step-by-step tutorial, I will show you how to create your own, custom, hand lettered votive, including a handy trick to make the text wrap around your votive perfectly! So, grab those old vases or the glass container of your choice (hopefully without making a fish homeless in the process) and let’s get to lettering. Watch the video tutorial down below for the step-by-step goodness!
xo Amanda
MATERIALS:
- Large(ish) glass votive or vase
- Candle or lights for inside of the votive
- Two pieces of copy paper
- Scotch Tape
- Ruler
- Pencil
- Scissors
- Rubbing alcohol
- Paint Pen (Molotow Acrylic Paint Pen, Michael’s Craft Smart Paint Pen, Pentouch Paint Marker)
HOW TO:
- Prep your glass votive by wiping it down with rubbing alcohol
- Tape two pieces of copy paper together, taping both sides of the paper
- Place your paper into the votive by wrapping it to roughly the same shape as your votive. Offset the paper at the bottom edge to create the wrap effect, make pencil marks at the offset point where the ends of the pages meet, marking both pages
- Unwrap the paper and lay it flat, connect the two pencil marks with a ruler. You should have a slanted line
- Measure your first offset point’s height, using this measurement, draw slanted lines that you will use as guidelines, consistent in height, all the way up your paper
- Wrap your paper, lines facing out, and place in your votive to size, with your guidelines matching up. Mark the portion of the paper that overlaps (this is the part of the page that won’t show on the votive)
- Use your guidelines and your votive to determine how much text your votive can fit (in circumference and in height)
- Lay your paper flat and do a rough draft of your design within those boundaries
- Using scissors, trim the excess paper from your design (trimming paper parallel to the paper’s edges, and not your guidelines, to keep the text wrapping effect. Your guidelines should always be slanted in comparison with the bottom of the paper)
- Wrap design to shape and place inside votive, trimming as necessary to have your design fit the votive’s surface
- Use tape to secure wrapped design and then to secure yours design inside the votive
- Put some paper down under your votive to protect your table, but also make sure your paint is dry before you turn your votive over to letter on the opposite side
- Using your paint pen, trace your design on to the votive. The thickness of your down strokes and thinness of your up strokes should be consistent
- When you are finished your design, touch up or add flourishes with your paint pen
- Put your chosen light source inside and enjoy!
Watch the full hand lettered votive video tutorial here!
TIPS AND TRICKS:
- When writing on an angle, still make sure that your letters are vertical – you don’t want it to look like it’s falling down a hill!
- Write your guidelines in with a pen, so that if you erase your text, it won’t erase your guidelines
- Don’t scratch the glass – your beautiful design will come off
- Keep some rubbing alcohol on hand so that you can quickly remove any unwanted paint from your votive

I'm going to assume that you're here because you love calligraphy, hand lettering and art... or maybe you just want to know more about it. Either way, you're totally in the right place!
xo
Amanda


Join over 5000 others who have learned to letter (and more) with these lettering courses
