For months, I let the Heidi Swapp Minc Foil Application Machine sit in my Amazon cart while I debated with myself over purchasing it. Couldn’t I just use a laminator to get the same heat activated foil result? (Spoiler alert: NO!) Would I really use the machine enough to make it worth the investment? (Second spoiler alert: YES!) Well, I finally took the plunge and bought the Minc foil machine and now I’m churning out hand lettered foil pieces like nobody’s business! Because everything looks better with a pop (or a substantial amount of) of shine.
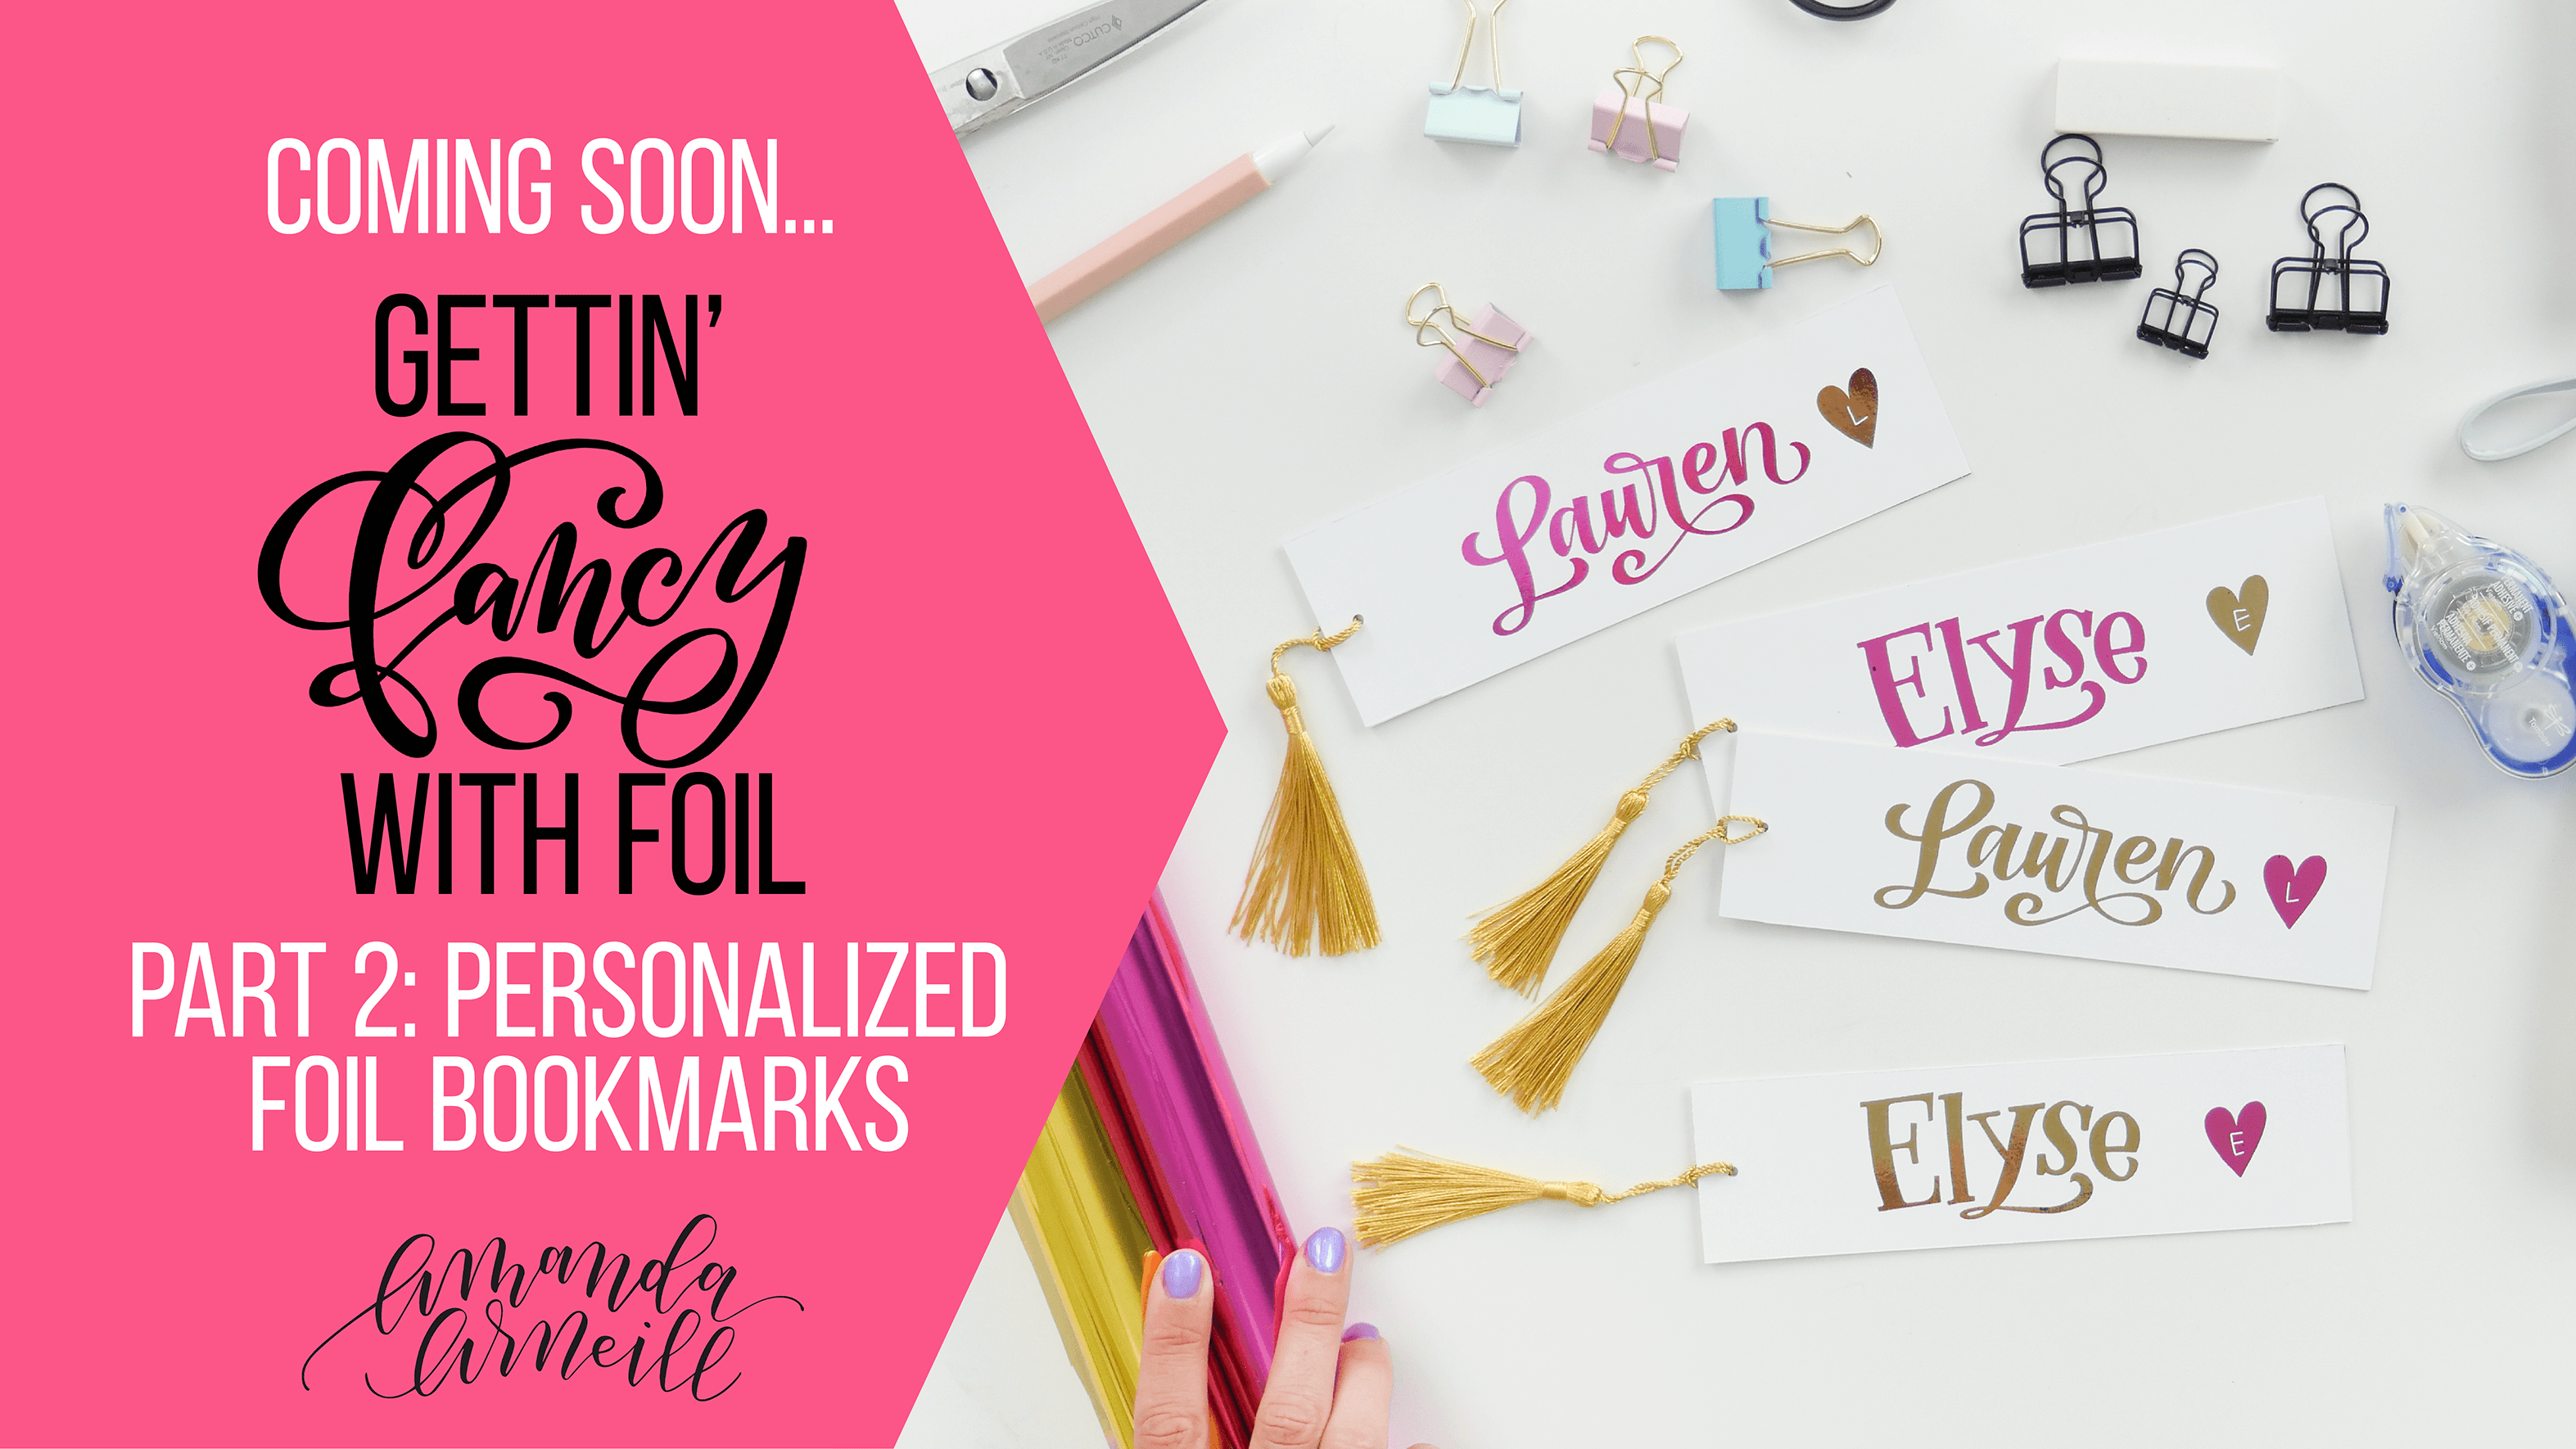
My increasingly high foil project output inspired me to create a 4-part lesson series for you called “Gettin’ Fancy with Foil” and this is the first part, so, WELCOME!
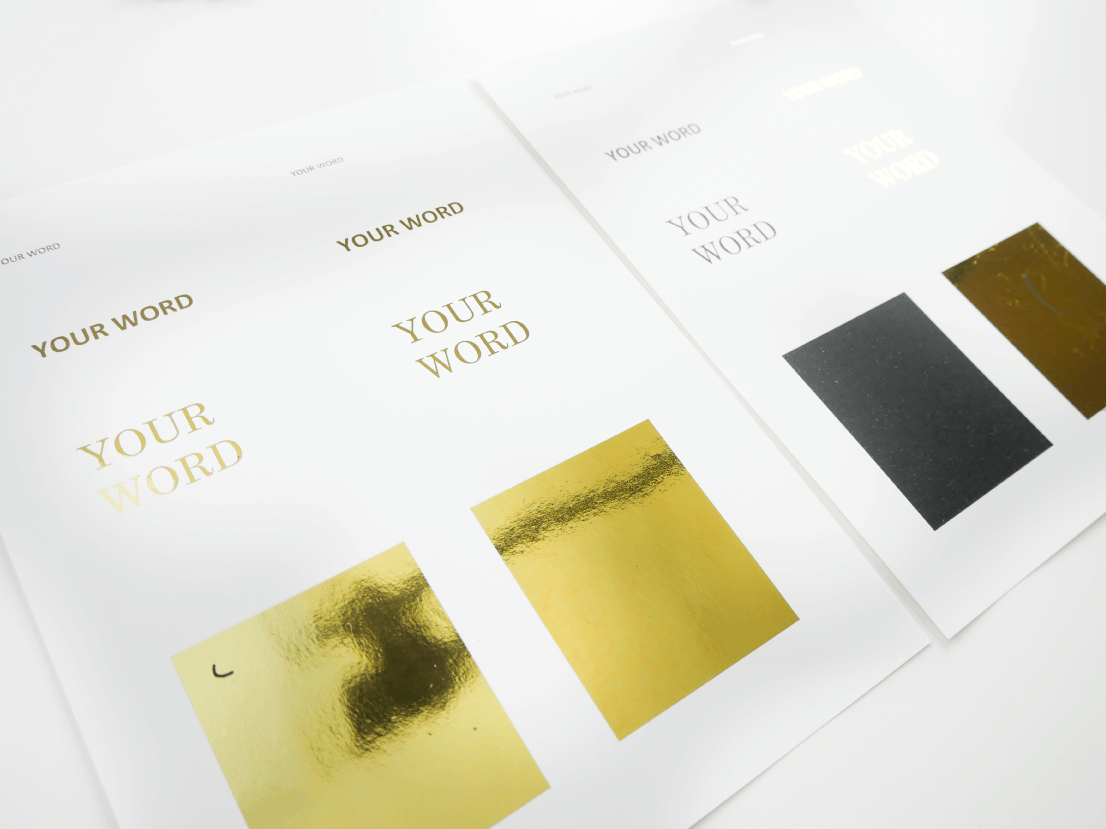
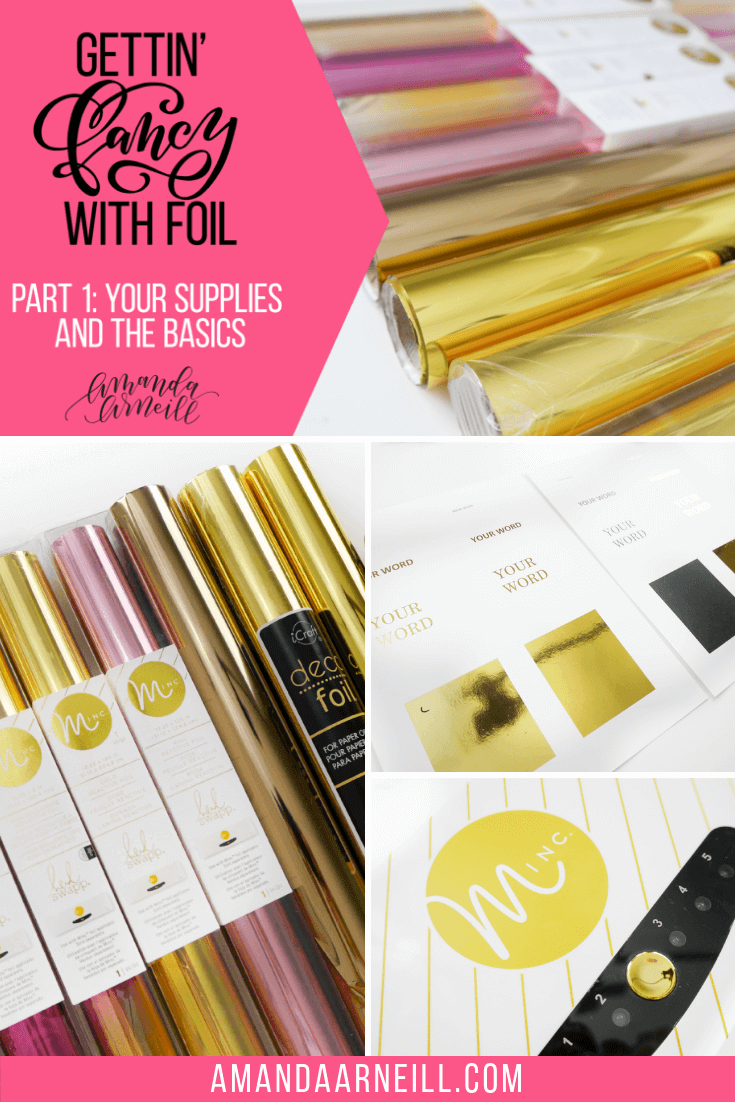
Over the next 4 Fridays, which we will call our “Foil Fridays”, I will be sharing a new part of this video lesson series with you. For the first week, we will be discussing all your toner reactive foil basics and all your must-have supplies, including a side-by-side comparison of two of the most popular foil brands. Find out which supplies you need, which you can leave and all the tips and tricks to get the perfect foil application every time.
Just scroll down to watch the full video and for the full supply list.
For our next Foil Friday, we will learn how to create gorgeous personalized toner reactive foil bookmarks! So buckle up, it’s time to get fancy with foil and create tons of beautiful hand lettered foil projects.
WATCH THE FULL VIDEO TUTORIAL HERE!
MATERIALS:
- Superfine Printing Cardstock
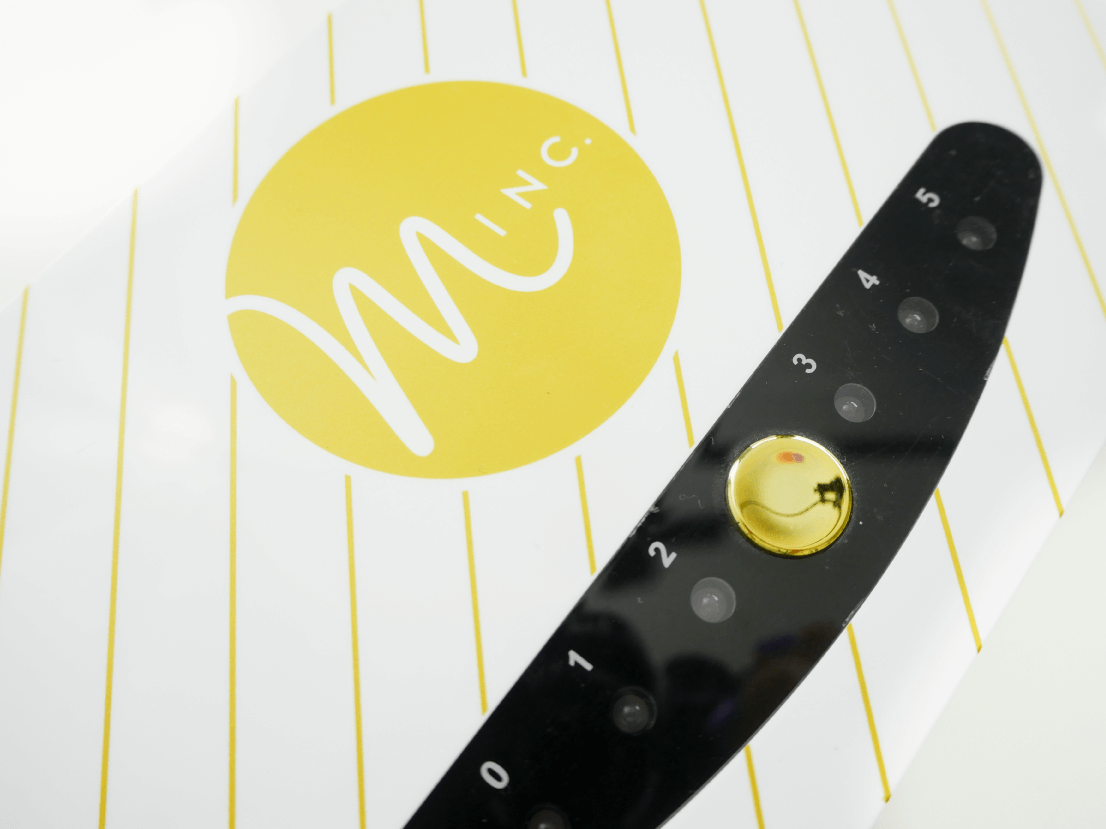
- Heidi Swapp Minc Foil Application Machine
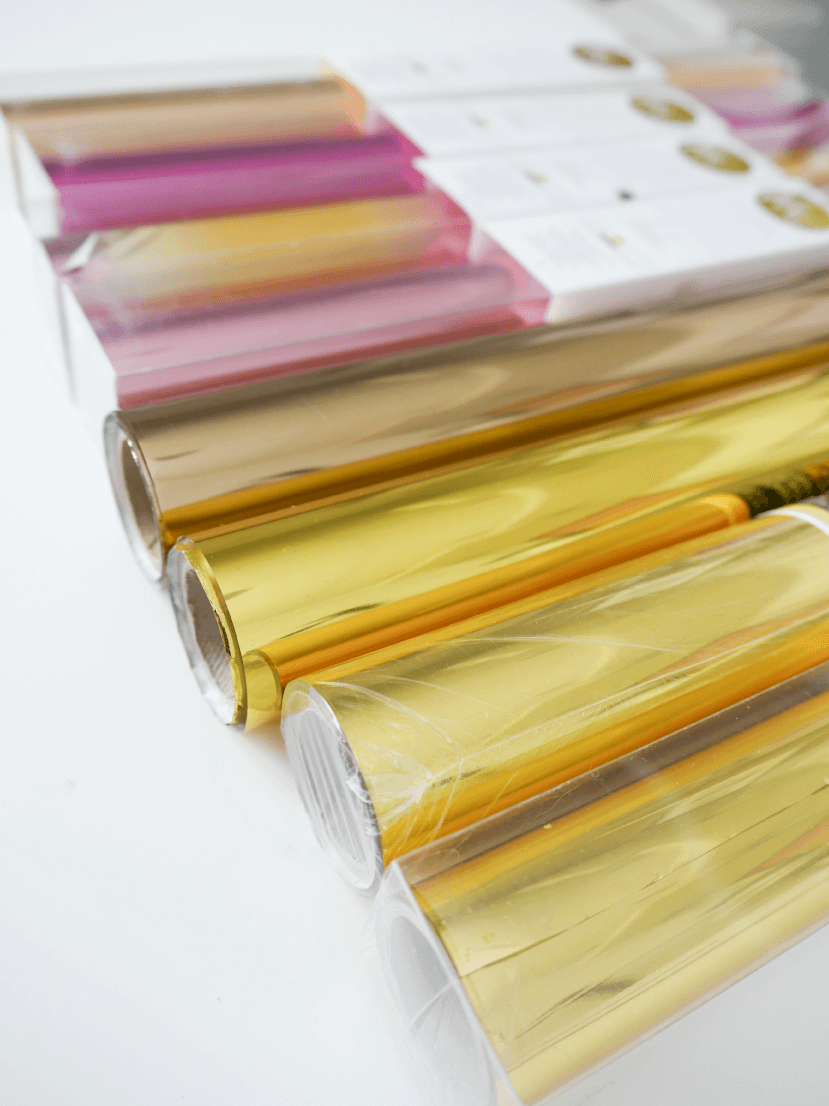
- Heidi Swapp Minc Foil
- iCraft Deco Foil
- A laser printer (this part is key – toner is necessary for the foil to adhere. An inkjet printer will not work). This is the Brother printer that I have and it works well for my foil projects.
TIPS & TRICKS:
- Only hold the edges of your paper – you don’t want to get anything on your paper that may effect the toner and how it reacts with the foil
- Use larger lines/words for foil pieces
- Always cover up all toner areas on your page with something (foil if you want it foiled, scrap paper if you want it to stay black) before it goes in your foil machine so that you don’t get the toner on your plastic cover
- Use larger pieces of the foil over your entire design instead of cutting and placing small pieces throughout. This decreases the chance that your foil will shift off of your design as it goes through the machine
Happy foiling! See you soon for the next Foil Friday!
xo
Amanda


I'm going to assume that you're here because you love calligraphy, hand lettering and art... or maybe you just want to know more about it. Either way, you're totally in the right place!
xo
Amanda


Join over 5000 others who have learned to letter (and more) with these lettering courses
