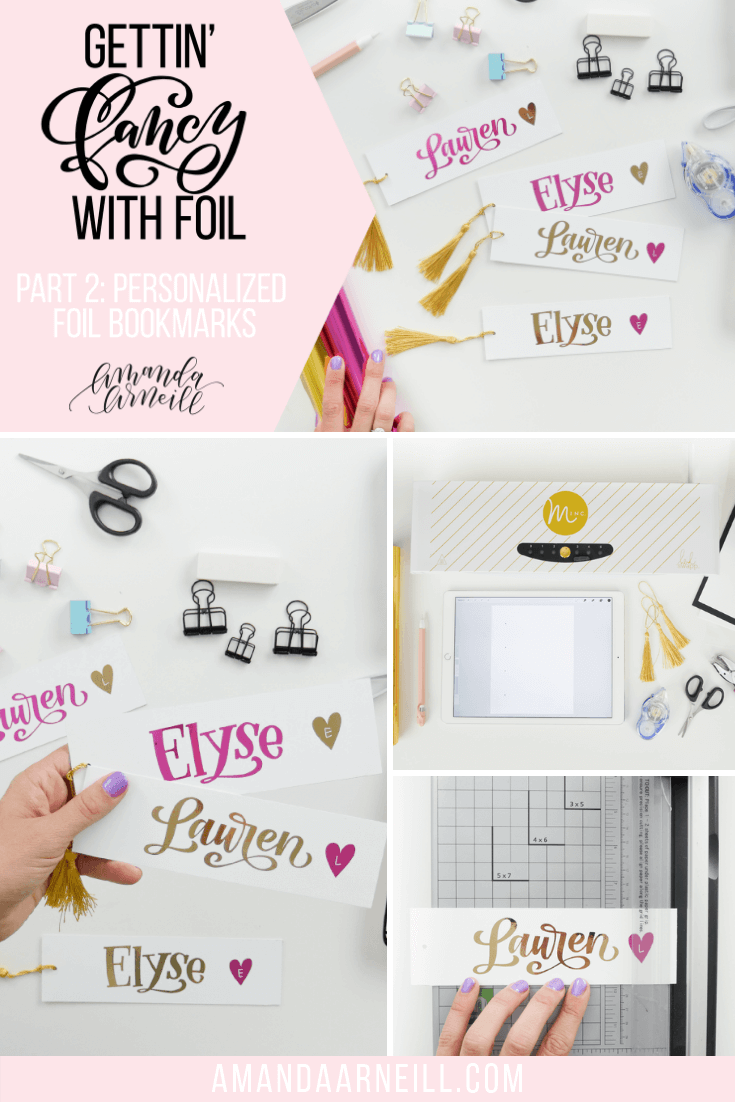
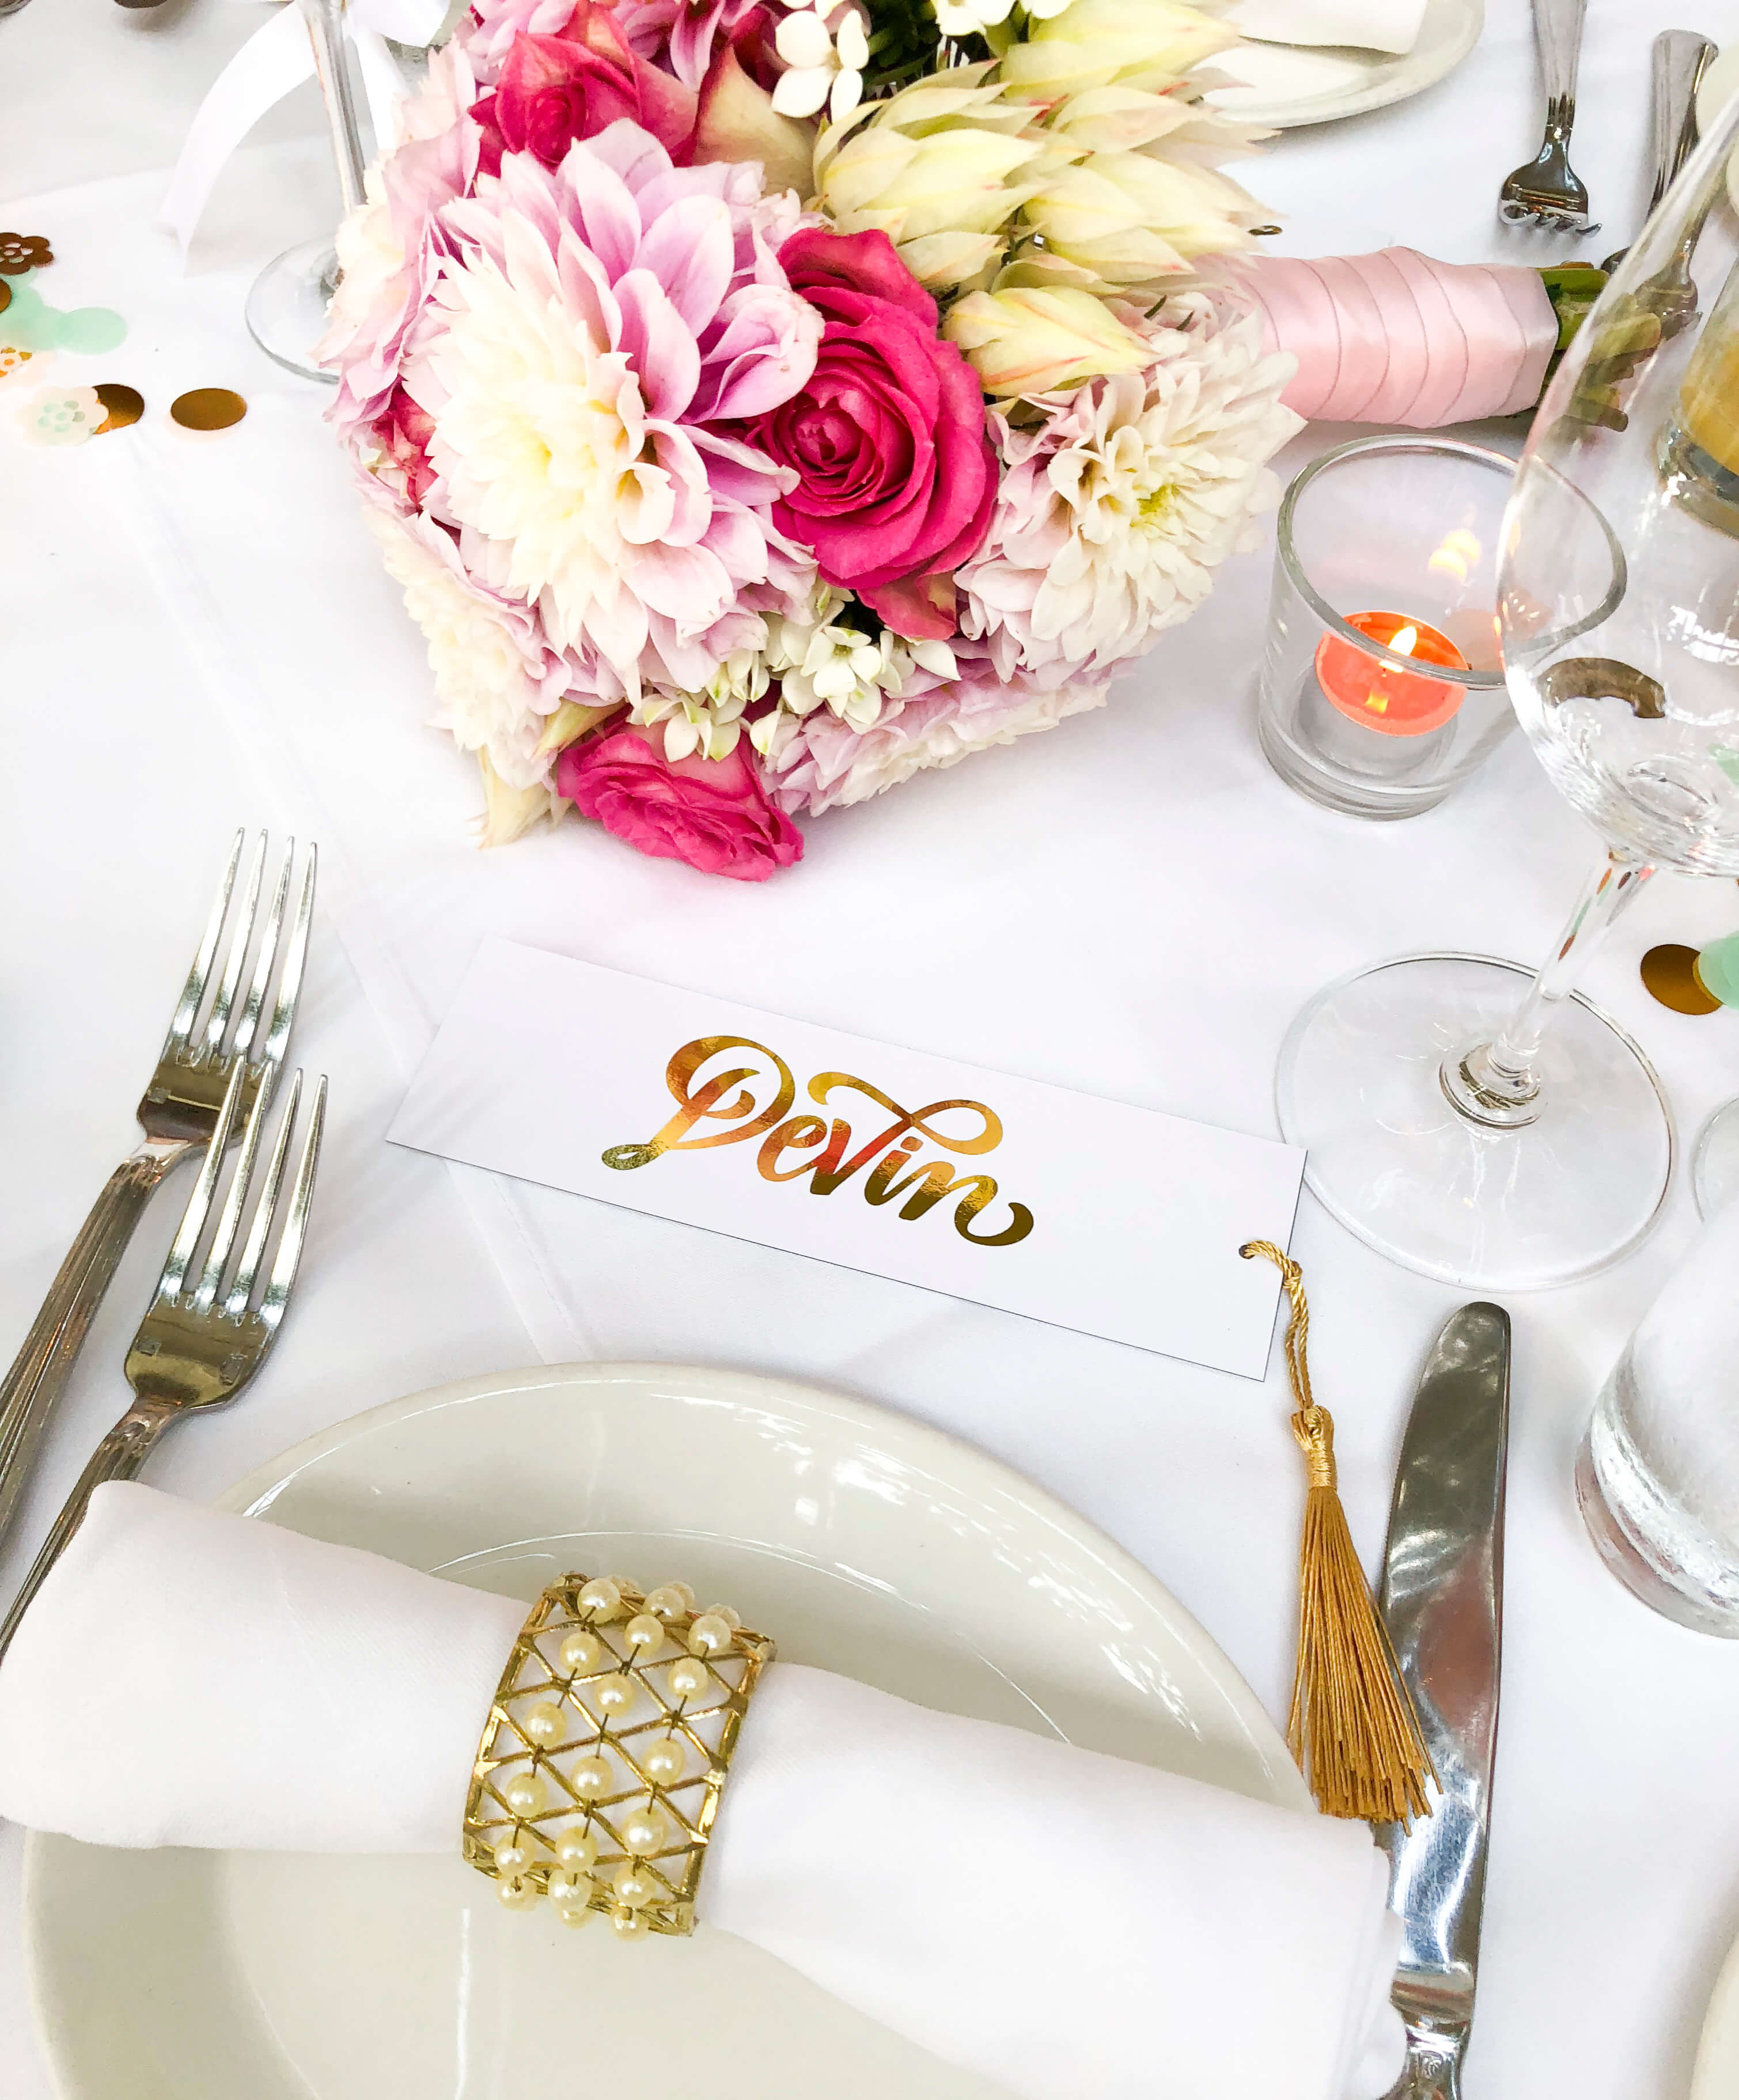
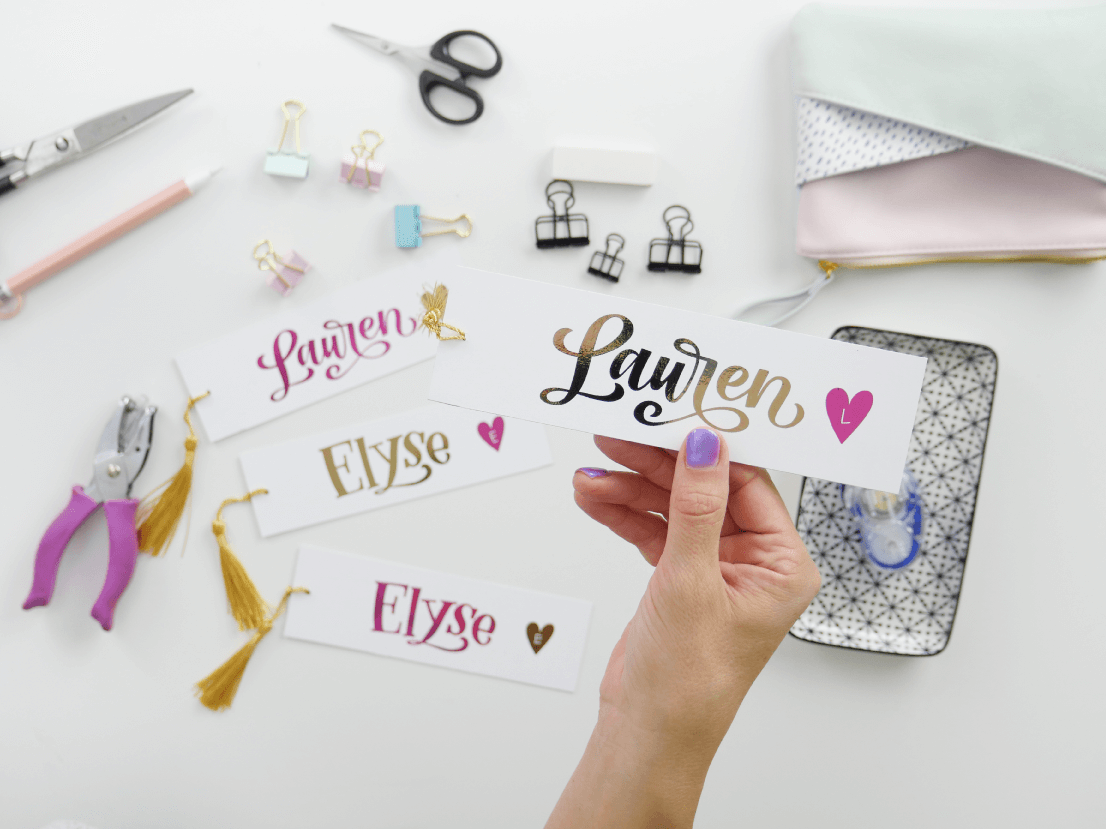
A few months ago, I was asked to create some name cards for a small, summer wedding. The special couple didn’t have an idea for their wedding favors yet, so I figured we would kill two birds with one stone (which, by the way, is a horrible saying in my opinion. There’s gotta be something better like “Pet two puppies with one hand”? We will go with that!) and create some keepsakes that would fill the role of wedding favors and name cards. After a deep dive on Pinterest, I found the perfect inspiration – bookmarks! The couple and their families are avid readers, so it was a great fit. And we know from Part 1 of our “Gettin’ Fancy with Foil” series, that I will take any excuse to break out my Minc machine and add some foil to my projects. So, we moved forward with creating hand lettered foil bookmarks, personalized with the guests’ names on one side, and a special message from the bride and groom on the other. The bookmarks were a hit and were a great addition to the already gorgeous wedding decor. Unlike most wedding favors, not a single one was left behind at the end of the night.
My girls watched me make these bookmarks and pleaded with me to make them their own. I already knew that I wanted to share this hand lettered foil project with you, so I figured that we would pet two puppies with one hand and make a tutorial for you so that you can make your own bookmarks, creating my daughters’ bookmarks as an example. This also gave me a great excuse to use some of the approximately 100 tassels that I’m now the proud owner of.
These bookmarks are perfect for any occasion – weddings, birthdays, classroom gifts, holidays, or just because!
Join me for Part 2 of our 4-Part “Gettin’ Fancy with Foil” video lesson series (If you missed Part 1 – just click here to watch that now!) and learn how to create your own set of special, personalized foil bookmarks. Just scroll down to watch the video tutorial, find the fully linked supply list and download the Procreate compatible bookmark template on to your iPad.
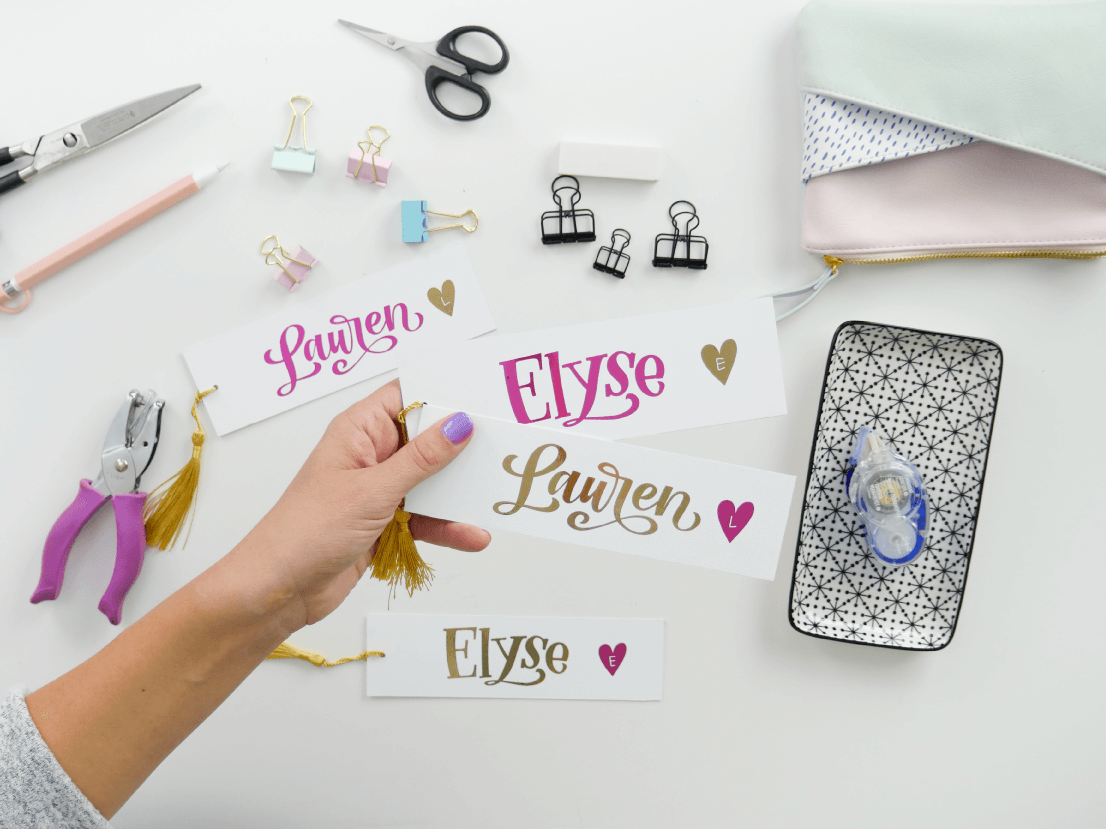
WATCH THE FULL VIDEO TUTORIAL HERE!
DOWNLOADS:
- Foil Bookmark Procreate Template (for instructions on how to download and install a zipped template, click here)
MATERIALS:
- Superfine Printing Cardstock
- Heidi Swapp Minc Foil Application Machine
- Heidi Swapp Minc Foil in “Hot Pink”
- iCraft Deco Foil Value Roll in “Rose Gold”
- A laser printer. This is the Brother printer that I have and it works well for my foil projects.
- Tombow Permanent Adhesive
- Black Cardstock
- A Circle Hand Punch
- Tassels
- Fiskars Rotary Trimmer
- Your iPad and Apple Pencil (with Procreate installed on it)
- Foil Bookmark Procreate Template (for instructions on how to download and install a zipped template, click here)
HOW TO:
- Download and install the Foil Bookmark Procreate Template to your iPad (for instructions on how to download and install a zipped template, click here)
- Sketch your design on the bookmark template using your iPad
- When your sketch is complete, lower the opacity of the sketch layer and, on a new layer, ink your final design
- When you are satisfied with your final design, turn the visibility of your sketch layer off
- Continue this process until all your designs are finished on the template and you are happy with their placement
- Turn off the “Bookmark Holes” and “Bookmark Border” layers in Procreate before printing
- Using your laser printer, print your template(s) on your Superfine Printing cardstock. Remember – print enough so that each bookmark will have two sides
- Place foil on your design and run it through your foil machine (if you need to brush up on your foil basics, just click here!)
- Trim your bookmarks using your rotary trimmer. You will be trimming your bookmarks twice. For the first cut, trim 1/2 inch off of each side of the paper, then cut the bookmarks to be 2 1/2 inches wide. After your first trim, the dimensions of your bookmarks should be 2.5 x 7.5 inches
- Cut your black cardstock to the same size – 2.5 x 7.5 inches. Each bookmark will need one piece of the cardstock
- Using your permanent adhesive, glue around all 4 sides of the cardstock (as close to the edge as possible without going over) and place one of your white bookmark pieces on top of the cardstock. Next, while making sure that your text/design and your tassel hole placement match up on both sides, do the same on the other side of your cardstock with the second piece of the white bookmark
- Trim approximately 1/8 inch off of each side of your bookmark, to create a crisp, sandwich edge.
- Using your hand punch, punch a hole toward the top of your bookmark, approximately 3/8 inch down from the top and thread your tassel through
TIPS & TRICKS:
- My favorite standard Procreate brush to sketch with is found in the “Sketching” brushes tab and is the 6B Pencil. For inking, my favorite standard Procreate brush is found in the “Inking” tab and us the Gel Pen
- Your piece should be centered between the bottom of the bookmark and the hole for the tassel, and not between the bottom and top of the bookmark. Remember to allow for a border around your design as well so that the two trims won’t cut too close to your design
- Write each name/design on a new layer within Procreate, so that each can be manipulated separately
- Get creative! The design possibilities are endless with this one
Join me next “Foil Friday” when the next hand lettered foil project that we will be creating together is foiled greeting cards. See you then!
xo Amanda

I'm going to assume that you're here because you love calligraphy, hand lettering and art... or maybe you just want to know more about it. Either way, you're totally in the right place!
xo
Amanda


Join over 5000 others who have learned to letter (and more) with these lettering courses


