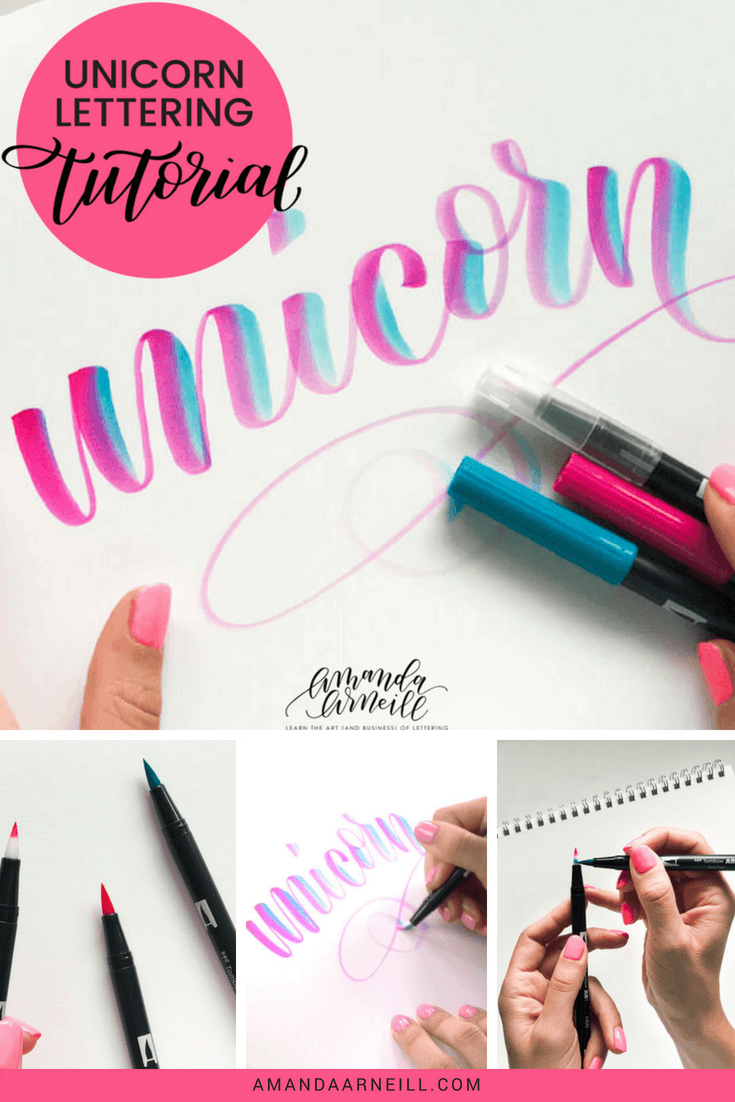
As an 80’s baby who grew up loving “The Last Unicorn” (which, looking back, is not exactly a child-friendly movie) and the original “My Little Pony“, I love the unicorn trend that is everywhere these days. So, when I was playing around with my Tombow Dual Brush Pens to get ready for the upcoming release of Beyond Basics & Black and discovered this beautiful effect using the blender pen, I just knew that it had to be called “Unicorn Lettering” and that I had to share it with you!
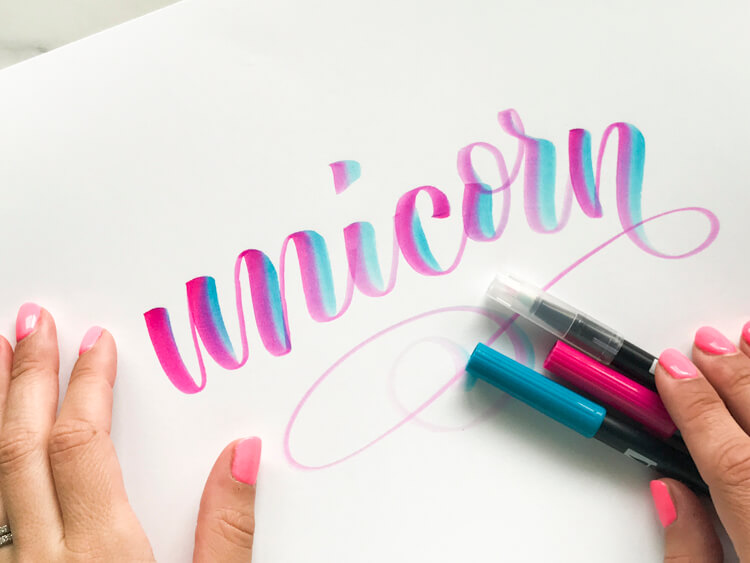
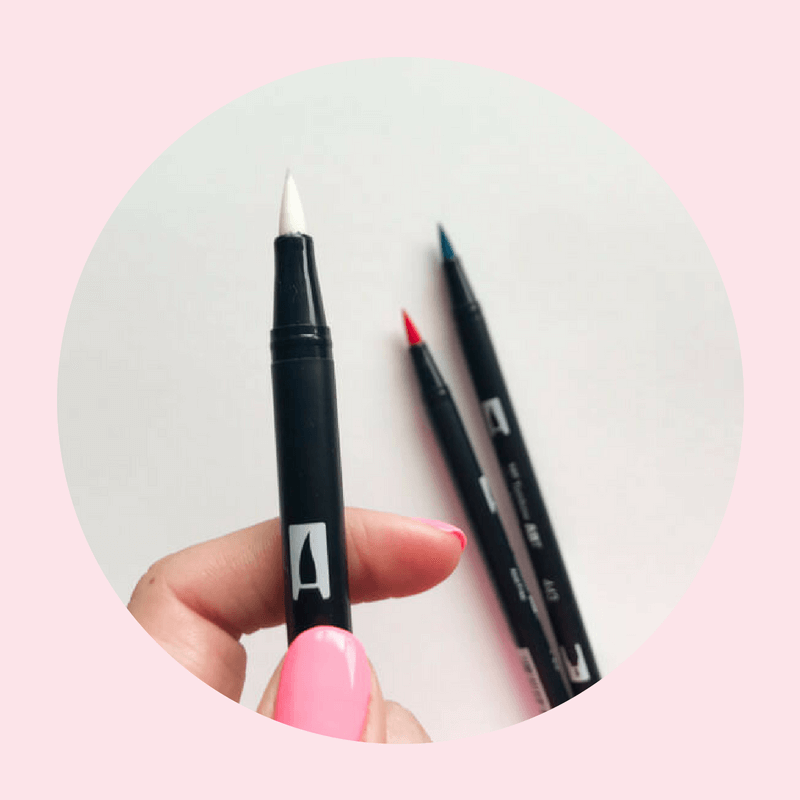
All you need for this color effect are some Tombow Dual Brush Pens, your Tombow Dual Brush Blender Pen and some paper. If you want to find out how to create this magical lettering yourself, just scroll down to watch the full unicorn lettering video tutorial, read the step-by-step instructions and find the fully linked supplies list!
I can’t wait to see your unicorn lettering creations! If you share your pieces on social media, you can use the hashtag #amandaarneillblog or tag me in the photo so that I can see your beautiful work.
Happy creating!
xo Amanda
Watch the full unicorn lettering video tutorial here!
MATERIALS:
- Tombow Dual Brush Pen Colorless Blender (N00)
- At least two Tombow Dual Brush Pens in complementary, saturated colors (the colors you choose should exist side by side on the color wheel and should mix to create a pretty color, aka one that isn’t brown. In the tutorial I used 443 – Turquoise and 725 – Rhodamine Red)
- Superfine Cardstock (11×17)
HOW TO:
- First, load your lightest color on to the tip of the blender pen, swiping away from you as you apply the ink (so that you are working in the same direction as the fibers of the pen and not against them to prevent your blender pen from fraying). You can concentrate the colors on just one side of your pen as long as it’s only that side of the pen that will be used to write with.
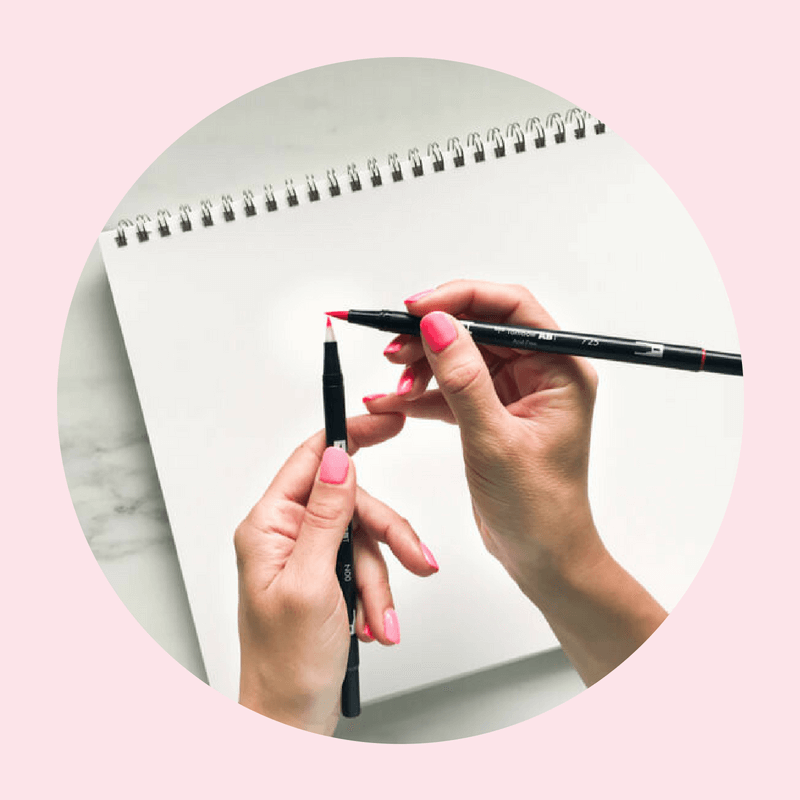
- Next, load your blender pen at the base with your darker color.
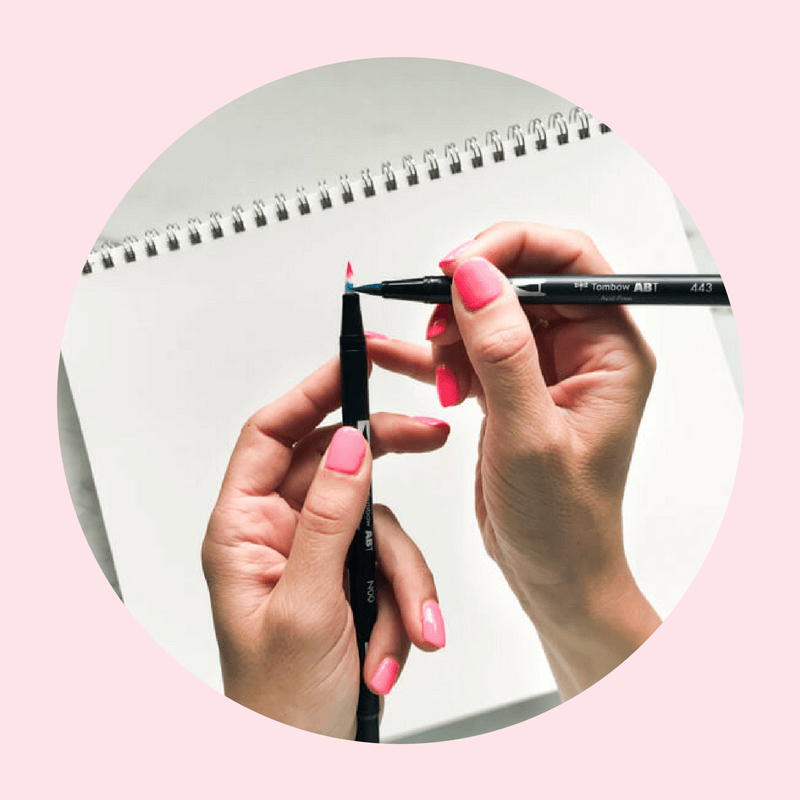
- Remember to leave a small space of white in between your two colors, so that the two colors have room to blend as you write (think – those delicious red, white and blue rocket or firecracker popsicles!).
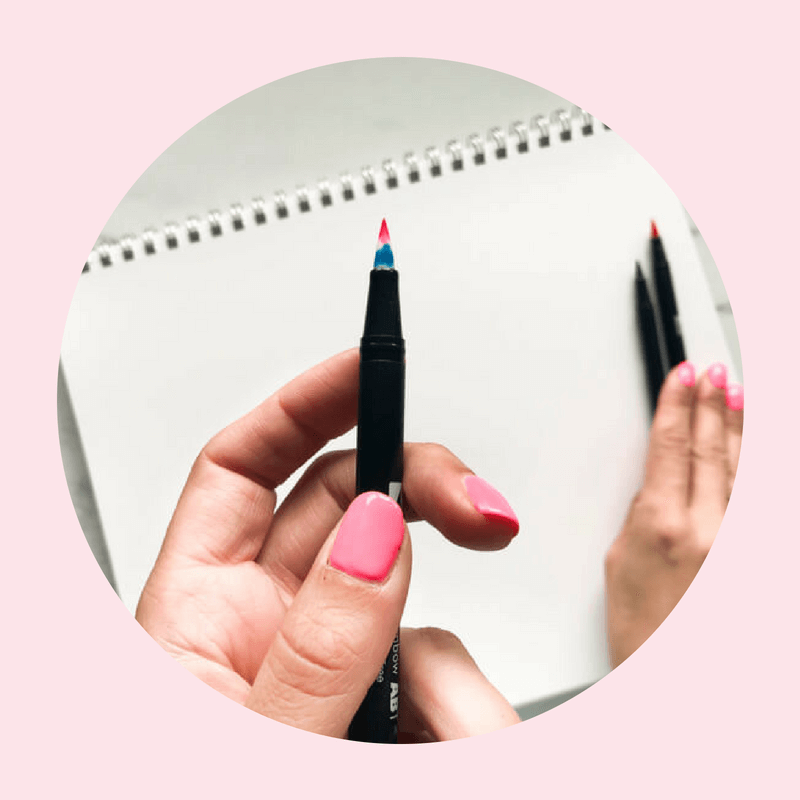
- Swipe your blender pen on a scrap piece of paper, to dull the initial brightness of the colors. Then, it’s time to start writing! Remember to push your brush pen as you write, so that both colors come in to contact with your paper.
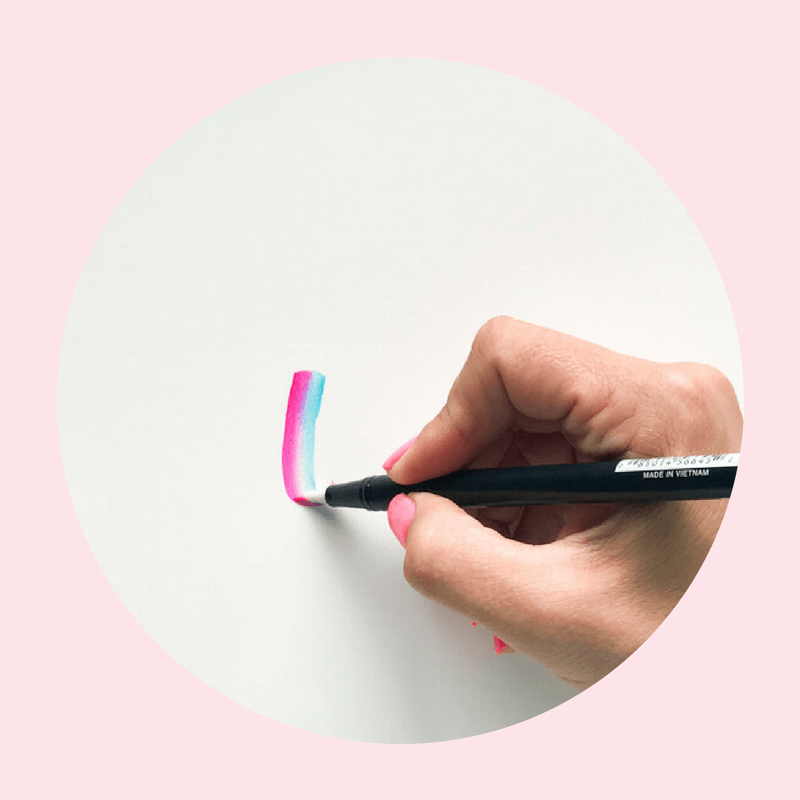
- Reload your blender pen with ink as required.
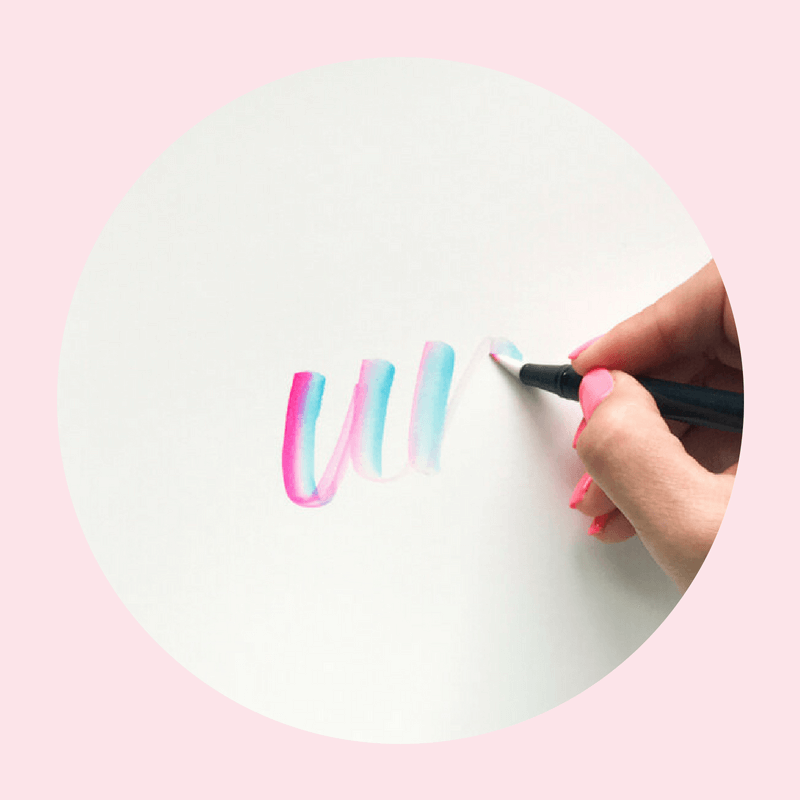
- When you’re done, don’t forget to clean off your blender pen on a scrap piece of paper until your pen writes completely clear once again so that it will be ready for your next project!

I'm going to assume that you're here because you love calligraphy, hand lettering and art... or maybe you just want to know more about it. Either way, you're totally in the right place!
xo
Amanda


Join over 5000 others who have learned to letter (and more) with these lettering courses
