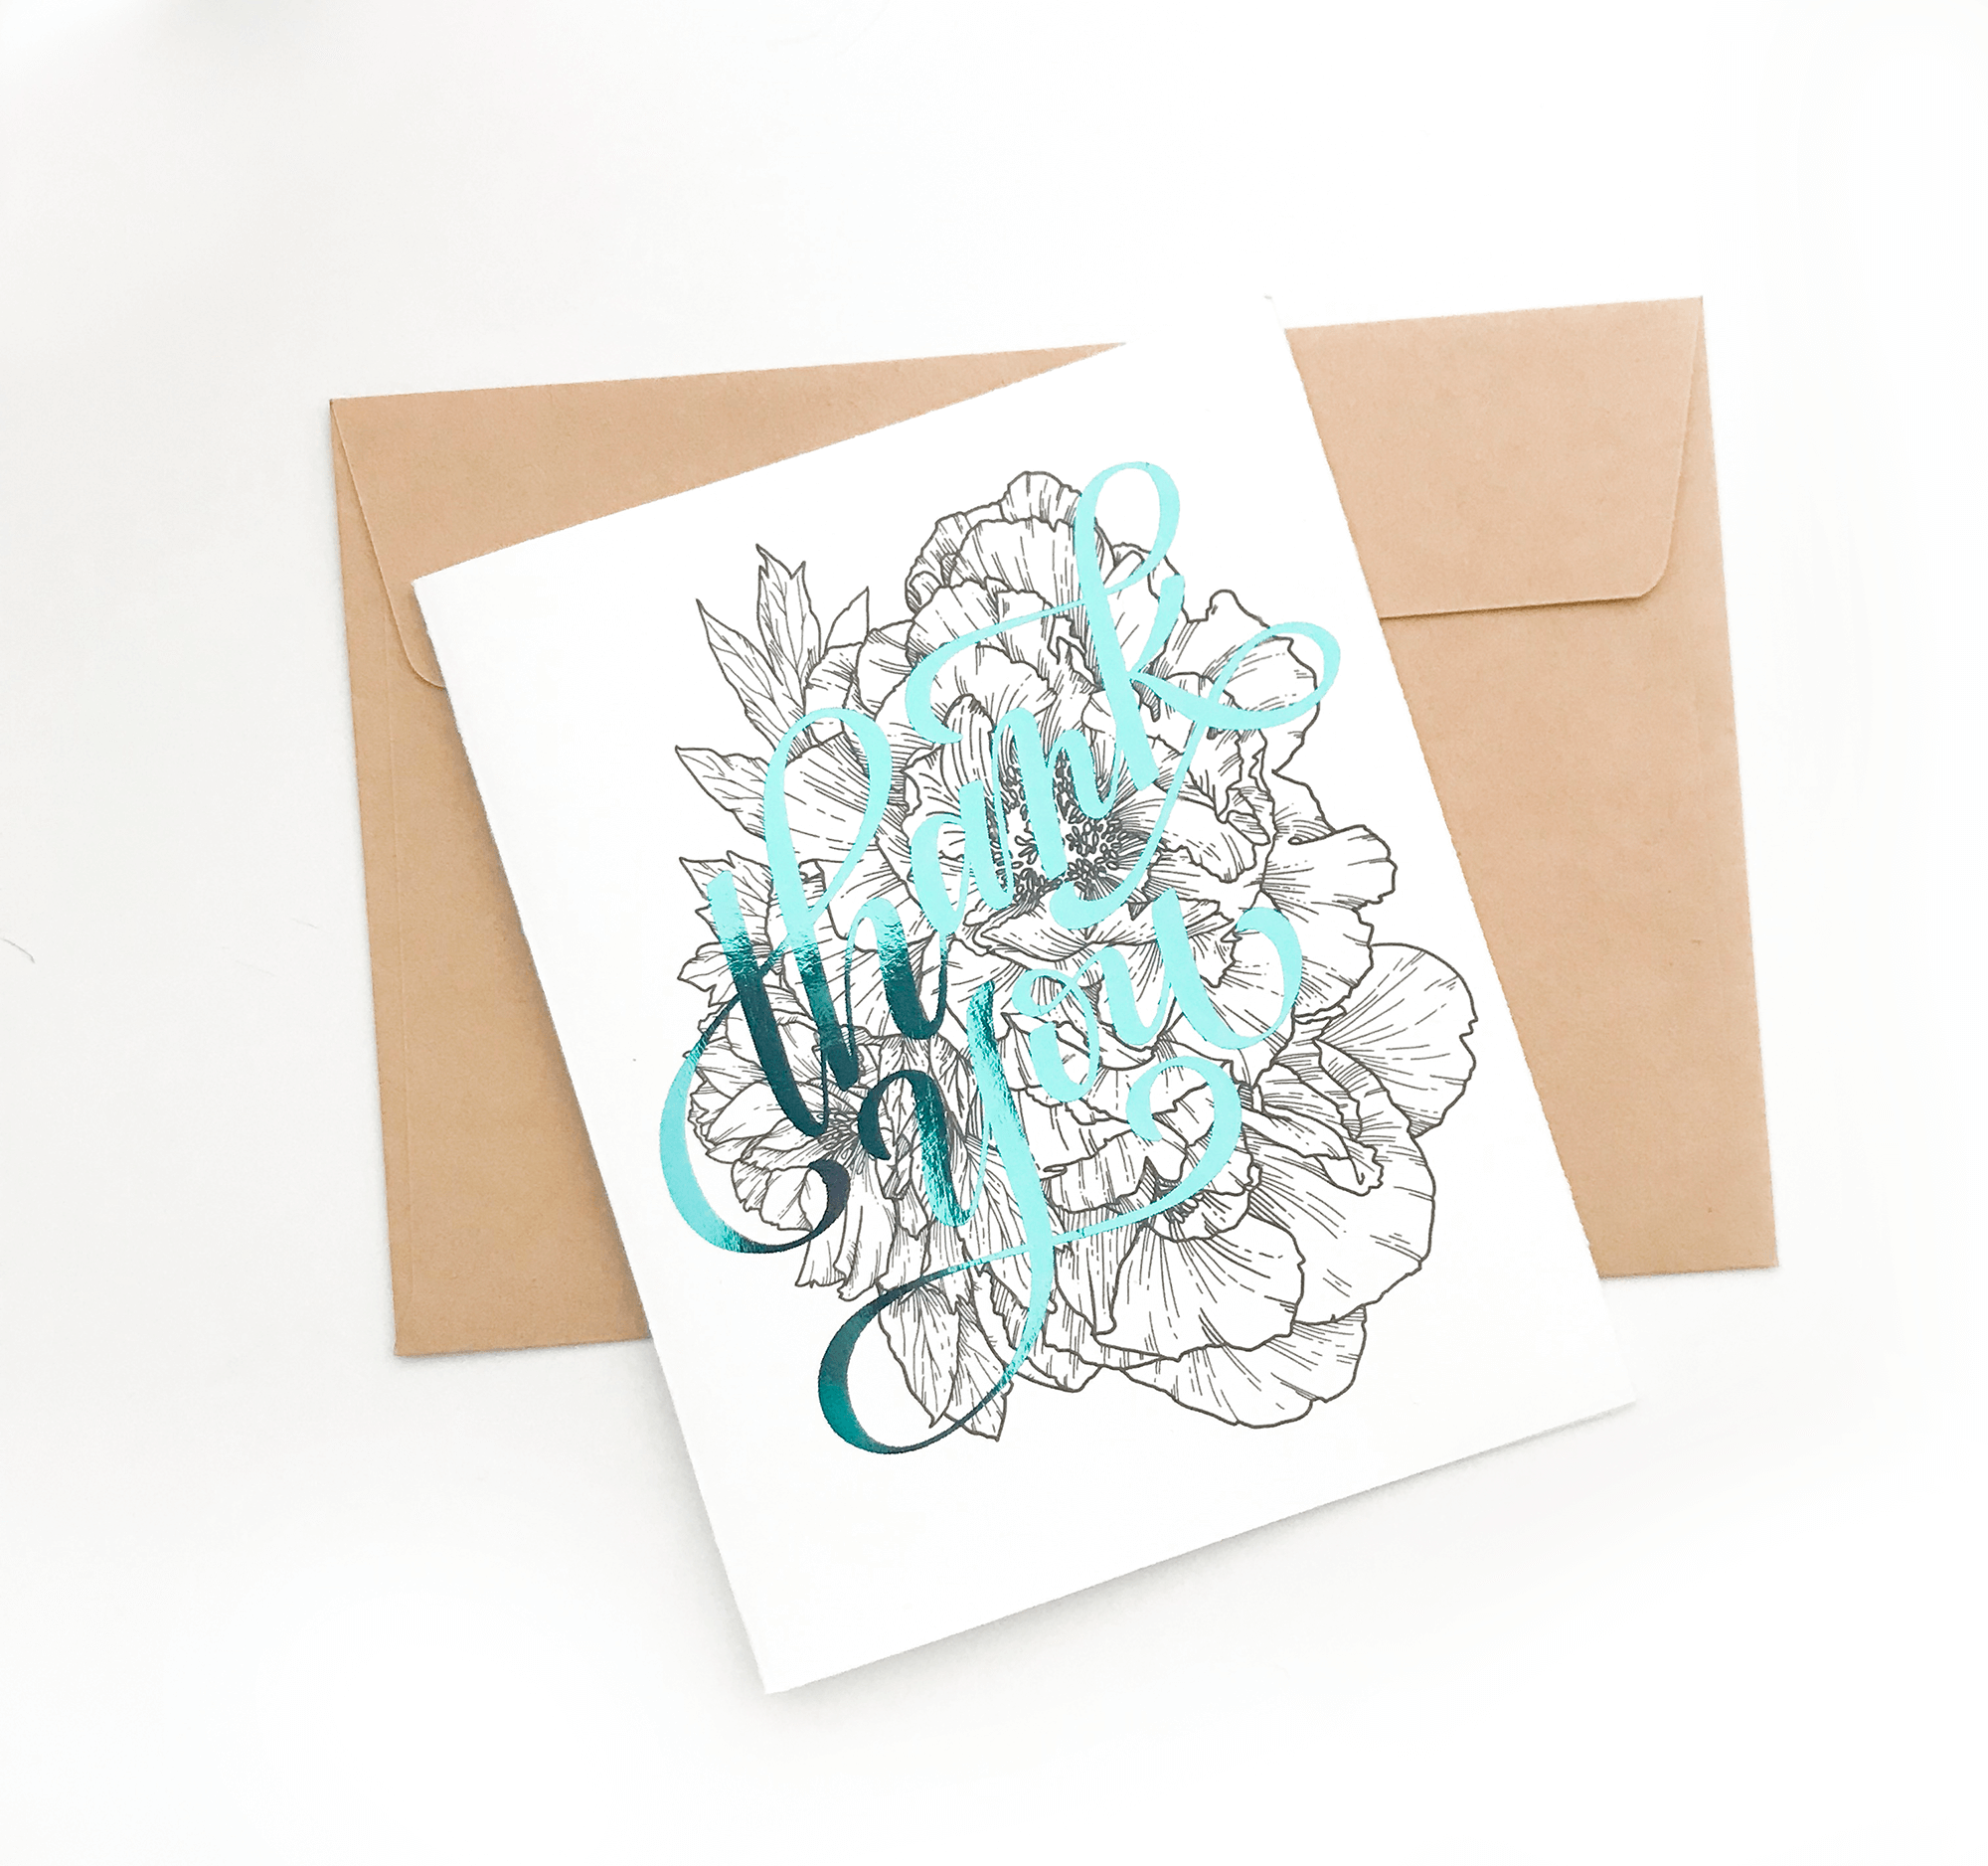
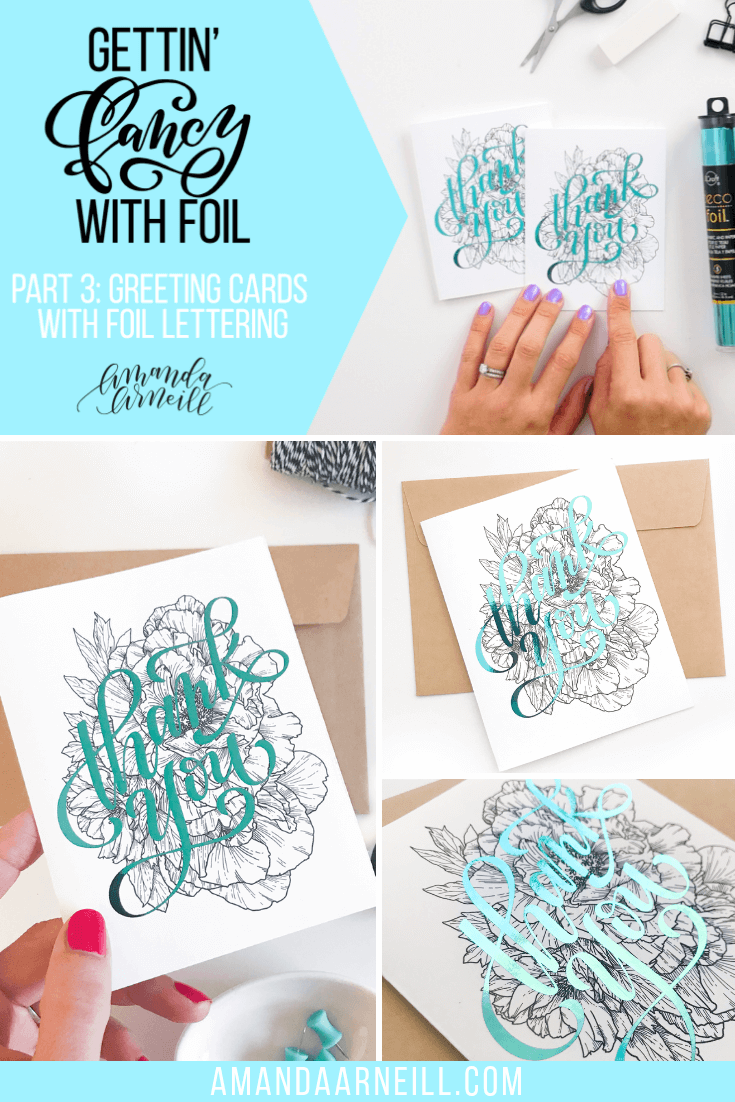
So far in our “Gettin’ Fancy with Foil” series we’ve tackled the basics and personalized foil bookmarks. Now that we’re running headfirst into greeting card season, I figured it was about time we tackled those! So, our next hand lettered foil project in this series are greeting cards that juxtapose a non-foiled, black design against a pop of foil. This technique does require a couple trips to two different types of printers (which your local copy center should have in case you don’t!) but the results are well worth it!
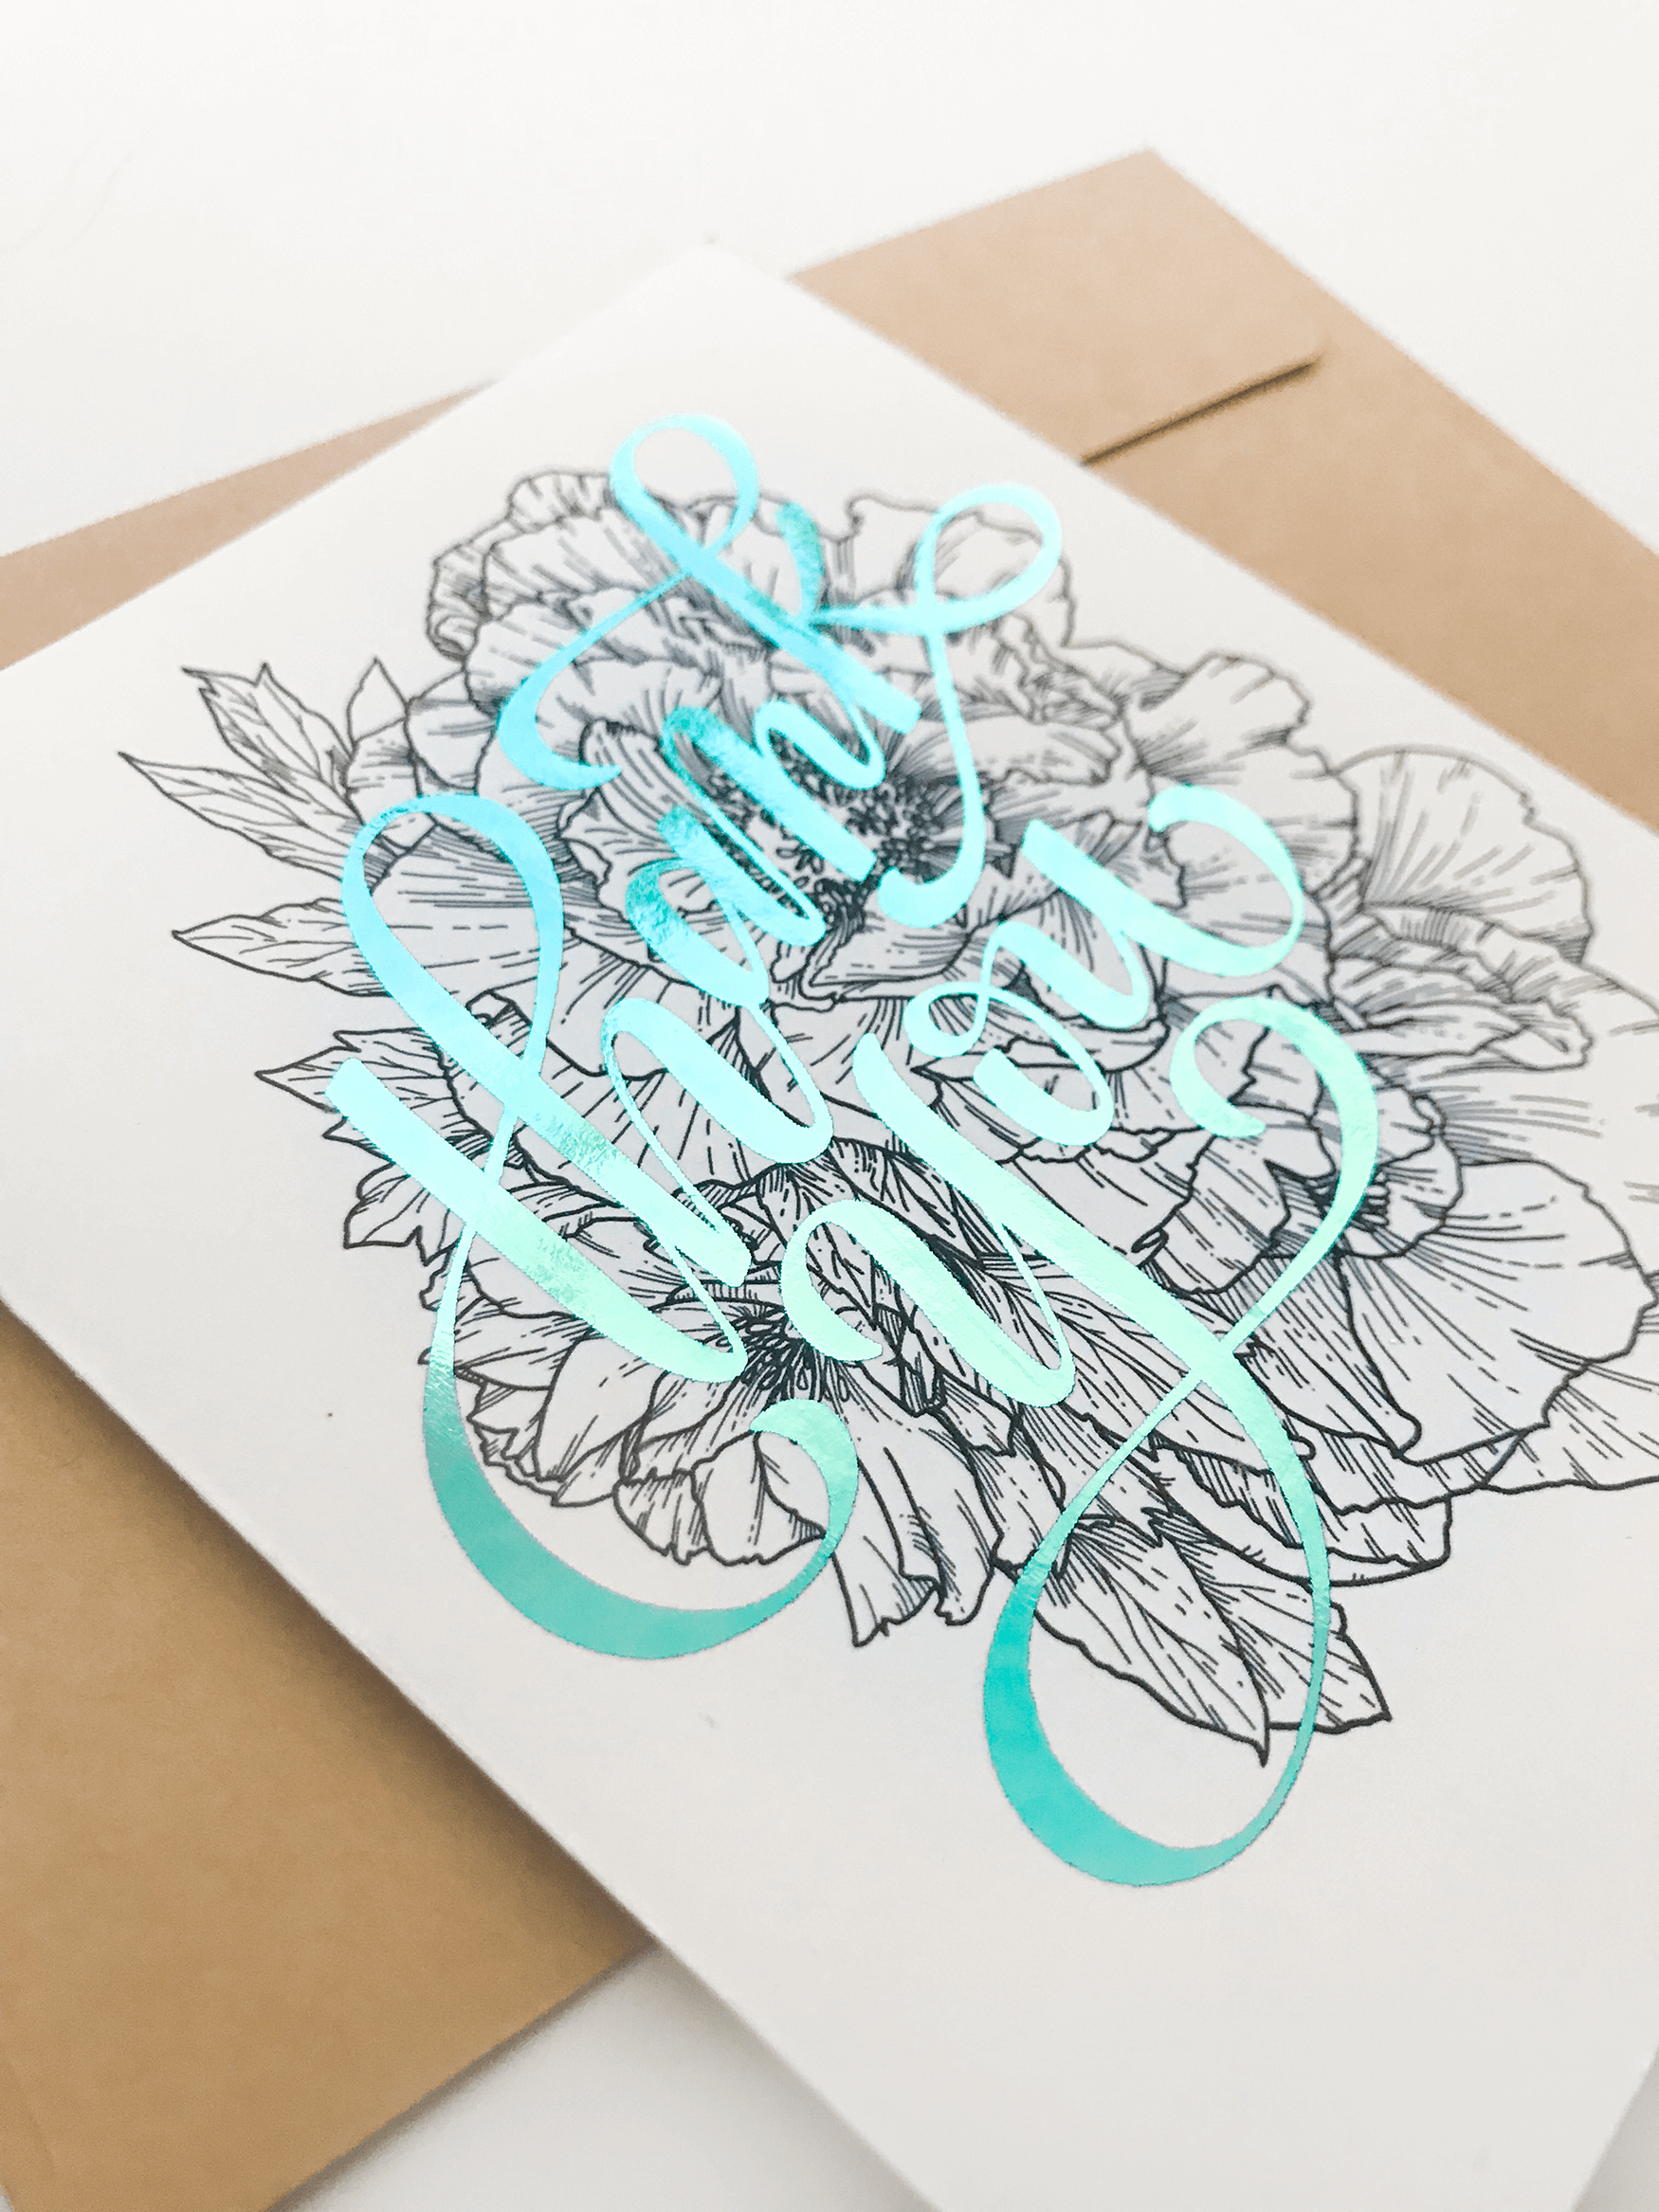
There are so many creative ways that you can use this technique. A black illustration with a few of the picture’s details popping in foil, black hand lettering with a foiled sentence that you want to stand out, a black illustration with a stand-out foil message on top – I could go on and on!
In Part 3 of our 4-Part “Gettin’ Fancy with Foil” video lesson series you will learn how to create this type of foiled greeting card so that you will be ready to take this technique and run with it. Get ready to dominate greeting card season! Just scroll down to watch the video tutorial, find the fully linked supply list and download the Procreate compatible greeting card template on to your iPad.
WATCH THE FULL VIDEO TUTORIAL HERE!
DOWNLOADS:
- Greeting Card Procreate Template (for instructions on how to download and install a zipped template, click here). To download straight from Dropbox, click here.
MATERIALS:
- Superfine Printing Cardstock
- Heidi Swapp Minc Foil Application Machine
- iCraft Deco Foil 5-sheet pack in “Aqua”
- An inkjet printer. This is the Canon printer that I use.
- A laser printer. This is the Brother printer that I have and it works well for my foil projects.
- Fiskars Rotary Trimmer
- Your iPad and Apple Pencil (with Procreate installed on it)
- Greeting Card Procreate Template (for instructions on how to download and install a zipped template, click here)
HOW TO:
- Download and install the Greeting Card Procreate Template to your iPad (for instructions on how to download and install a zipped template, click here). To download straight from Dropbox, click here.
- Choose if you would like to have your card be vertically or horizontally oriented. Whichever orientation you do not want, toggle off that layer in Procreate
- First, sketch and ink/place the designs that you would like to remain unfoiled on to your template. Once you like the design that you have on one side of the template, simply duplicate that layer and move it to the other side of the template (with your “Magnetic” setting on so that it stays in line with the first)
- Toggle off the “Card Guidelines” layer in the template
- Using your Superfine Cardstock, print your template off using an inkjet printer. These parts of your design will remain black
- Go back to your template design. Turn the “Card Guidelines” layer back on for reference and add in the parts of your design that you want to be foiled on a new layer. This layer should be on top of your layers panel so that it is placed over your inkjet design layer. Sketch the design in and then ink it to finalize. Make sure that your final design is not textured because that will show up in the foiling. I like using Procreate’s gel pen brush to get a solid texture
- When your design is finalized and place on both sides of the card template, turn off every layer except the layers that you want foiled (including turning off the “Card Guidelines”)
- Print your design on a laser printer. Your design will be printed on the same piece of cardstock that you printed your inkjet design on. It is important that you know how your paper gets fed through your printer so that the final designs match up (I usually test this out by writing “top”, “bottom”, “front” and “back” on a piece of printer paper in the tray, then printing a test page to see where the design ends up)
- After your cardstock has gone through the laser printer, apply foil to your design, covering all areas that were printed on your laser printer (need to brush up on your foiling basics? Just click here to watch Part 1 of this series!)
- Using a rotary trimmer, cut your card template into the 2 cards, cutting halfway down your page (vertically or horizontally depending on which orientation you chose)
- Fold your cards using a bone folder or scoring your cards very lightly on your rotary trimmer
- Give them to the lucky recipients!
TIPS & TRICKS:
- These cards are A4 size, these are some of my favorite A4 envelopes
- If you don’t have both (or either) of these types of printers, you can always take your cardstock to your local printing center
- Try to keep your handling of your paper to a minimum by just holding the edges of your paper – oils from your hands can effect your final foil design
- My favorite non-standard Procreate brushes that I mention in the tutorial are these brushes from Ian Barnard
- Remember – inkjet printer = no foil reaction; laser printer = foil reaction
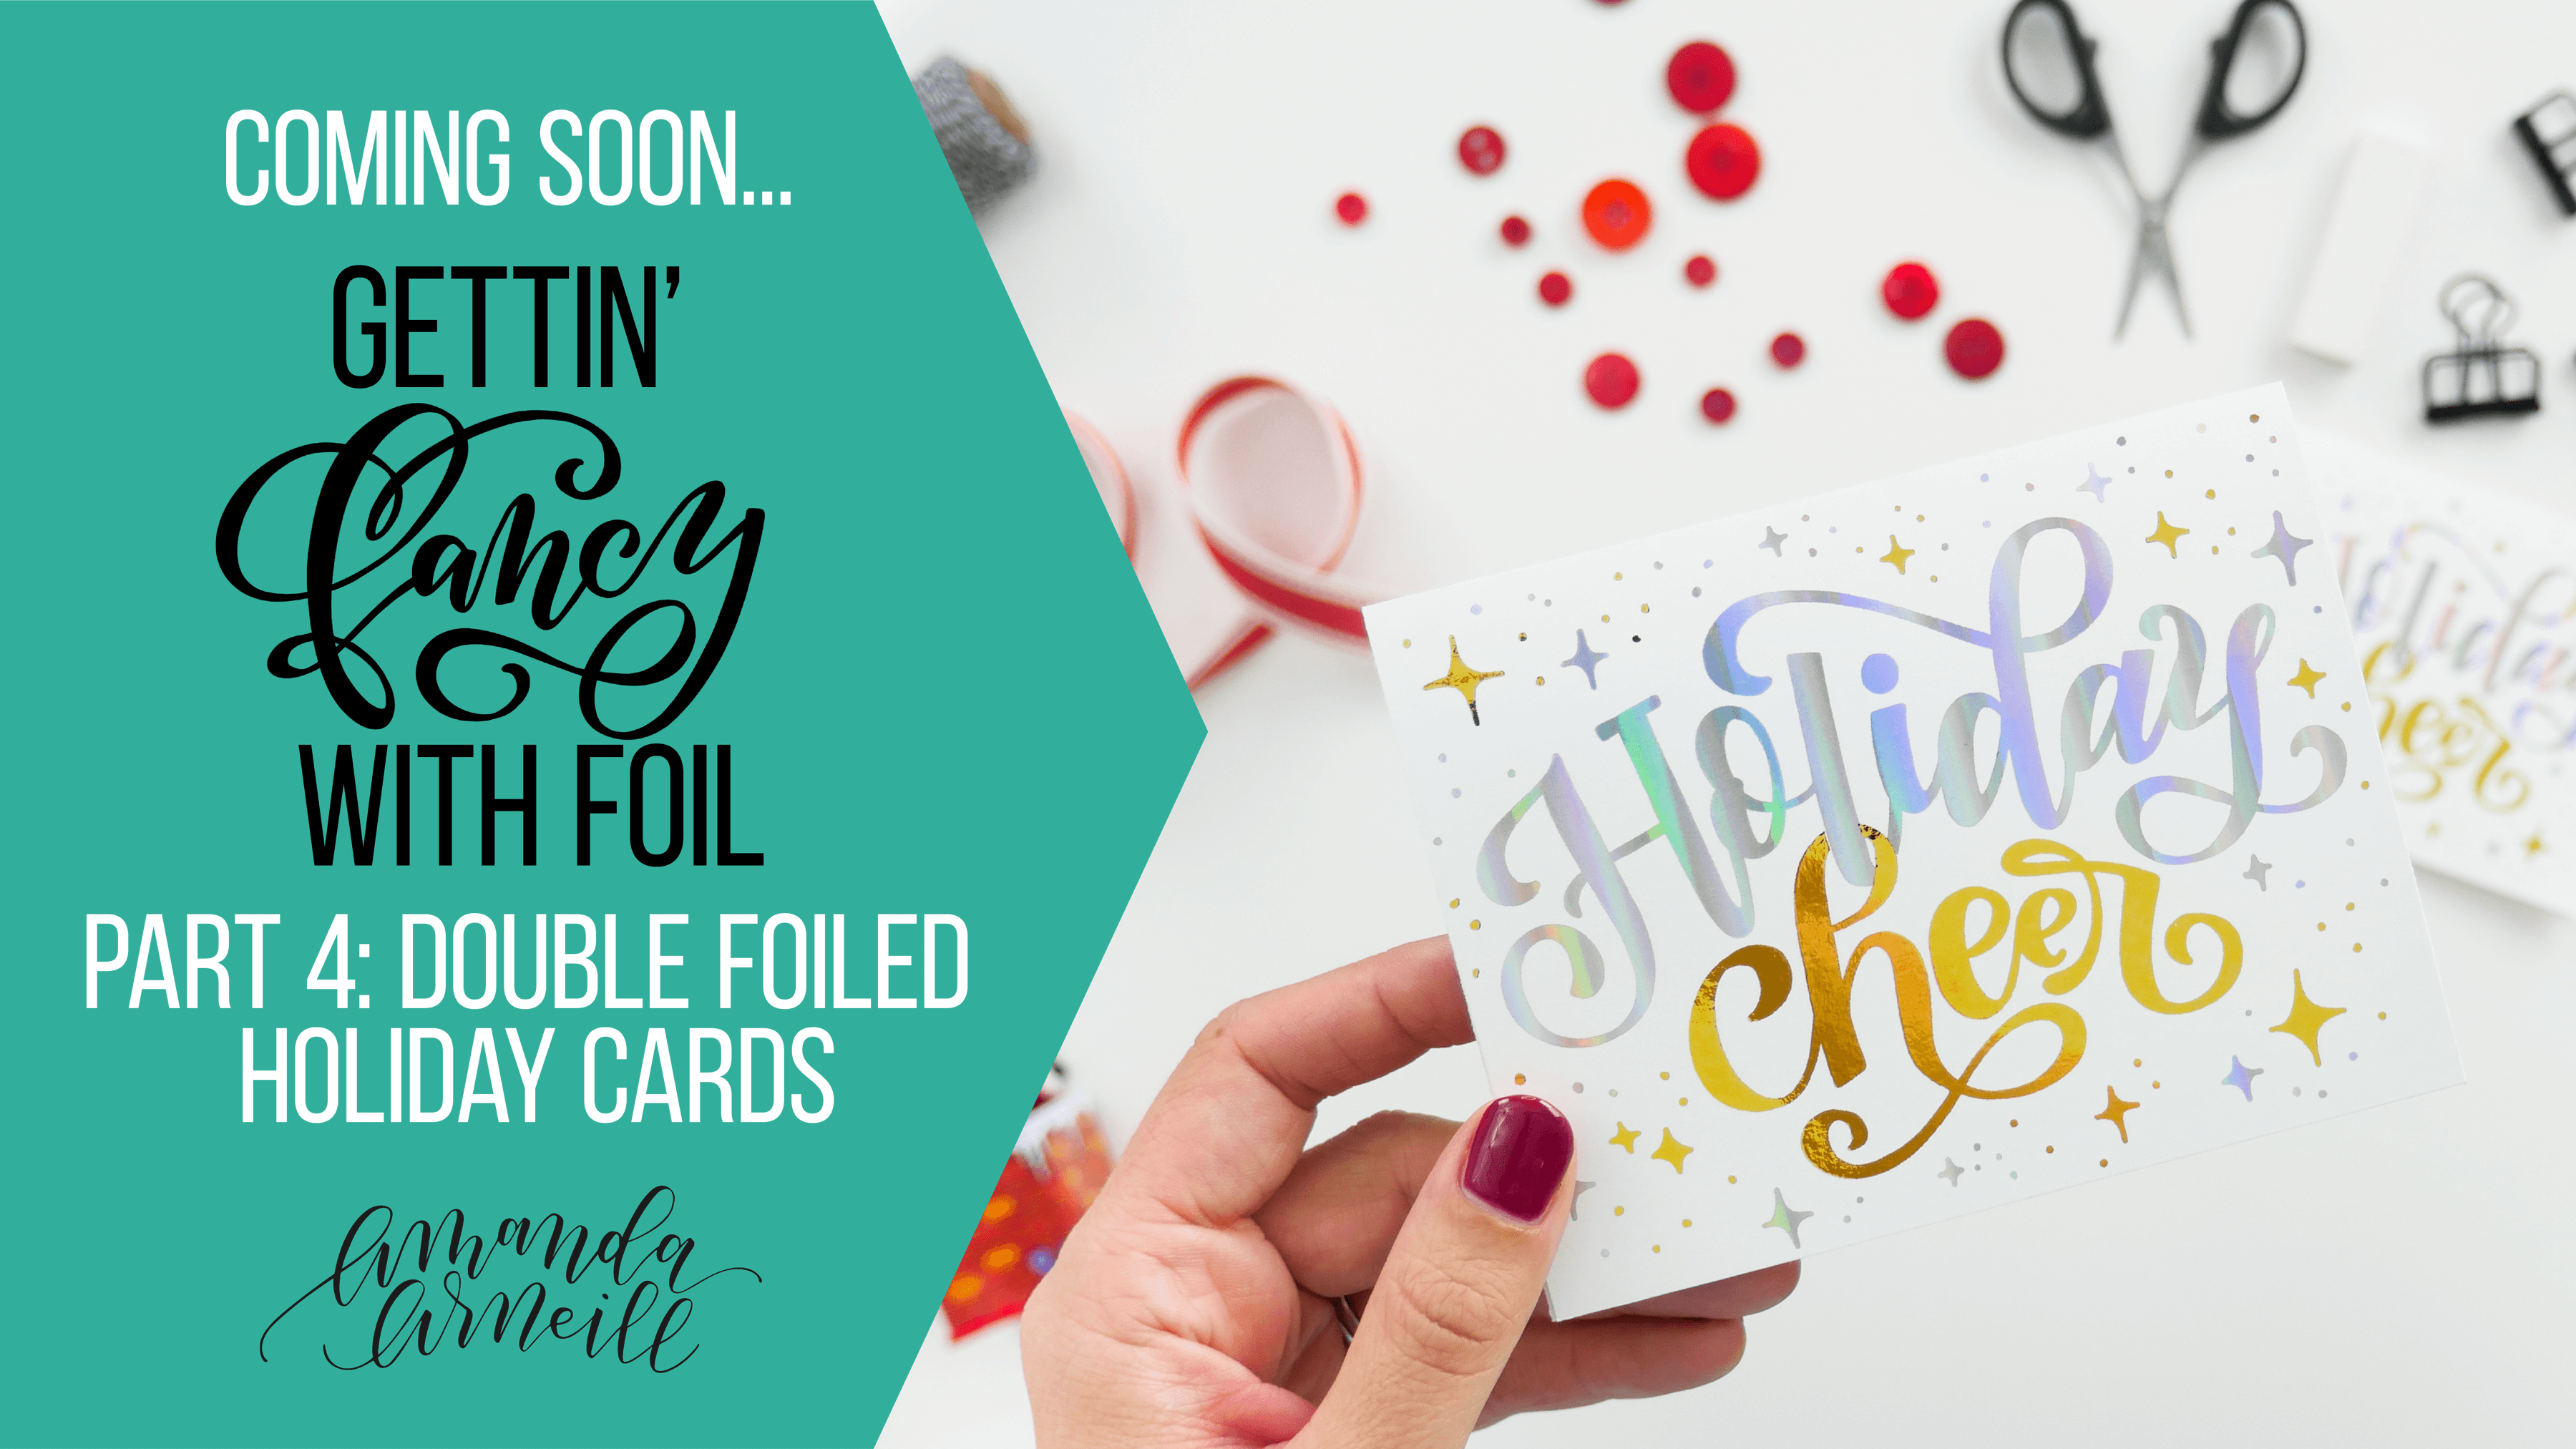
Join me next “Foil Friday” when our project will be holiday greeting cards using a jaw dropping “double foil” technique. Happy foiling!
xo Amanda


I'm going to assume that you're here because you love calligraphy, hand lettering and art... or maybe you just want to know more about it. Either way, you're totally in the right place!
xo
Amanda


Join over 5000 others who have learned to letter (and more) with these lettering courses
