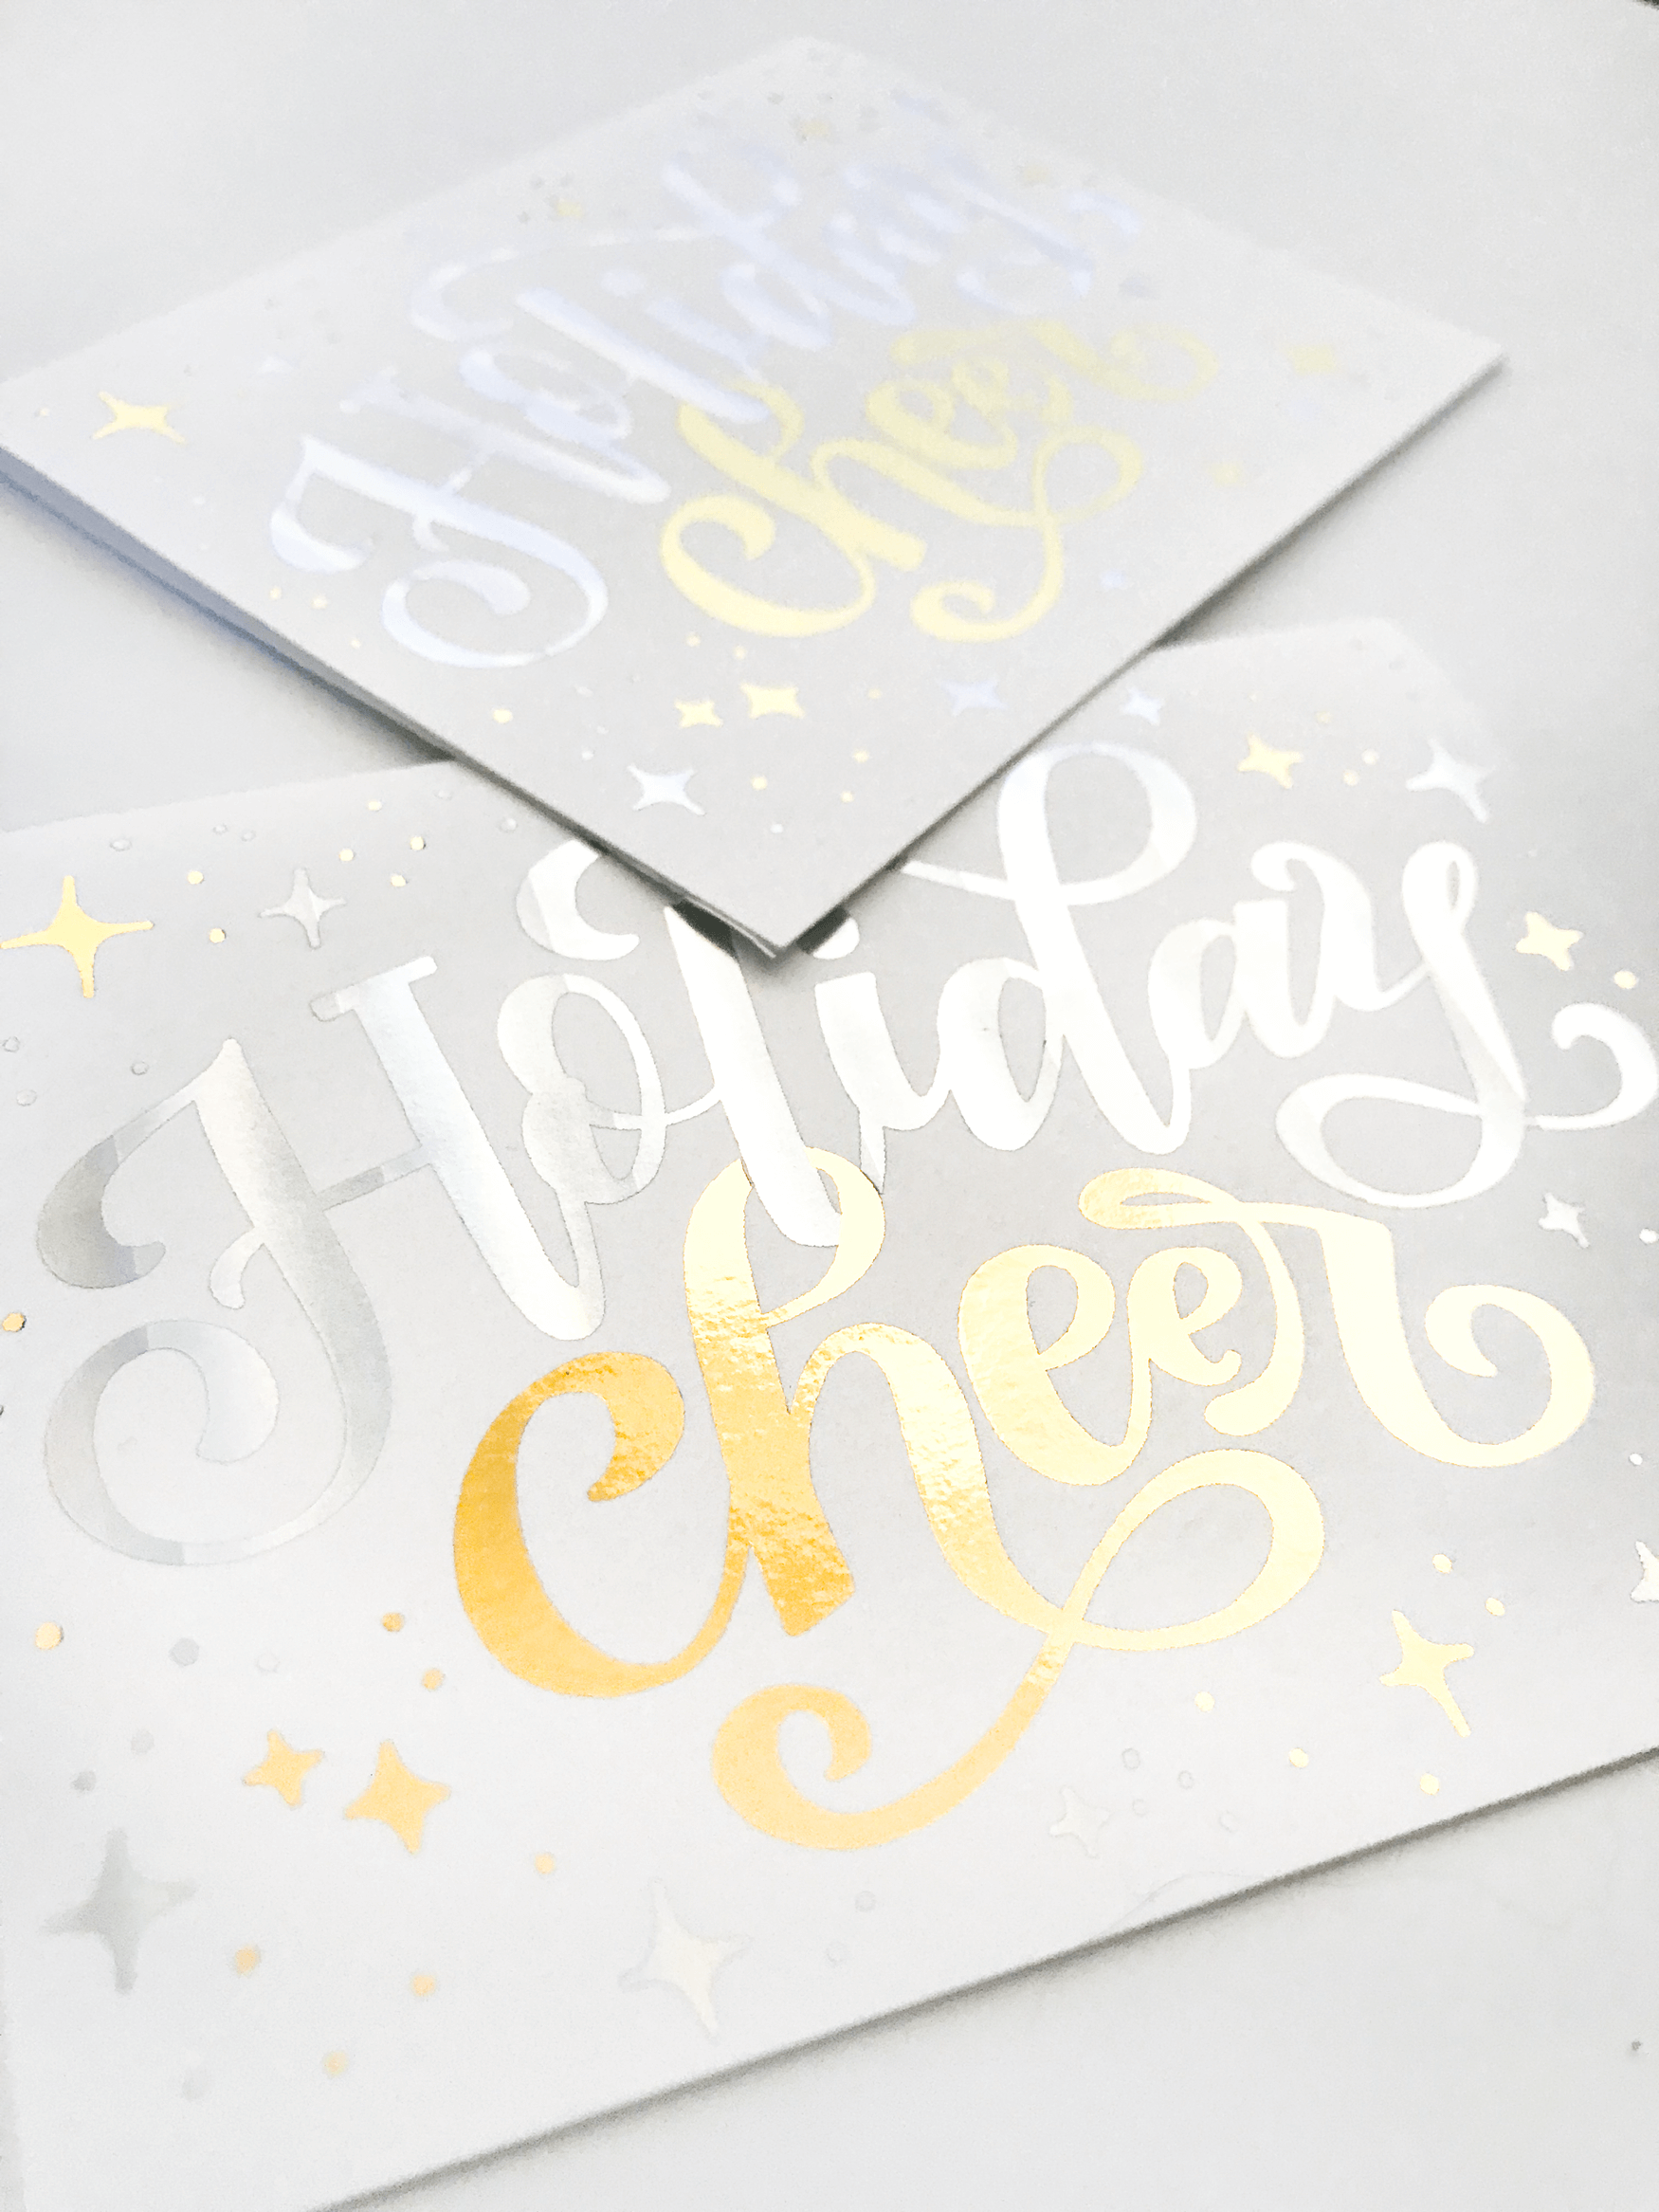
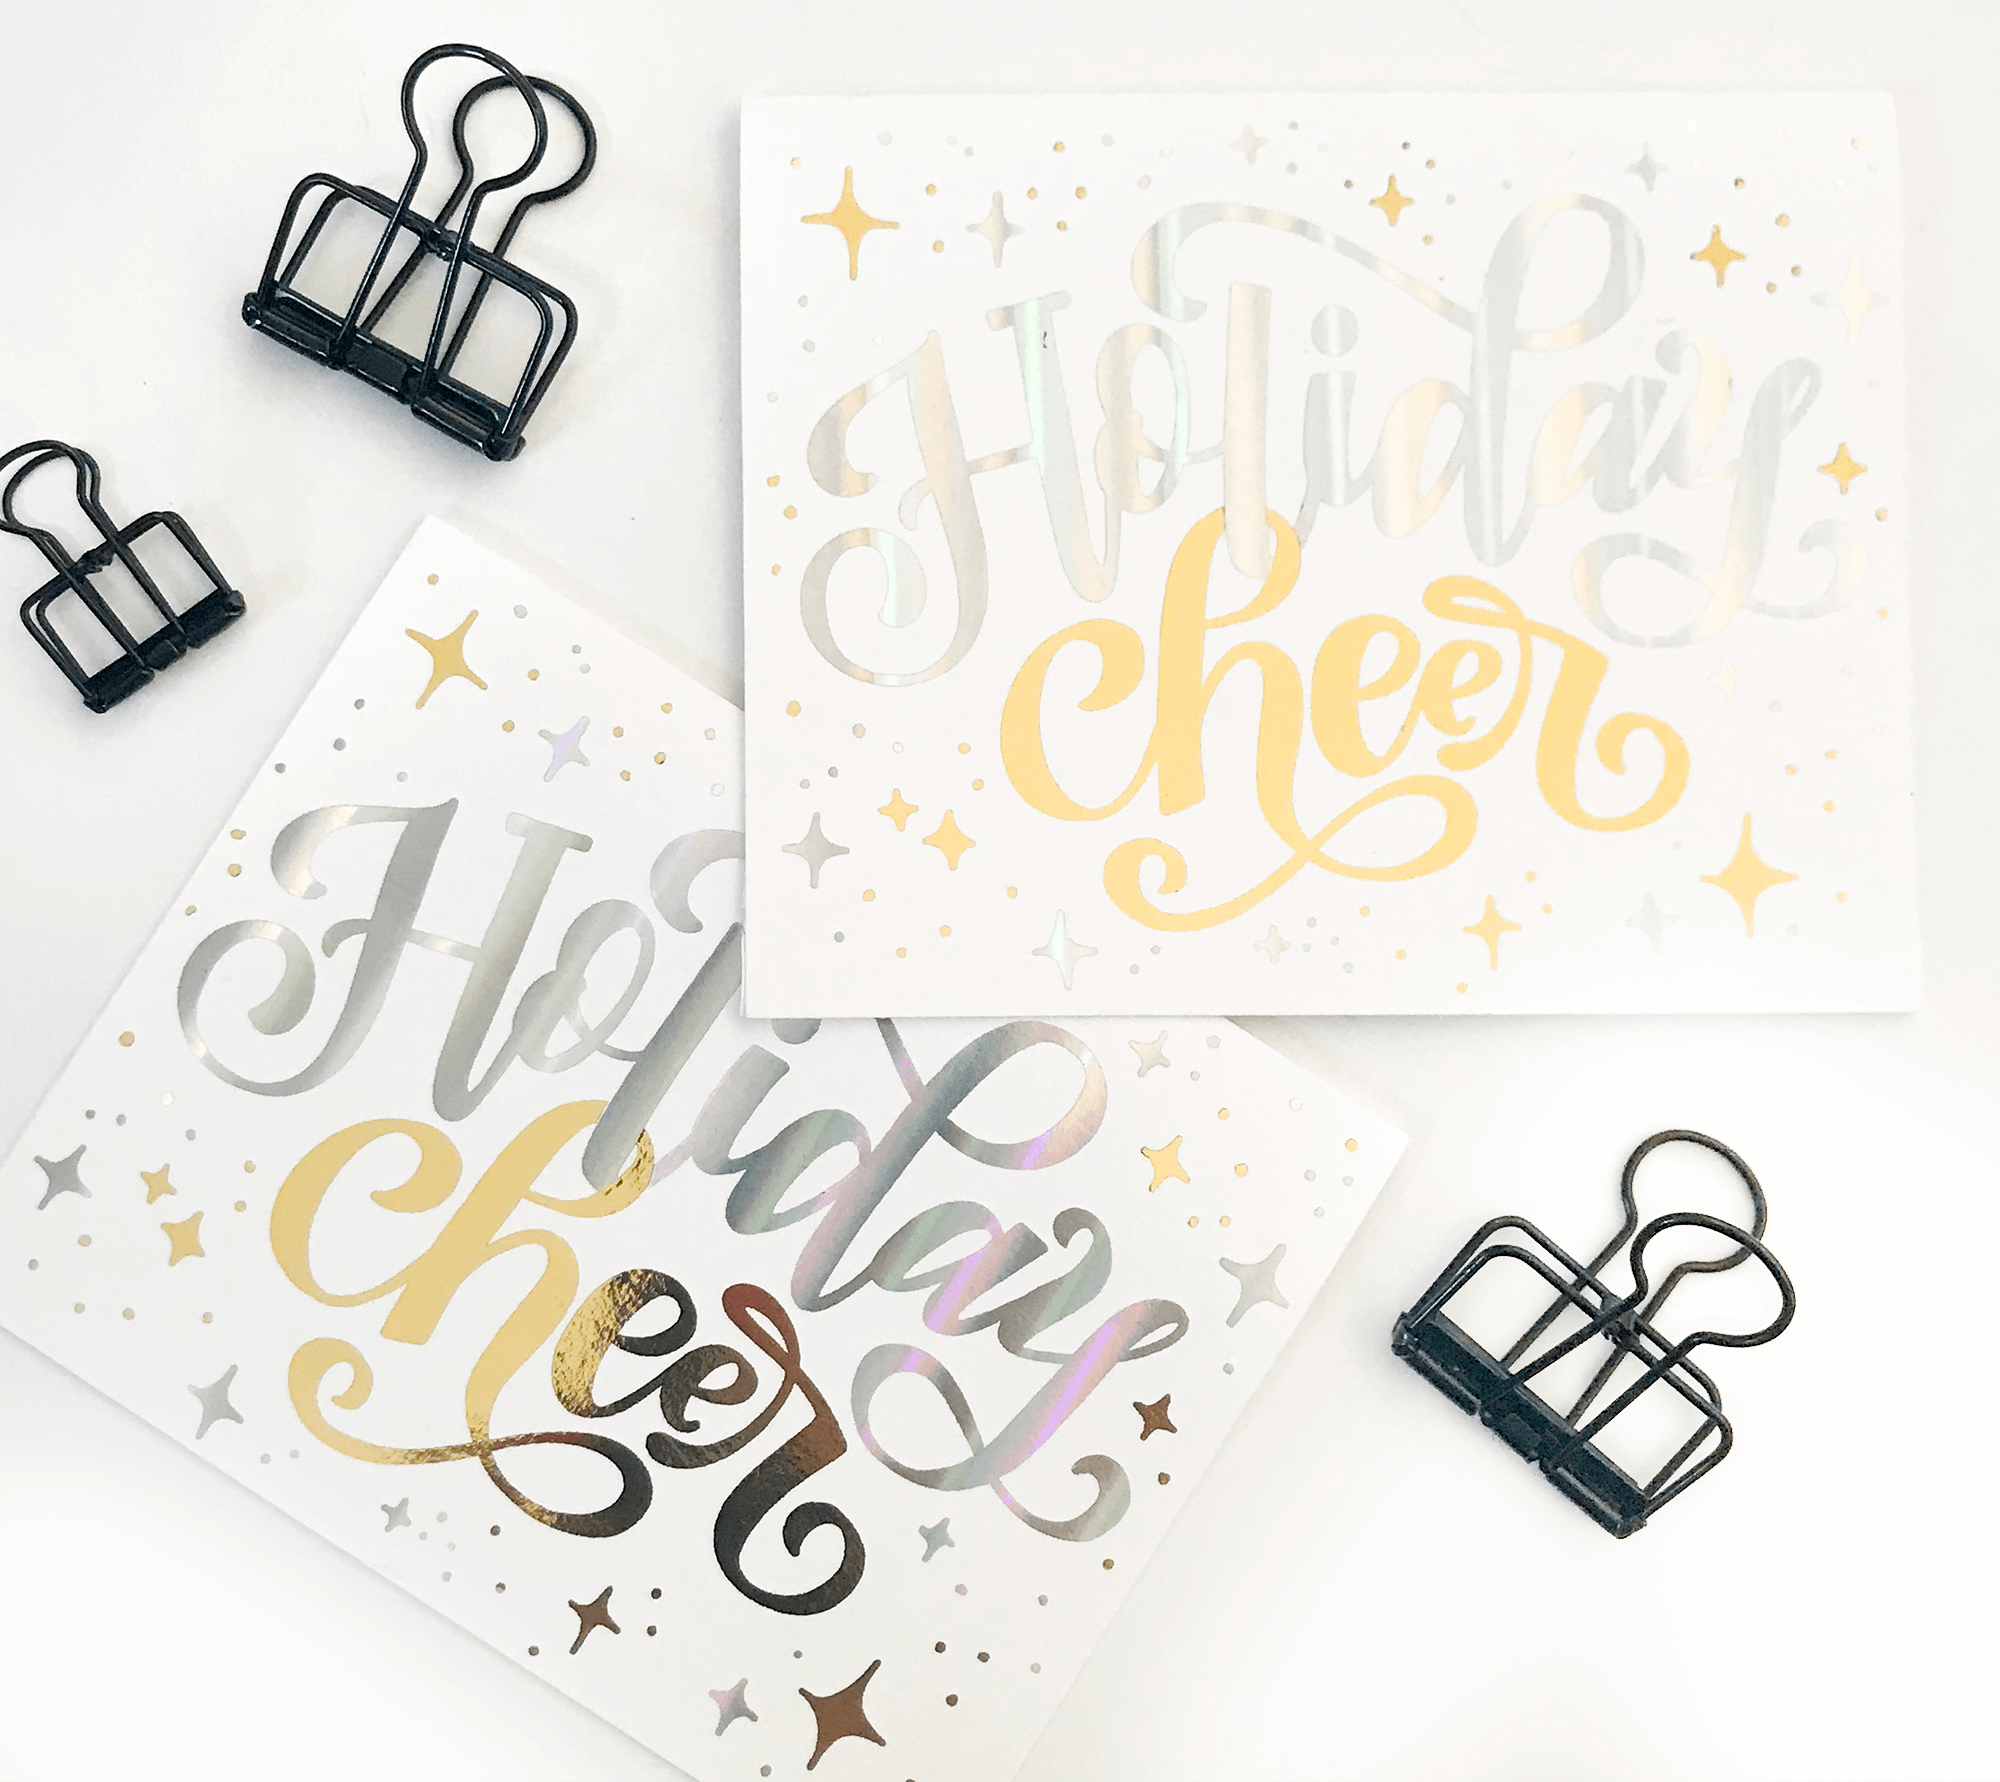
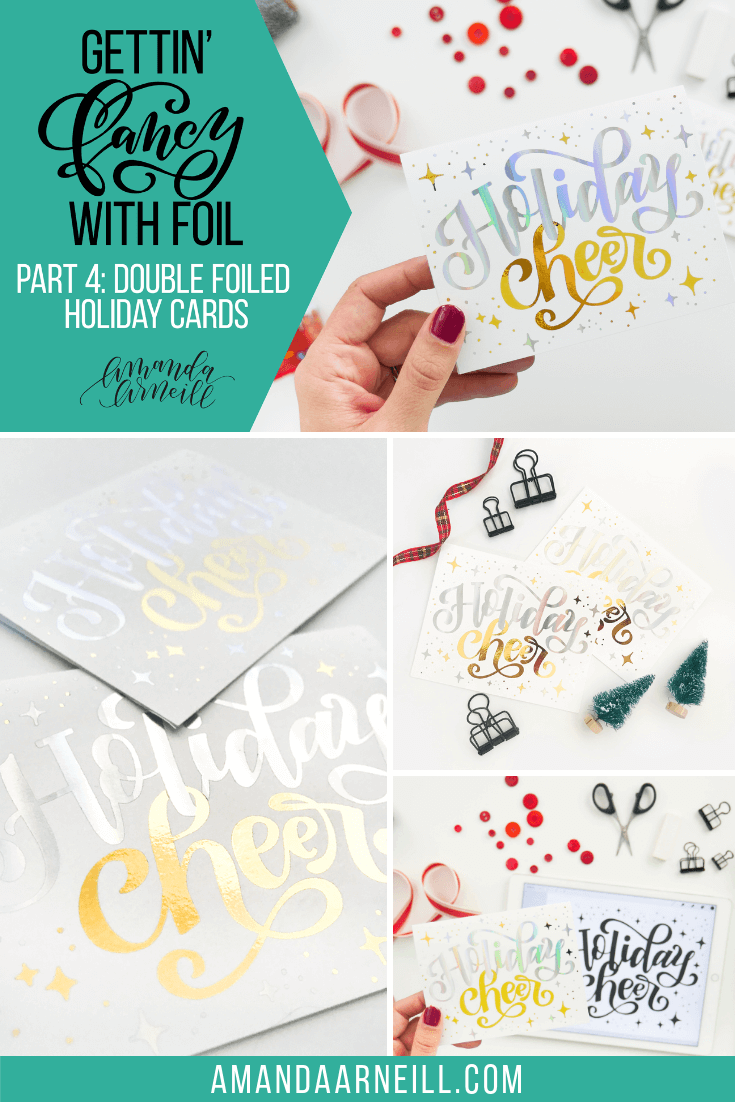
I’m going to be honest, this last hand lettered foil project in our “Gettin’ Fancy with Foil” series was a very happy accident. I was planning on having the last part of this series be a holiday card, but my initial intention was to do a technique similar to last week’s “Thank You” card – one dark element and stand-out foil element, while showing you how to intertwine your letters. BUT as I was sitting down to film this tutorial for you, I wondered “What would happen if I foiled both words, but separately so that the foils look intertwined as well?” The result was this happy accident – stunning hand lettered double-foiled holiday cards with interwoven lettering and mixed-foil embellishments.

Join me in the final part of our 4-part “Gettin’ Fancy with Foil” video lesson series, where we go on this double-foiling journey together and end up with amazing results just in time for you to start pumping out those holiday cards! Make sure that you have already watched Part 1, Part 2 and Part 3 because in this tutorial we are building on the skills that we already learned in those lessons (especially Part 3!).
Just scroll down to watch the video tutorial, find the fully linked supply list and download the Procreate compatible foil card template on to your iPad.
WATCH THE FULL VIDEO TUTORIAL HERE!
DOWNLOADS:
- Foil Card Procreate Template (for instructions on how to download and install a zipped template, click here). To download straight from Dropbox, click here. It is the same template that we used in Part 3 for our first foil greeting card project, so if you’ve already downloaded that file, you’re good to go!
MATERIALS:
- Superfine Printing Cardstock
- Heidi Swapp Minc Foil Application Machine
- iCraft Deco Foil Value Roll in “Gold”
- Heidi Swapp Minc Foil 6″x 5′ in “Holographic”
- A laser printer. This is the Brother printer that I have and it works well for my foil projects.
- Fiskars Rotary Trimmer
- Your iPad and Apple Pencil (with Procreate installed on it)
- Foil Card Procreate Template (for instructions on how to download and install a zipped template, click here). To download straight from Dropbox, click here.
HOW TO:
- Download and install the Foil Card Procreate Template to your iPad (for instructions on how to download and install a zipped template, click here). To download straight from Dropbox, click here.
- Choose if you would like to have your card be vertically or horizontally oriented. Whichever orientation you do not want, toggle off that layer in Procreate
- Decrease the opacity of the “card design” layer and turn on “card template” layer to help you properly position your card designs
- Sketch your card design on a new layer (I use the 6B Pencil brush that can be found in the “Sketching” brush tab in Procreate)
- Turn down the opacity of your sketch layer and, on new layers, ink in your final design (I suggest using the Monoline brush that can be found in your “Calligraphy” brush tab in Procreate, and then filling in your design). It is very important that the elements that you want to have in different foil colors at the end, are placed on separate layers. Different foil colors = different layer
- For the optimum interwoven effect, link two of your letters that will be in two different foil colors, but fully ink both letters that are to be linked
- Turn off your sketching layers
- Add in embellishments on a new layer/new layers (keeping the elements to be done in different foil colors on different layers)
- “Fill” your layers with the colors that you will be foiling them in so that you can visualize your final design
- Give your looped letters the full intertwining effect by applying a “Mask” on top of the layer that you want to cover and cover up the area that is “behind” the other letter by using black on your layer mask over that “behind” area. On masks, black “erases” the pixels (but they are really just getting hidden and are not actually erased at all) and white “adds” or brings back the pixels. As Karin from @ipadlettering taught me – on a layer mask, black conceals your current layer and white reveals your current layer. You can also do a similar mask on your other layer for the second overlap
- Place your logo or back of the card design in place
- Once your have one side of your template completed with your full, final design, group all your final design layers by swiping to the right on these layers, highlighting them blue, and group the layers. Swipe your group’s header and click “Duplicate”. Select and shift the duplicated layer to the other side of the card template
- Turn off the card design and card template layers
- Only if you didn’t mask both layers, the layer that goes “behind” in the interwoven section will be printed first. If you did mask both layers, it does not matter which one you print first
- Keep the layers that you are printing first visible (including the mask layer that has been applied to it), and turn off all other layers. Fill this layer with black on both sides of the template before printing
- With the visibility of all other layers off, print the first part of your double foil design on your Superfine Printing cardstock using your laser printer
- Run your first layer through your foil machine using your first color of foil (to brush up on your foiling basics, click here!)
- Back on your iPad, turn off the layers you used for your first foil application and turn on only the layers that you want included in your second foil application (including this mask layer). Fill these layers with black before printing
- Print the design to be included in your second layer of foil, using the same piece of cardstock that you used to print the first layer of your foiled design, using the same laser printer and using the same printing preferences as you did for the first. Make sure that you feed your cardstock in to the printer so that the designs will be aligned perfectly
- Apply your second layer of foil to your card template using your foil machine
- Using a rotary trimmer, cut your card template into the 2 cards, cutting halfway down your page (vertically or horizontally depending on which orientation you chose). Trim as necessary
- Fold your cards using a bone folder or scoring your cards very lightly on your rotary trimmer. Again trimming as necessary so that all edges match up
TIPS & TRICKS:
- These cards are A4 size, these are some of my favorite A4 envelopes
- Keep the elements that will be done in different foils on different layers
- On your iPad, fill the elements that will be in different colors in your final design, with different colors in your template so that you can visualize your final design (and which layers need to be turned off during the two trips to your laser printer!). Just make sure those layers get turned back to black right before you print
- Try to keep your handling of your paper to a minimum by just holding the edges of your paper – oils from your hands can effect your final foil design
Do you need more holiday inspired tutorials so that you can create unique, customized gifts? Here are some tutorials and freebies from Christmas past that I’ve dug up for you:
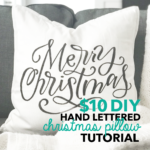
Hand Lettered Christmas Throw Pillow
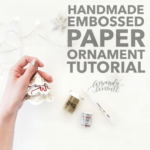
Handmade, Hand Lettered Embossed Paper Ornament
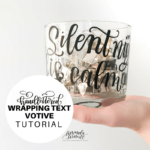
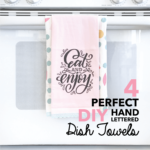
Hand Lettered Votive Candle Holder

Wine Labels (Simply download the PDF, print the labels on a color printer using a full sized label sheet like this one, cut the labels to size and place them on your wine bottles to add a unique festive touch)

Gift Tags (Just download the gift tags, print the gift tags on your choice of smooth cardstock, cut them out and punch a hole in the “x” for your ribbon)
As always, I absolutely love to see when you put these tutorials in action and how you put your unique twist on your creations. If you post your work to IG, just use the hashtag #amandaarneillblog so that I can check out all your gorgeous projects!
I’ll be back soon with a new holiday tutorial…possibly something that was very highly requested last year…maaaaaaybe hand lettered ornaments…you’ll have to wait and see! Until next time!
xo Amanda


I'm going to assume that you're here because you love calligraphy, hand lettering and art... or maybe you just want to know more about it. Either way, you're totally in the right place!
xo
Amanda


Join over 5000 others who have learned to letter (and more) with these lettering courses
