At the end of this year, my amazingly hardworking mom is retiring after close to 50 years of being in the workforce (with that being said, she would probably like me to note here that she started working as a fetus ?). With this being the season of everything advent calendars, my sister and I were inspired to surprise her with a personalized advent calendar to help her count down to her retirement day.
And I have to say, the process of creating a personalized advent calendar was easier than we expected! With a little browsing on Amazon and a few quick trips to stores, you can put together a perfectly personalized advent calendar to celebrate any special occasion.
Going on a trip? Advent calendar!
Celebrating a milestone? Advent calendar!
Just want your kids to stop asking you how many more days until such-and-such is about to happen? Advent calendar!
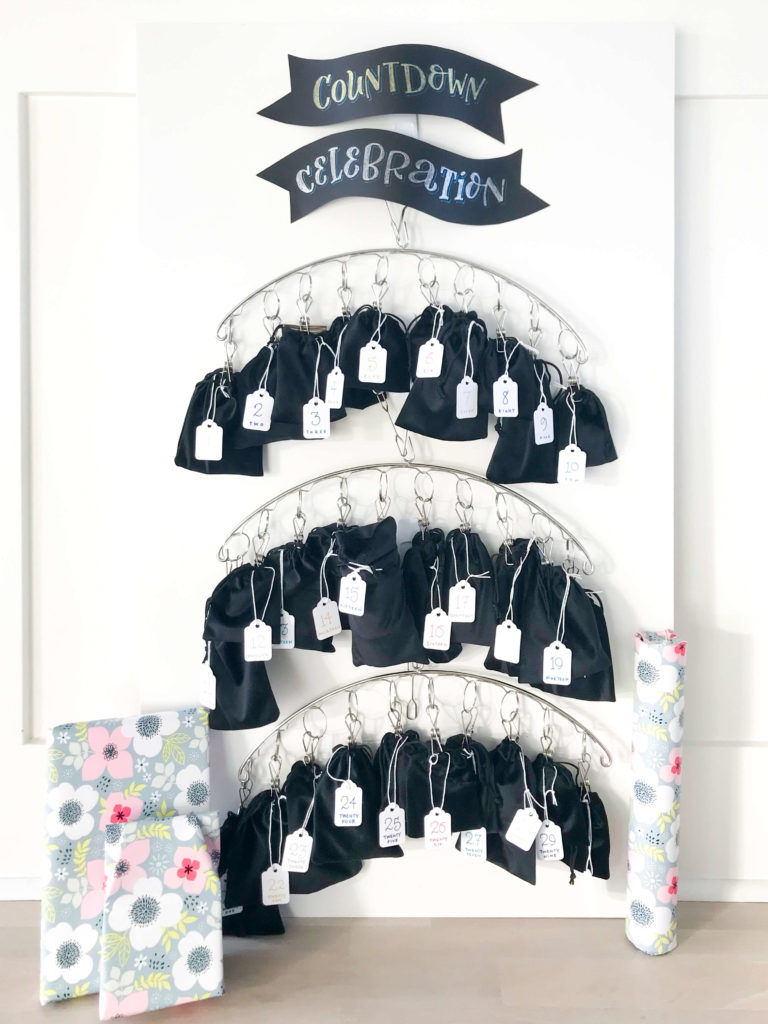
A personalized advent calendar is the perfect way to show someone that you are thinking of them. It doesn’t have to be expensive or extravagant at all! Some of the days can simply contain heartfelt, handwritten notes or a small item that is symbolic of the bigger picture (like a small travel tube to signify being able to travel more after retirement). But each advent day is a small reminder of how much you love them and that is absolutely priceless!
Scroll down to learn how to make your own DIY personalized advent calendar.
xo
Amanda
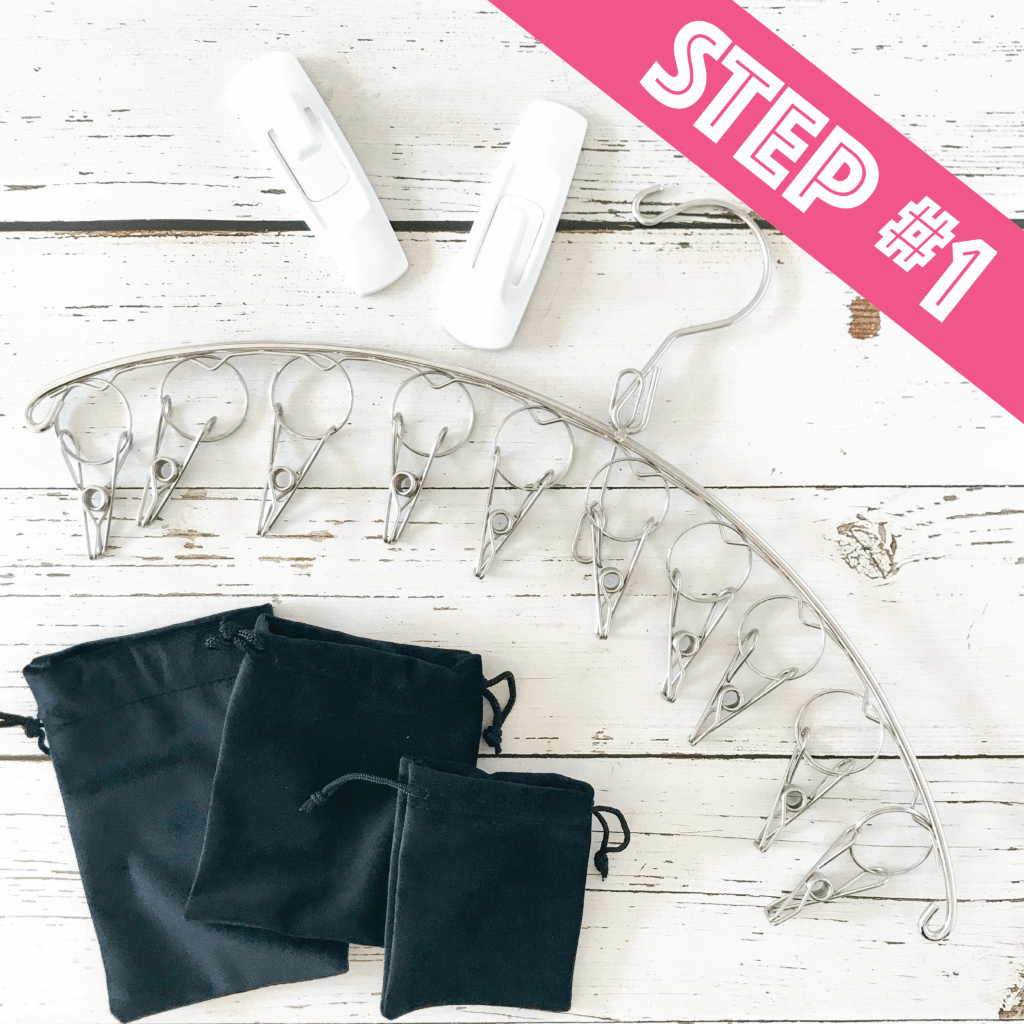
STEP 1: GATHER YOUR ADVENT SUPPLIES!
Get together all the supplies that will make up your calendar structure. The following list is what I used but, of course, customize this to your own needs!
- 3 hangers with clips (10 on each)
- 3, Large 3M Command Hooks
- 30, small fabric pouches with drawstrings (I bought a few different sizes to have a selection)
- 30, small hanging tags to number the pouches
- Some fun metallic pens or Gelly Roll pens
- A sturdy surface to affix everything to. A wall would be ideal, but since I was putting this up at my parents’ place, I used a white desktop.
- Cardstock, scissors and glue dots to create and attach your heading.
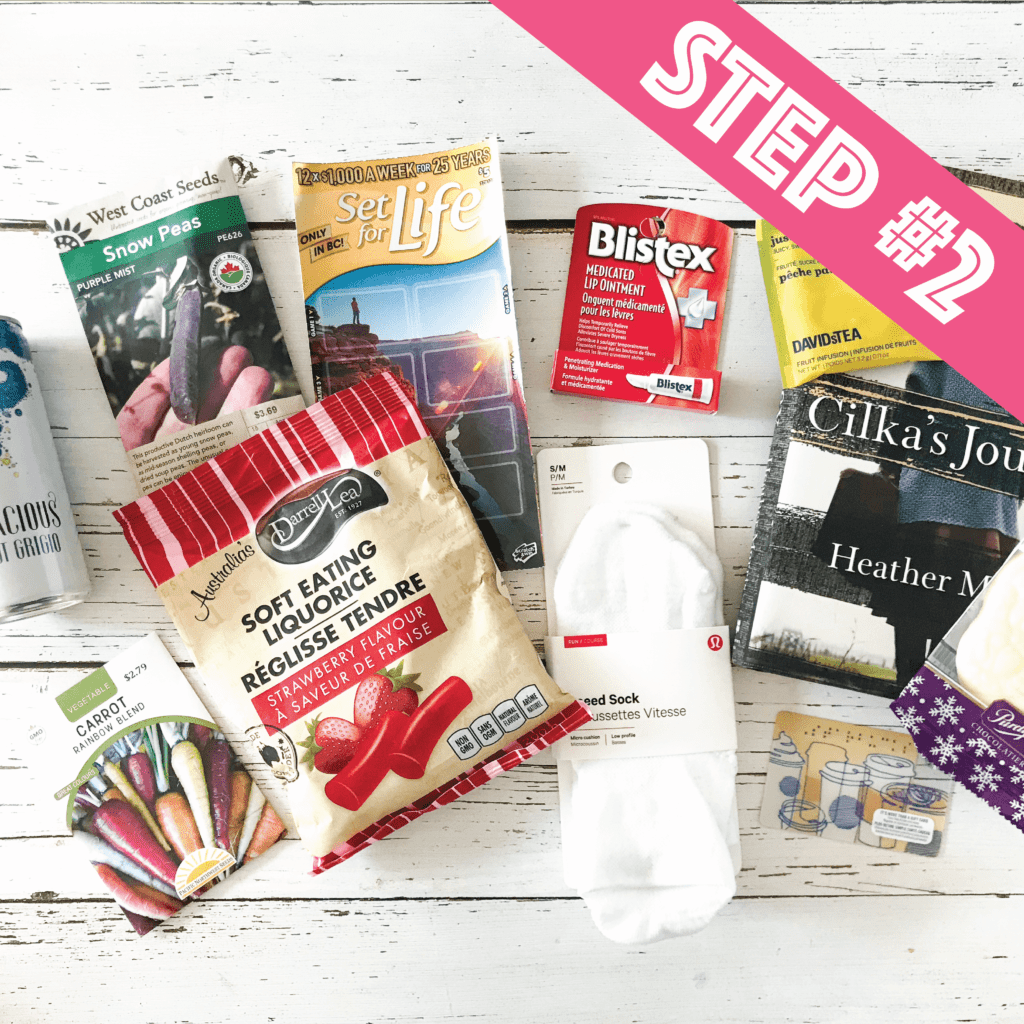
STEP 2: GATHER YOUR GIFTS!
Pick up all the gifts for each day’s advent pouch. Choose things they love, items that are symbolic of the event you’re counting down to, or small treats – anything goes! Try to make sure that the gifts can fit into your pouches, but if there are a couple oversized ones, don’t worry, we have a strategy for that!
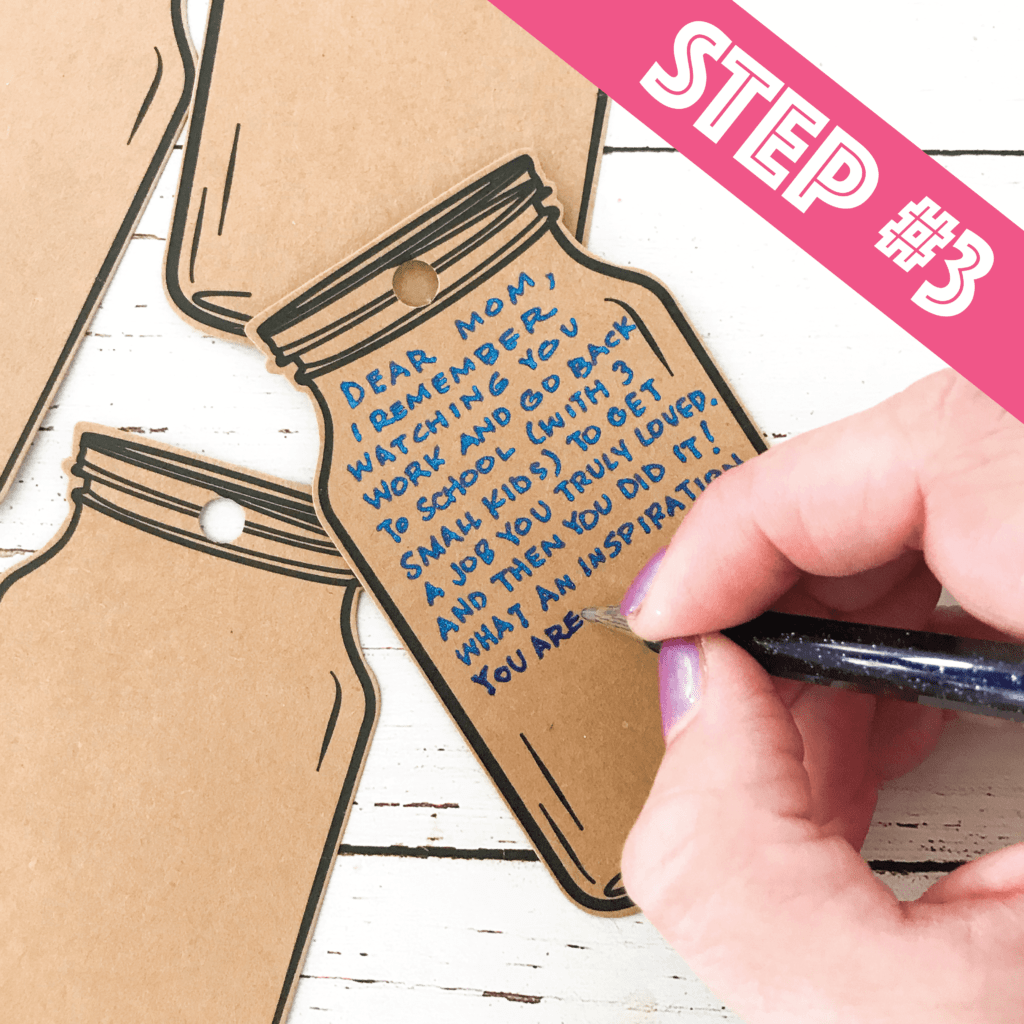
STEP 3: ALSO INCLUDE PERSONAL NOTES
Don’t feel pressured to fill all your pouches with store bought gifts! Include personal notes from loved ones to help them feel extra special.
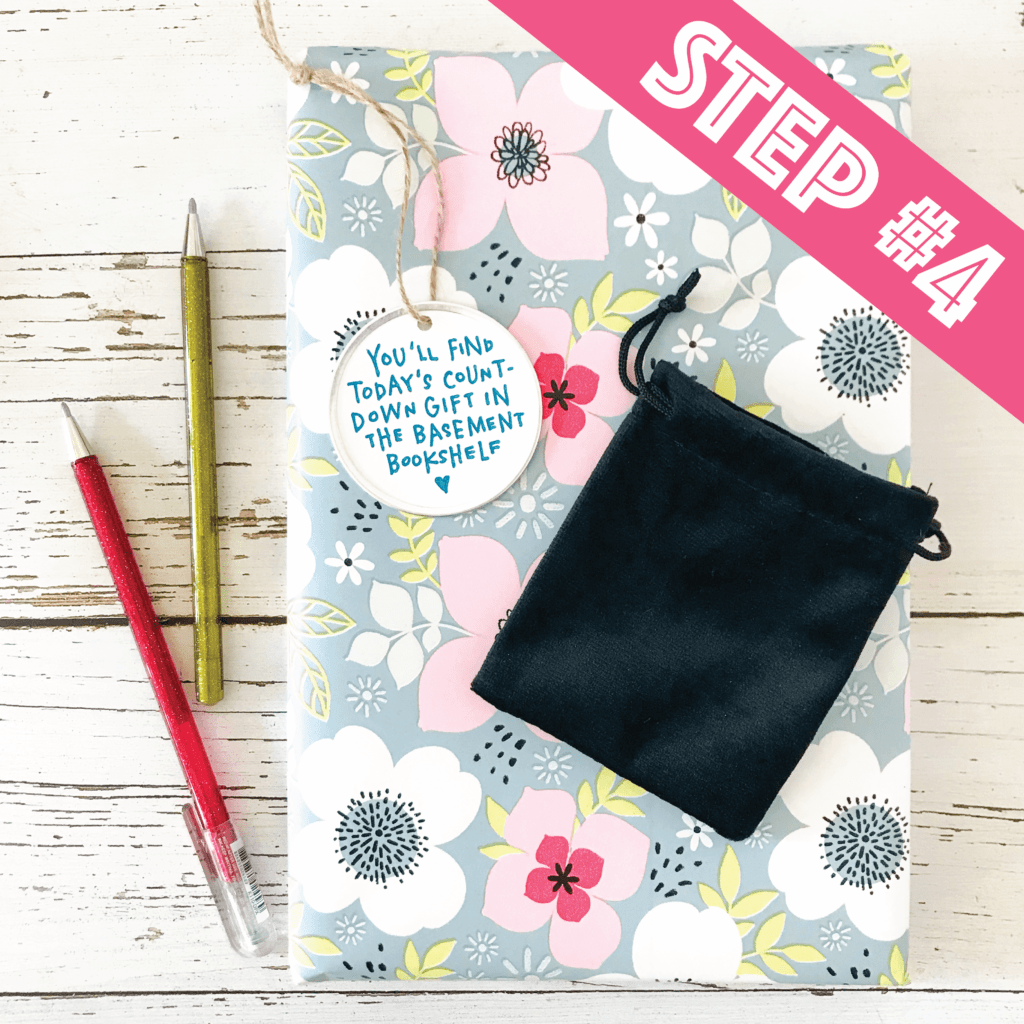
STEP 4: TAKE CARE OF THE OVERSIZED ITEMS
If you picked up a few gifts that are a bit too big to fit into your advent pouches, wrap up the gift and hide it in the house. Put a note in that day’s pouch letting the opener know where to find their gift.
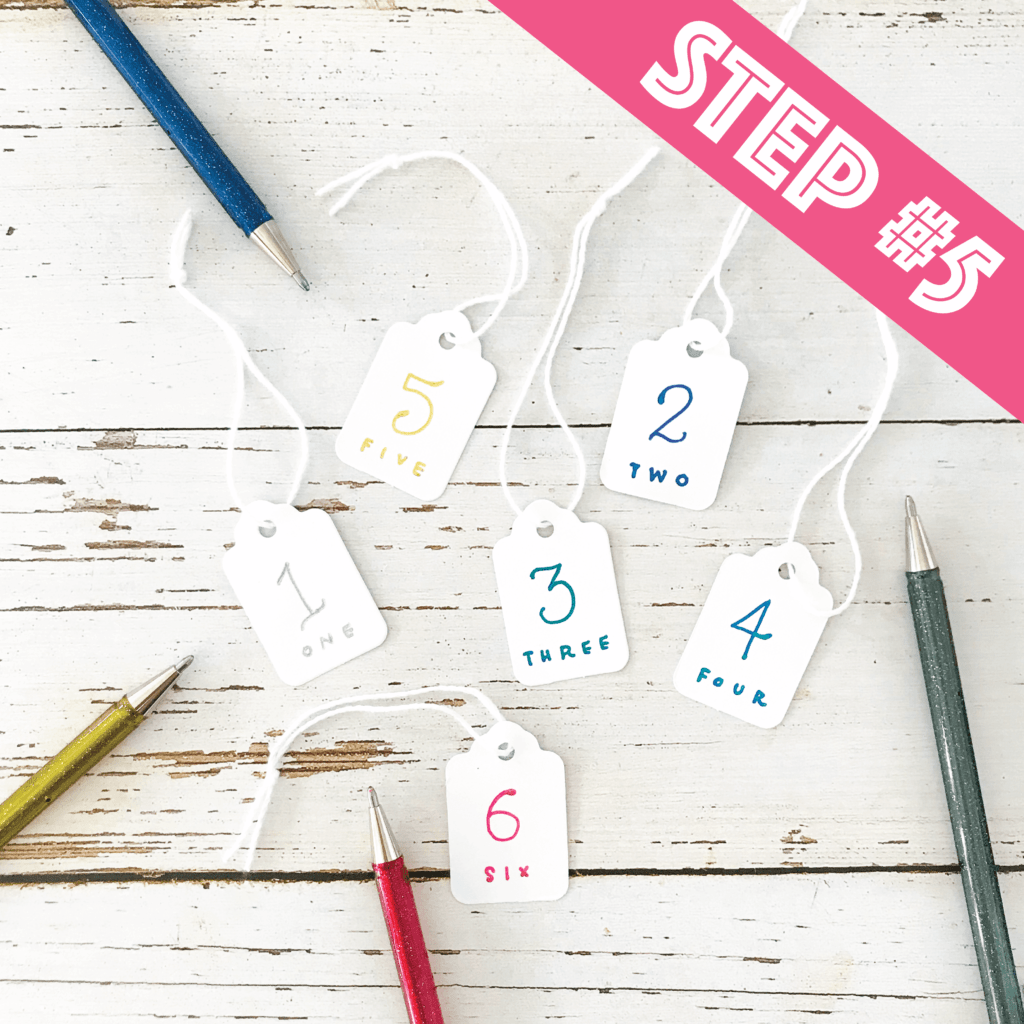
STEP 5: NUMBER YOUR TAGS
Write your advent countdown numbers on your hanging tags with your favorite pens.
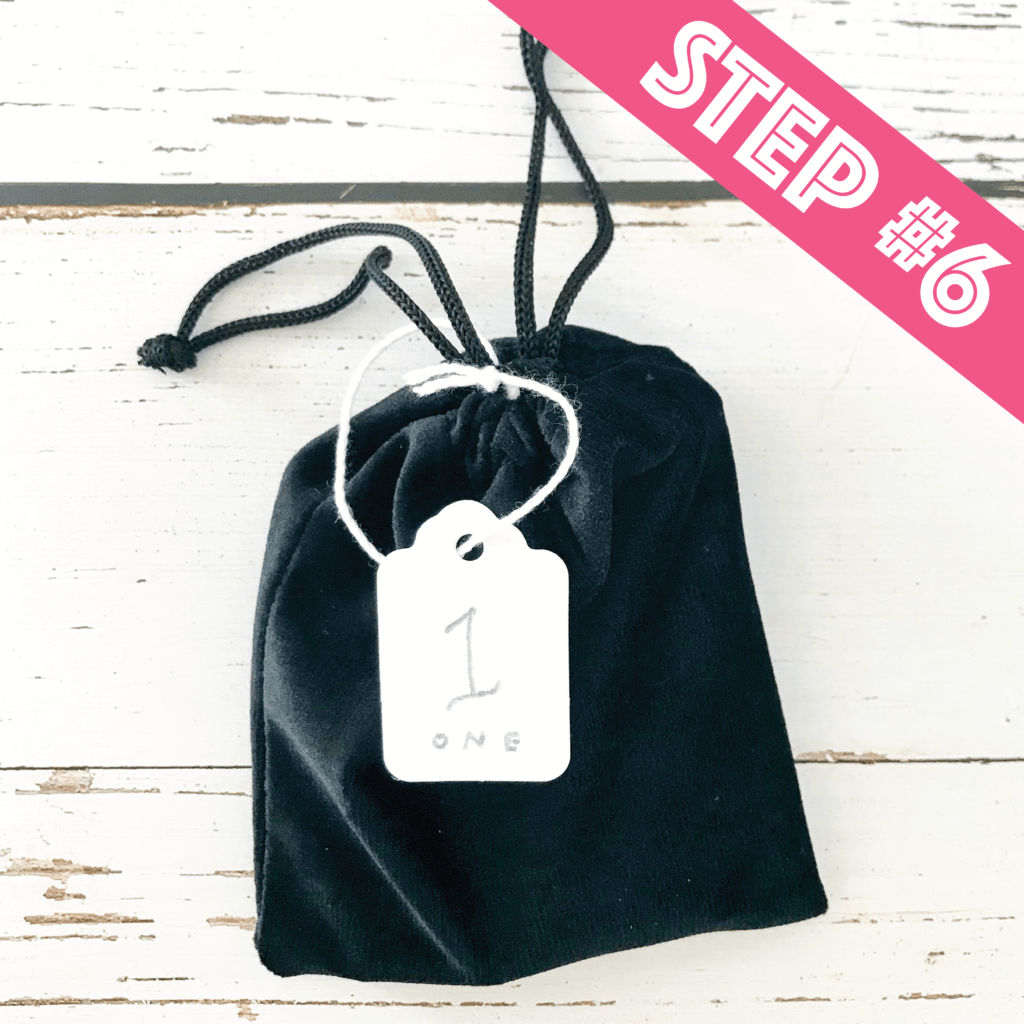
STEP 6: FILL YOUR POUCHES
Fill your pouches with the gifts & notes. Be strategic in weight placement (you will want the hangers to hang straight-ish so the weight will need to be evenly distributed). Attach the hanging number tags to the pouches’ drawstrings and tie.
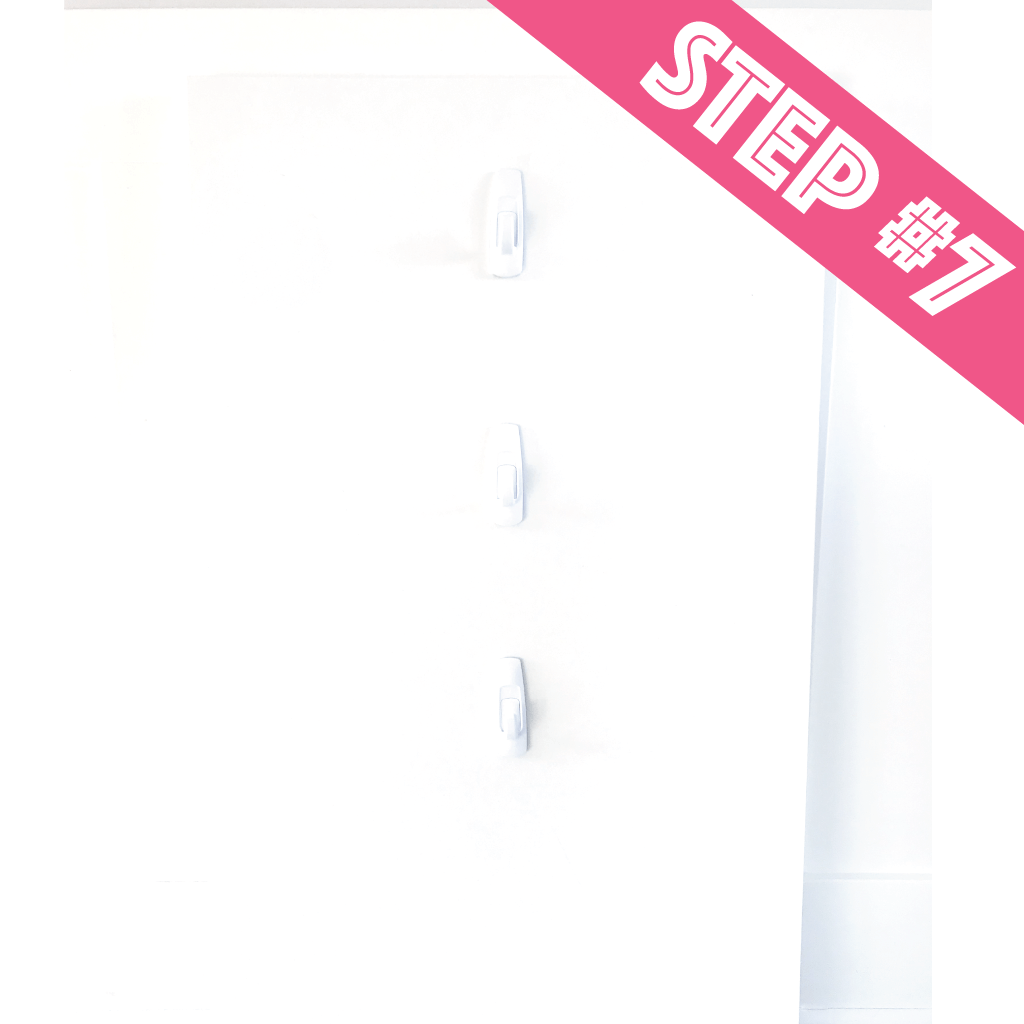
STEP 7: PLACE YOUR HOOKS
Affix your Command Hooks to your wall/sturdy surface far enough apart that your hangers and pouches will have enough room to hang nicely.
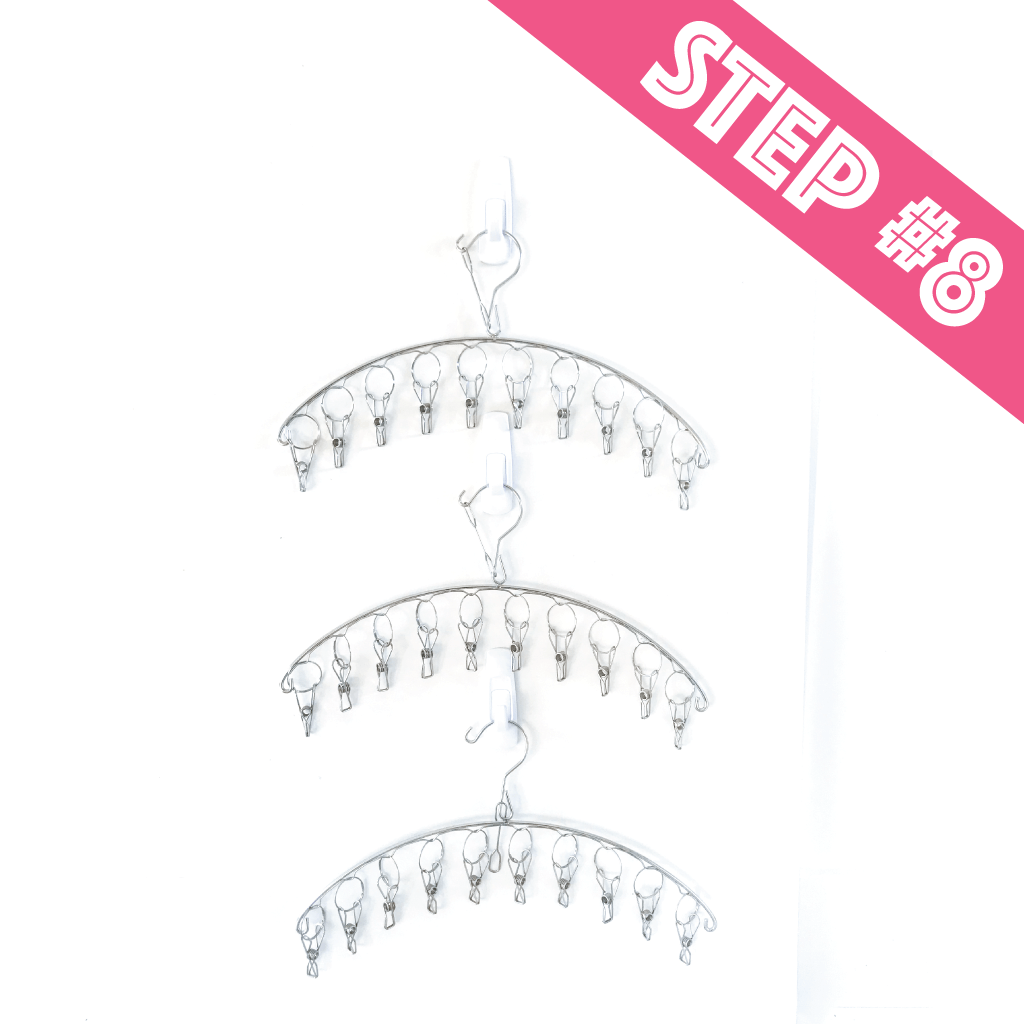
STEP 8: HANG YOUR HANGERS
Hang your hangers. Your advent countdown calendar is starting to come together!
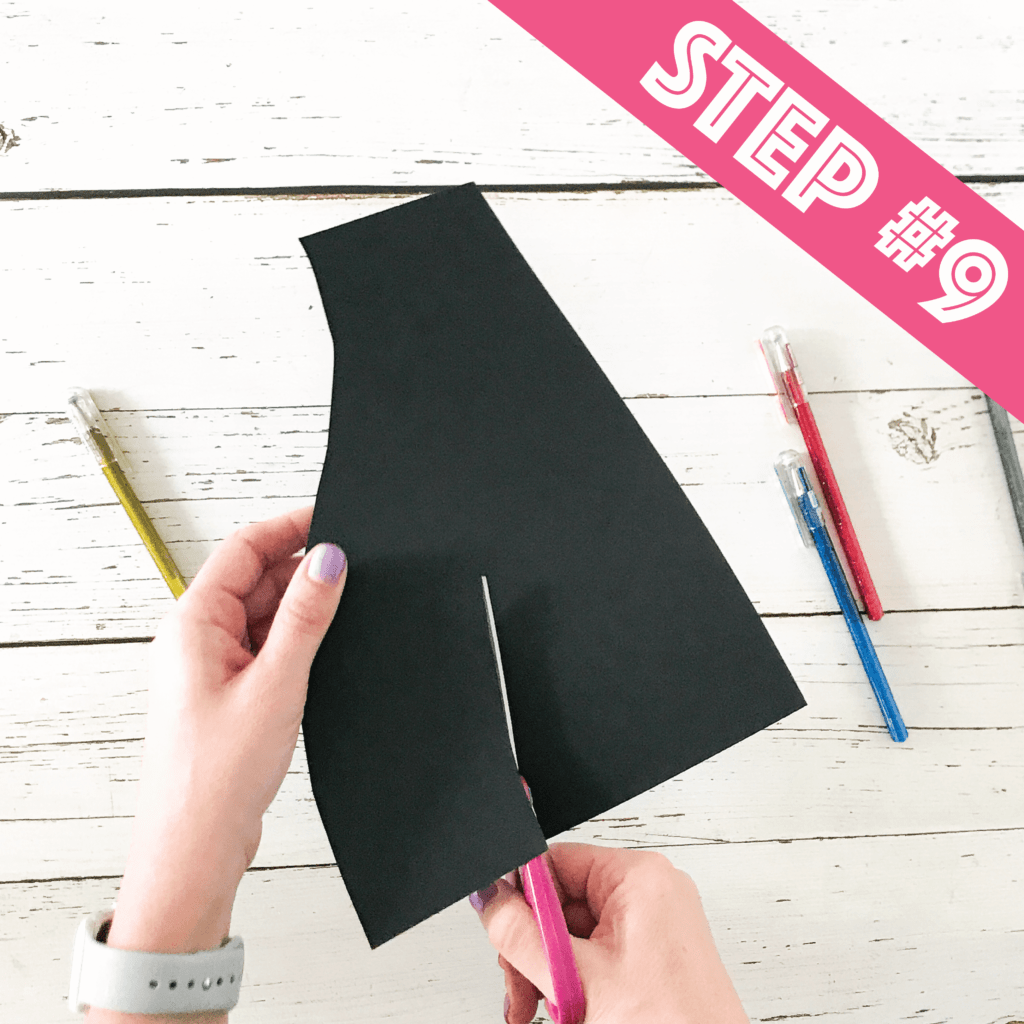
STEP 9: CUT OUT YOUR BANNERS
Cut out banners from your cardstock to create the heading for your calendar. Feel free to lightly sketch out your lettering first to make sure it all fits!
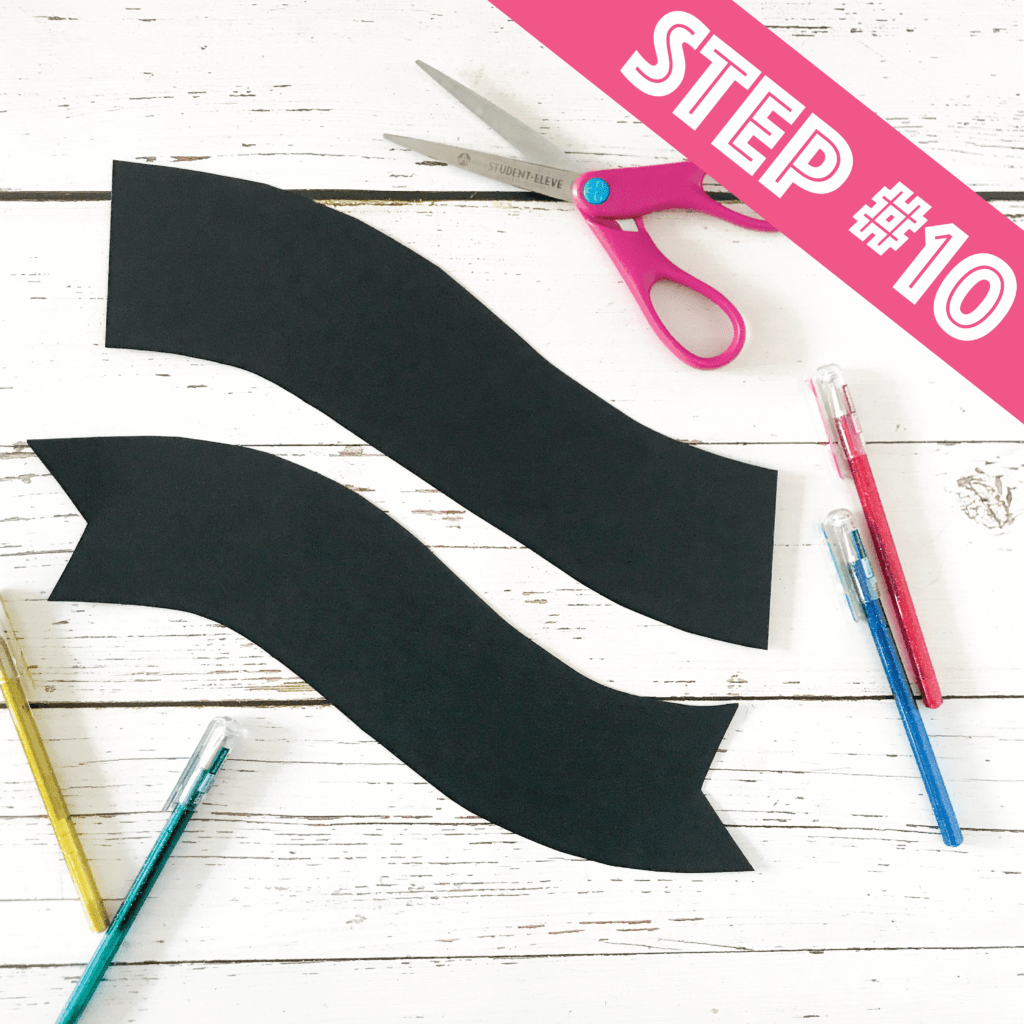
STEP 10: MAKE IT FANCY
Turn your banners into ribbons by cutting a triangle shape into each end of the banners.
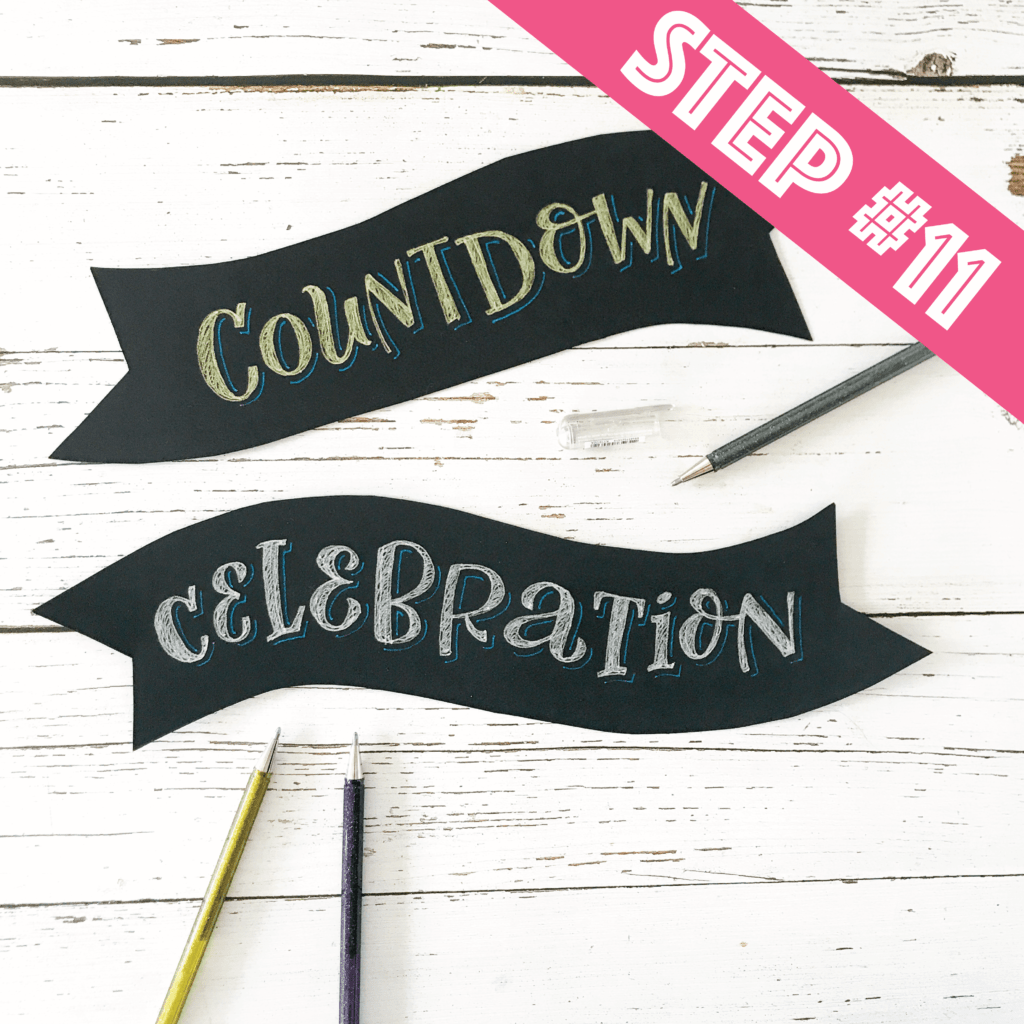
STEP 11: LETTER YOUR HEADING
Use some fun pens (I used the Pentel Hybrid Dual Metallic Gel Pens but the Gelly Roll Moonlight Pens also work great with darker colored paper) to write your personalized advent calendar title – get creative!
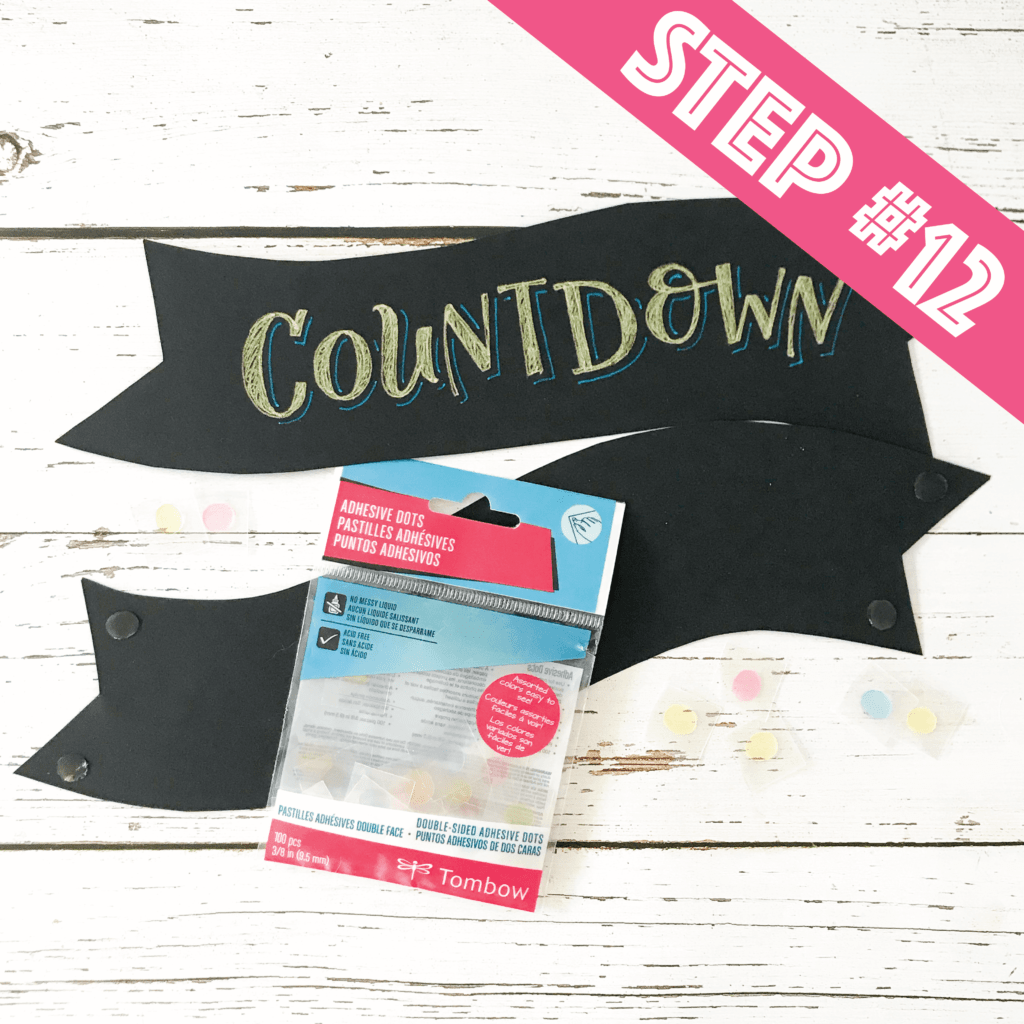
STEP 12: BUST OUT THE ADHESIVE
Put your adhesive dots on the back ends of each of your ribbon headings.
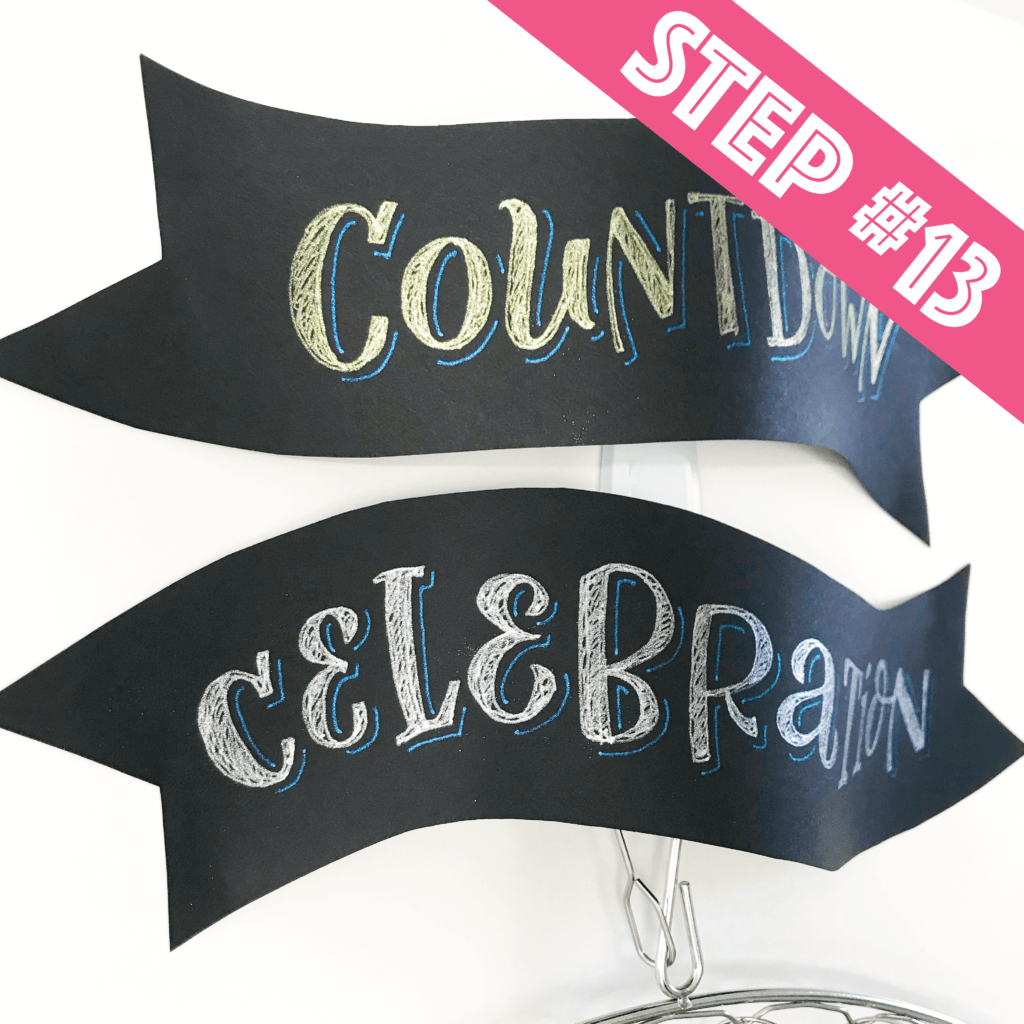
STEP 13: ATTACH YOUR HEADING
Attach your heading to either side of your top Command Hook. Give it a little slack in between each end so that it can nicely fall over the hook.
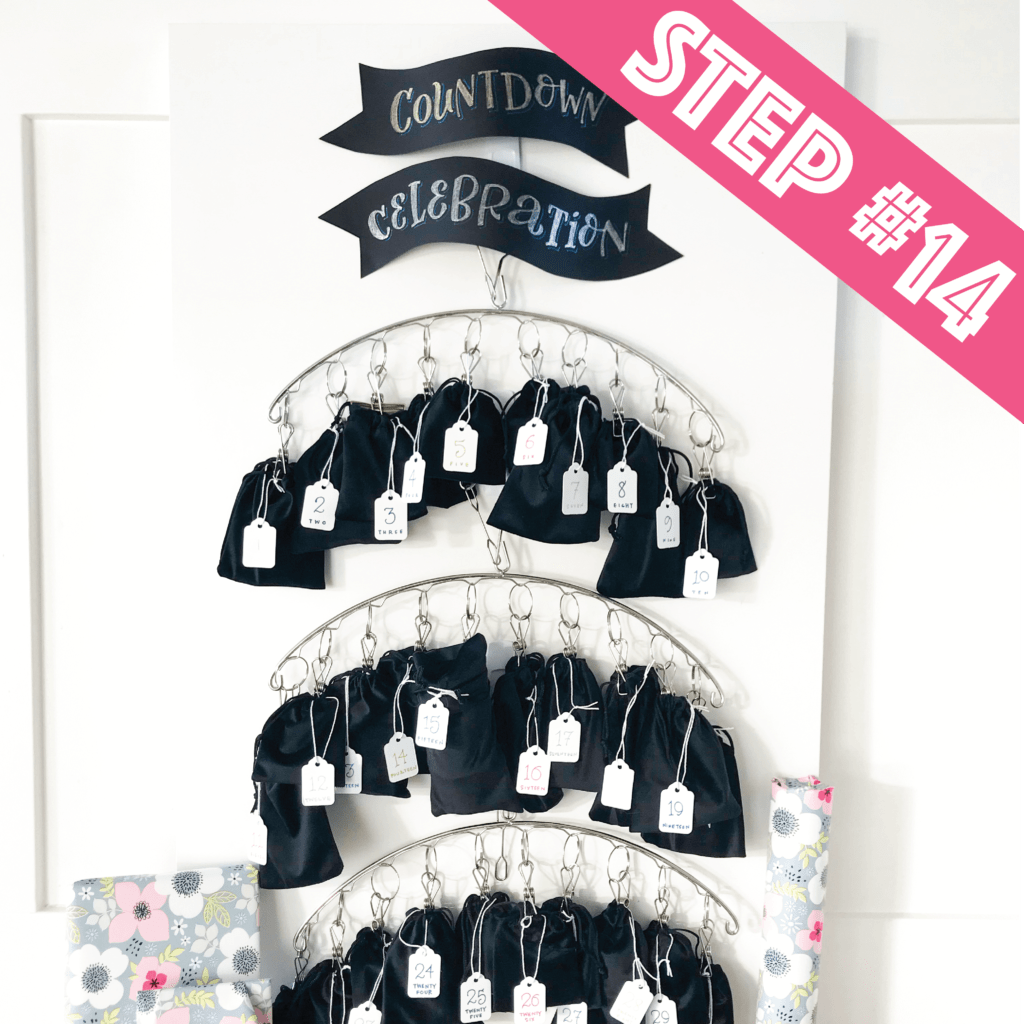
STEP 14: HANG UP THE POUCHES AND ENJOY!
Clip each drawstring pouch to the hangers in countdown order. Now it’s time to sit back and admire your work! Present it to the lucky recipient before their countdown begins and know that you’ll be making their day every single day for (at least) 30 days!

I'm going to assume that you're here because you love calligraphy, hand lettering and art... or maybe you just want to know more about it. Either way, you're totally in the right place!
xo
Amanda


Join over 5000 others who have learned to letter (and more) with these lettering courses
