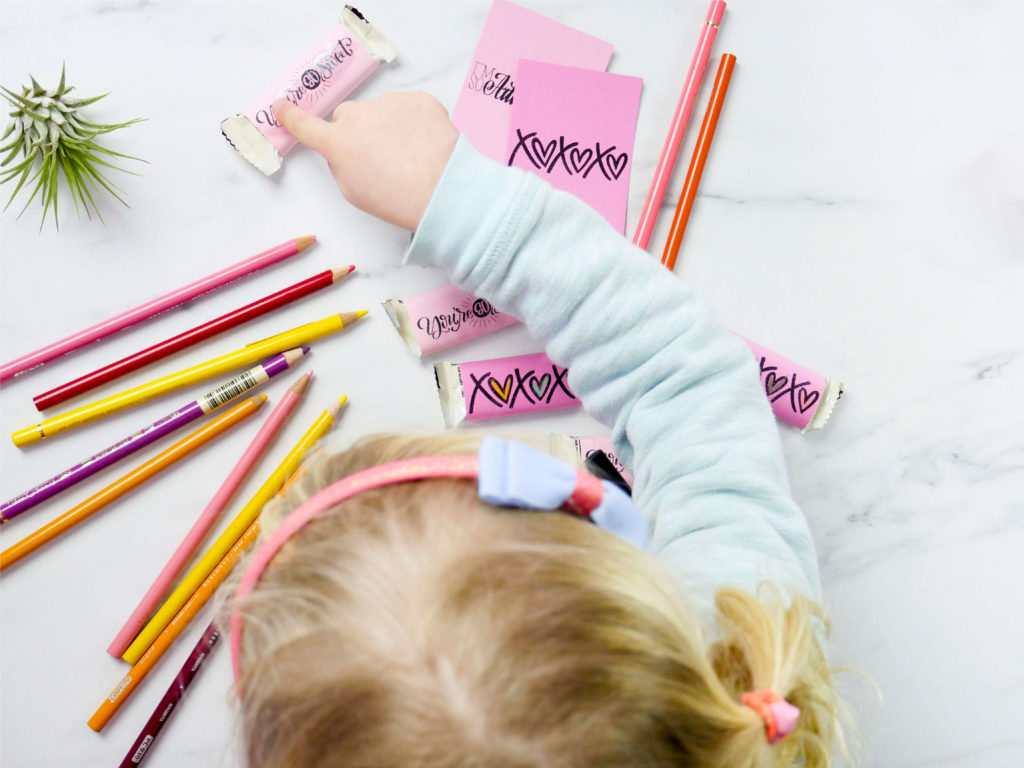
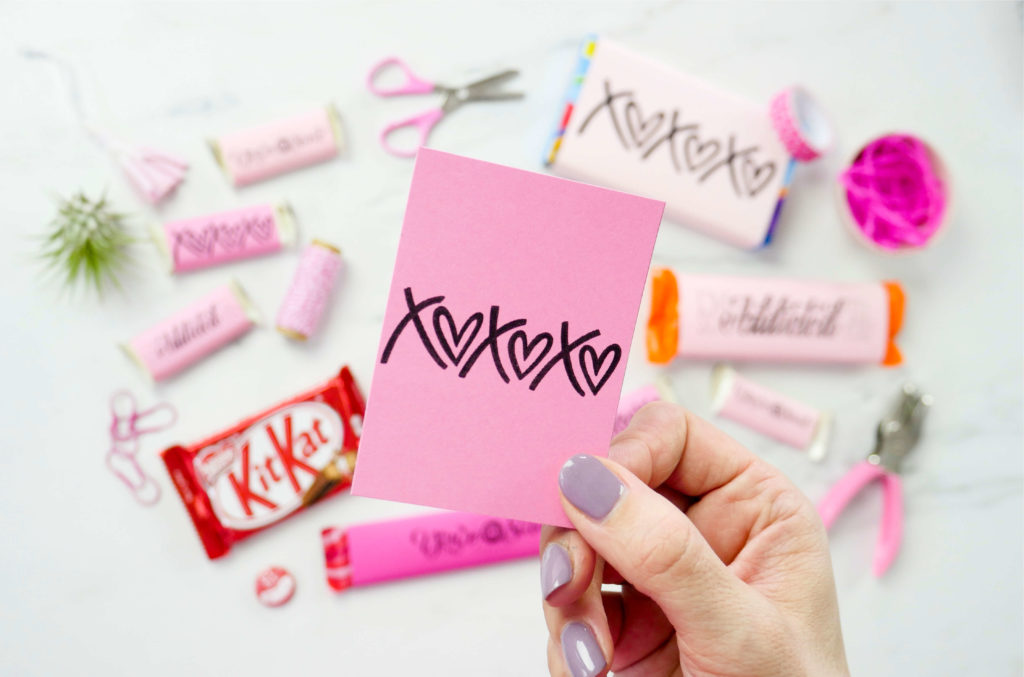
Whether you’re on the hunt for a special Valentine’s Day treat for your Valentine or multiple Valentine’s Day treats for your little one’s whole class, you’ll end up facing the same conundrum – an aisle of Valentine’s Day candy that has all been overpriced just because someone has repackaged it by slapping a few hearts on or making it pink (although I must confess, I do fall for the pink repackaging more than I’d care to admit!). Well, I’ve found a way to skip the Valentine’s Day aisle, buy the normal (and normally priced) candy and make it cute all by yourself in this Valentine’s Day tutorial and I can’t wait to tell you about it!
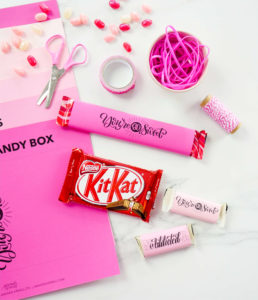
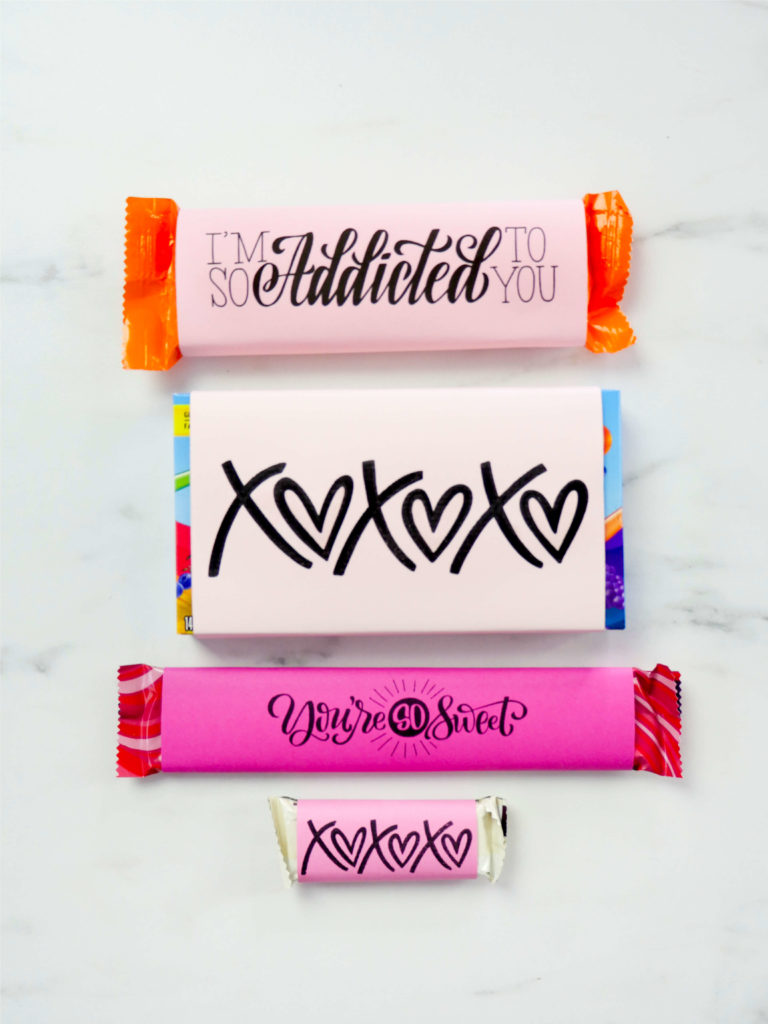
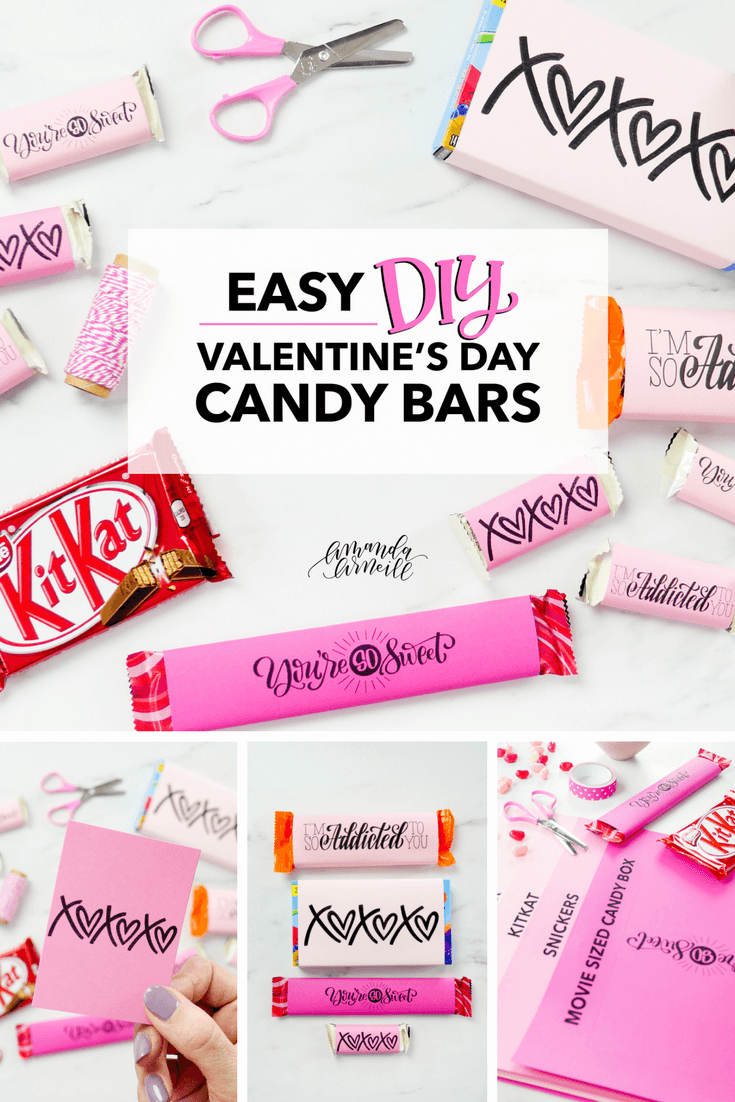
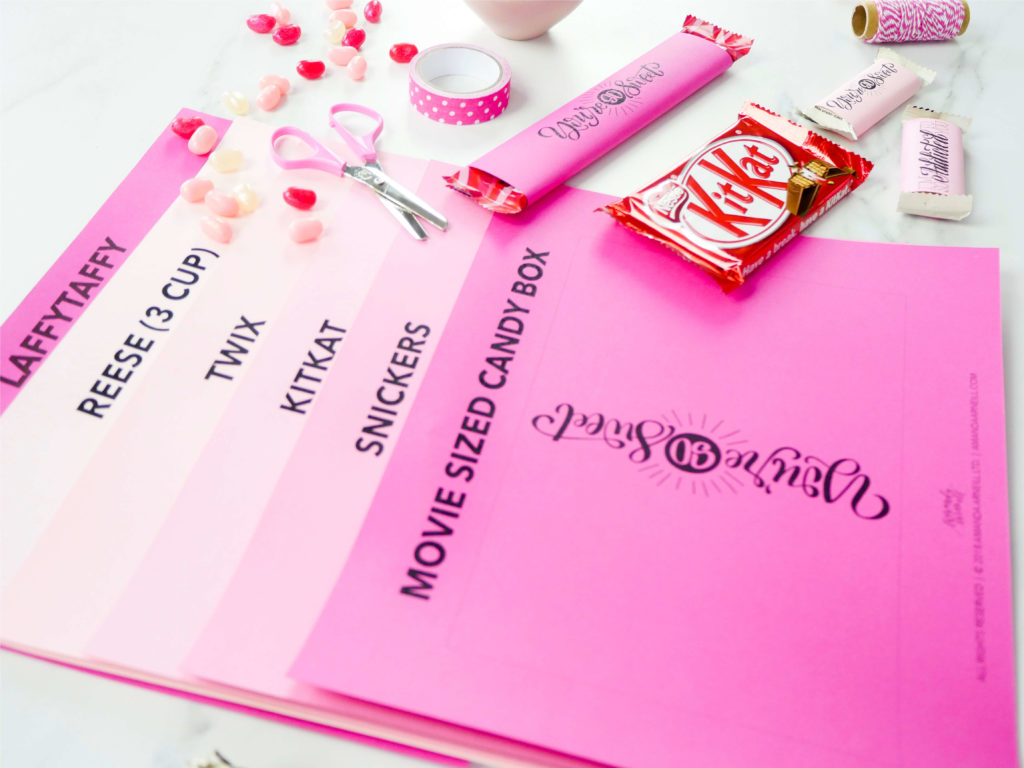
Just keep scrolling down and you’ll find the video tutorial and the free printable candy bar covers to go around the wrappers of your Valentine’s favorite candy bar. And the printables can fit candy bars of all shapes and sizes – from “fun sized” (although there is nothing “fun” about eating only one tiny square of chocolate) to movie theater sized boxes.
Enjoy!
xo Amanda
Watch the full Valentine’s Day tutorial below!
MATERIALS:
- Candy or candy bar(s) of your choice
- The printable candy bar wrappers
- Pink card stock
- Scissors
- Glue
- Tape
- Any additional decorations you want – get creative! We used the Spectrum Noir Sparkle Glitter Brush Pens
HOW TO:
- Print the printable covers of your choice on card stock
- Cut the covers out
- Take your candy bar and line up the design on the cover with the front of the candy bar and center the cover over the wrapper
- Turn the candy bar over and fold the ends of the cover, securing the first flap with a piece of tape (optional) and securing the second flap with your glue or with tape
- Decorate or embellish them however you want!

I'm going to assume that you're here because you love calligraphy, hand lettering and art... or maybe you just want to know more about it. Either way, you're totally in the right place!
xo
Amanda


Join over 5000 others who have learned to letter (and more) with these lettering courses

