It’s here! The holiday season! And while every year, the most special gifts to give and to receive are the handmade gifts, this year more than ever, the ability to “DIY” a gift is key! The less time we have to spend in stores and the more special we can make our loved ones feel is all that much more important. So, in addition to previous Christmas tutorials, I want to share the “12 DIYs of Christmas” with you so that you can find the perfect gifts for everyone on your list (or the perfect keepsake for your own family).
So, how is this going to work? From Tuesday, November 17, 2020 straight through the week of Christmas, you will be getting (at least) 2 “DIYs of Christmas” per week. Every Tuesday at 12 noon PST (3pm EST, 8pm GMT), we will work live together (but safely apart) through a lettering or art related project. These live lessons will be taking place on both Instagram and YouTube, so you can join in on whichever platform you prefer. If you miss the “Live”, they will be posted afterwards on YouTube (and in this post) so that you can watch the lesson whenever it works best for you.
Then, every Friday (and one Sunday during the week of Christmas), there will be a brand new, pre-recorded Christmas tutorial waiting for you on YouTube. Click here and hit “Subscribe” so that you don’t miss them!
And to kick it all off, on Tuesday, November 10, we will be doing a pre-series Live lesson to show you a sneaky trick to get perfect fauxligraphy every time. It will be a great base to use for a lot of the upcoming Christmas tutorials!
You can find the full list of tutorials and dates below so that you can calendar in our live lessons and not miss out on a single one. And don’t forget to check back on this post frequently because everything will be posted here when it’s done.
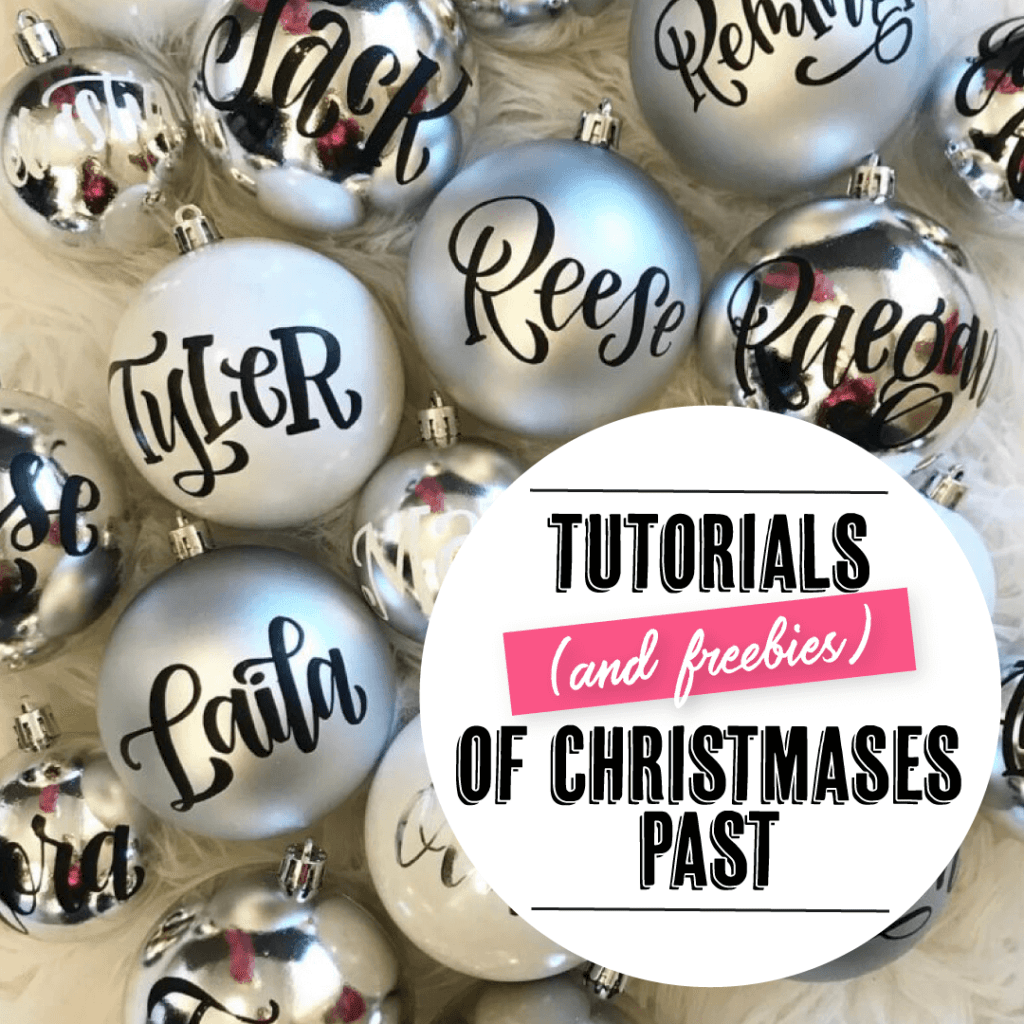
You can also click right here to see all the tutorials from Christmases past!
I hope you enjoy all of our days of DIY gifts and have a very safe and joyful holiday season!
SCHEDULE OF CHRISTMAS TUTORIALS:
- Pre-Lesson: Fauxligraphy Live Lesson (Tuesday, November 10 at Noon PST/3pm EST/8pm GMT) on Instagram Live or YouTube Live
- DIY 1: Bullet Journal Gift List Layout Live Lesson (Tuesday, November 17 at Noon PST/3pm EST/8pm GMT) on Instagram Live or YouTube Live
- DIY 2: Personalized Dish Towel (Friday, November 20)
- DIY 3: Festive Decorative Mirror Live Lesson (Tuesday, November 24 at Noon PST/3pm EST/8pm GMT) on Instagram Live or YouTube Live
- DIY 4: Keepsake Christmas Tablecloth (Friday, November 27)
- DIY 5: Using Procreate to Create Gift Tags Live Lesson (Tuesday, December 1 at Noon PST/3pm EST/8pm GMT) on Instagram Live or YouTube Live
- DIY 6: Custom Tea/Hot Chocolate Pot (Friday, December 4)
- DIY 7: Brush Lettering Greeting Card Live Lesson (Tuesday, December 8 at Noon PST/3pm EST/8pm GMT) on Instagram Live or YouTube Live
- DIY 8: Decorative Shadow Box (Friday, December 11)
- DIY 9: Creating Wall Decor with “Candy Cane” Style Lettering Live Lesson (Tuesday, December 15 at Noon PST/3pm EST/8pm GMT) on Instagram Live or YouTube Live
- DIY 10: Christmas Wreath with Hand Lettered Elements (Friday, December 18)
- DIY 11: Mistletoe Greeting Card (Sunday, December 20)
- DIY 12: Christmas Procreate Animation Live Lesson (Tuesday, December 22 at Noon PST/3pm EST/8pm GMT) on Instagram Live or YouTube Live


Supply List:
- Plain Dish Towels
- Your Silhouette or Cricut Cutting Machine
- Your iPad and Apple Pencil with Procreate (or you can find pre-made designs right here)
- Heat Transfer Vinyl (My favorite brands are Siser or this Amazon one that I used in the tutorial)
- An Iron
- A Ruler

Supply List:
- A mirror (you probably already have one hanging somewhere in your home! Since mirrors are non-porous, the ink you use will sit on top of the surface instead of sinking in. That means that most of them can be cleaned off!)
- Here are some pen options for your mirror and how to get them off:
- Chalk Marker or Crayon designed for mirrors or windows: the safest option! You can easily get this off with a few microfiber cloths (no water and just a bit of elbow grease gets the best results).
- Craftsmart or Sharpie Water-Based Paint Markers: grab some Windex and paper towel and this comes off as well.
- Craftsmart or Sharpie Oil-Based Paint Marker: these also come off! You just need a razor blade and it scrapes right off.
- In this tutorial I am using the Kuretake ZIG Posterman Chalk Marker in White
SOME TIPS: Whichever pen you use, do a small test area first. I know they always say to do this when you use a new hair dye and I know that I never do (oops), but if you value your mirror, do a test. Also, when you’re cleaning your design off after the holidays, just watch out for your wall or mirror frame that you’re not pushing the color out into that and potentially staining it. Think about matching the color you use to the mirror frame to help make this not an issue at all. Since my mirror frame is white, the safest option is to also use a white pen!
Supply List:
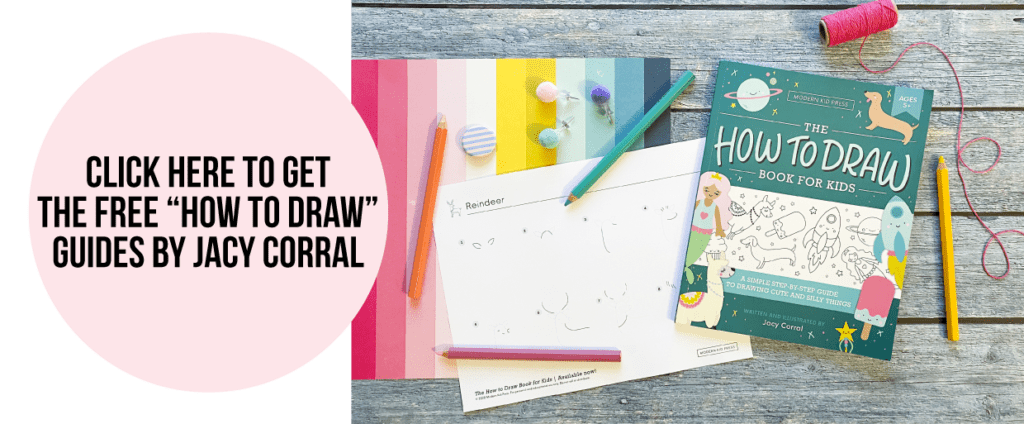
- Free “How to Draw” Guides from Jacy Corral
- The How to Draw Book for Kids by Jacy Corral
- White Table Cloth
- Fabric Pens or Pastels. We used:
Click here to download the Free Printable Gift Tags!

Supply List:
- A plain teapot like this IKEA one or this one on Amazon
- Your iPad, Apple Pencil and Procreate
- Your favorite cutting machine (I use a Silhouette)
- Outdoor vinyl
- Ruler
- Transfer paper or packing tape
Supply List:
- Kraft Cardstock
- Koi Coloring Black Brush Pen (or other medium sized brush pen)
- Zebra Sarasa 0.7mm Black Pen (or other monoline pen)
- White Gelly Roll Pen or White Uni-Ball Signo Gel Pen

Supply List:
- Shadow Box Style Frame with Depth (I used this 8×8 3-pack from Michaels)
- One piece of black cardstock (at least as big as your frame)
- One piece of white, smooth paper (at least as big as your frame)
- Tape
- Exacto Knife or Scissors
- Your favorite black lettering pen (I used the Tombow Fudenosuke Hard Nib)
- White Gelly Roll Pen
- Optional: String of small lights with a battery pack
Supply List:
- Smooth finish paper (like the HP Premium 32 Paper or Marker Paper)
- A very light gray brush marker (I’ll be using the Tombow Dual Brush Marker N89 Warm Gray 1)
- A slightly darker gray brush marker (like the Tombow Dual Brush Marker N95 Cool Gray 1)
- A red bullet tip marker (I’ll use the bullet tip side of the Tombow Dual Brush Marker 856)
- A deep red bullet tip marker (like the bullet tip side of the Tombow Dual Brush Marker 847)

Supply List:
- Wreath form (I used a grapevine wreath that is approximately 12 inches in diameter)
- A variety of foliage
- Wreath wire
- Tracing paper
- Glitter cardstock
- Glue dots
- Pencil
- Scissors/exacto knife
- Wire cutters
- Foliage clippers
Supply List:
- Black cardstock
- Gelly Roll Moonlight Bold Pens (1mm)
- Gelly Roll White Bold Pen (1mm)
- Scissors or a small exacto knife
- A ruler
- Paper cutter (optional)

CLICK HERE FOR EVEN MORE HOLIDAY DIYS

I'm going to assume that you're here because you love calligraphy, hand lettering and art... or maybe you just want to know more about it. Either way, you're totally in the right place!
xo
Amanda


Join over 5000 others who have learned to letter (and more) with these lettering courses
