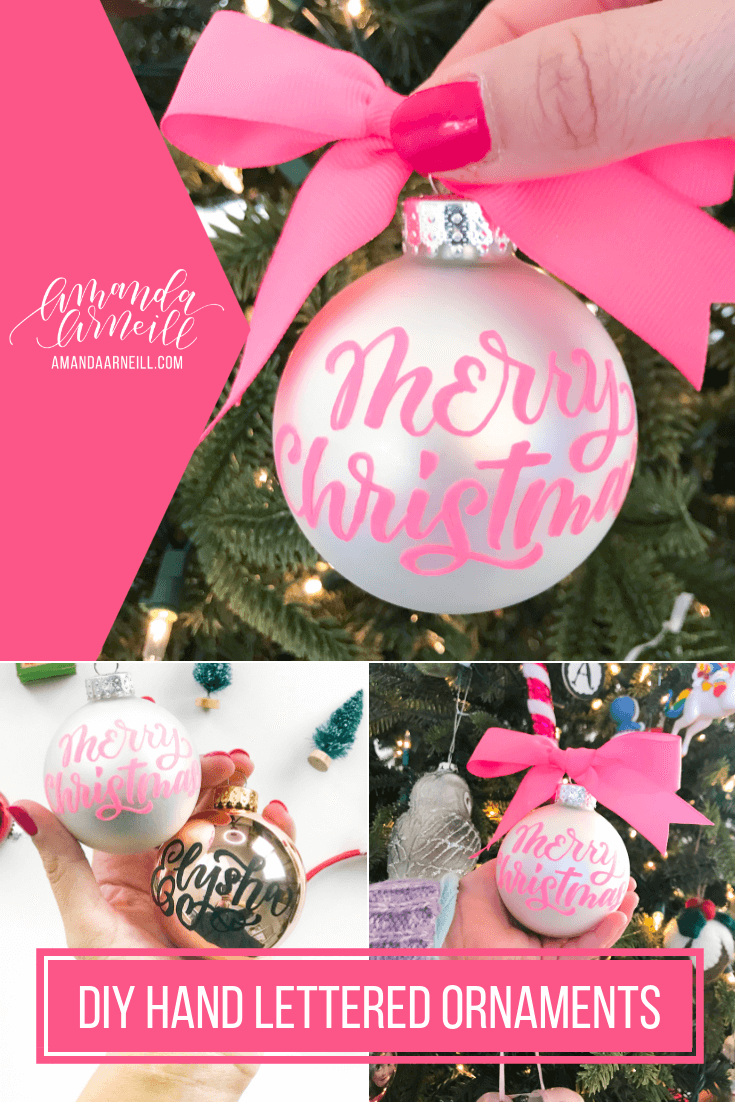
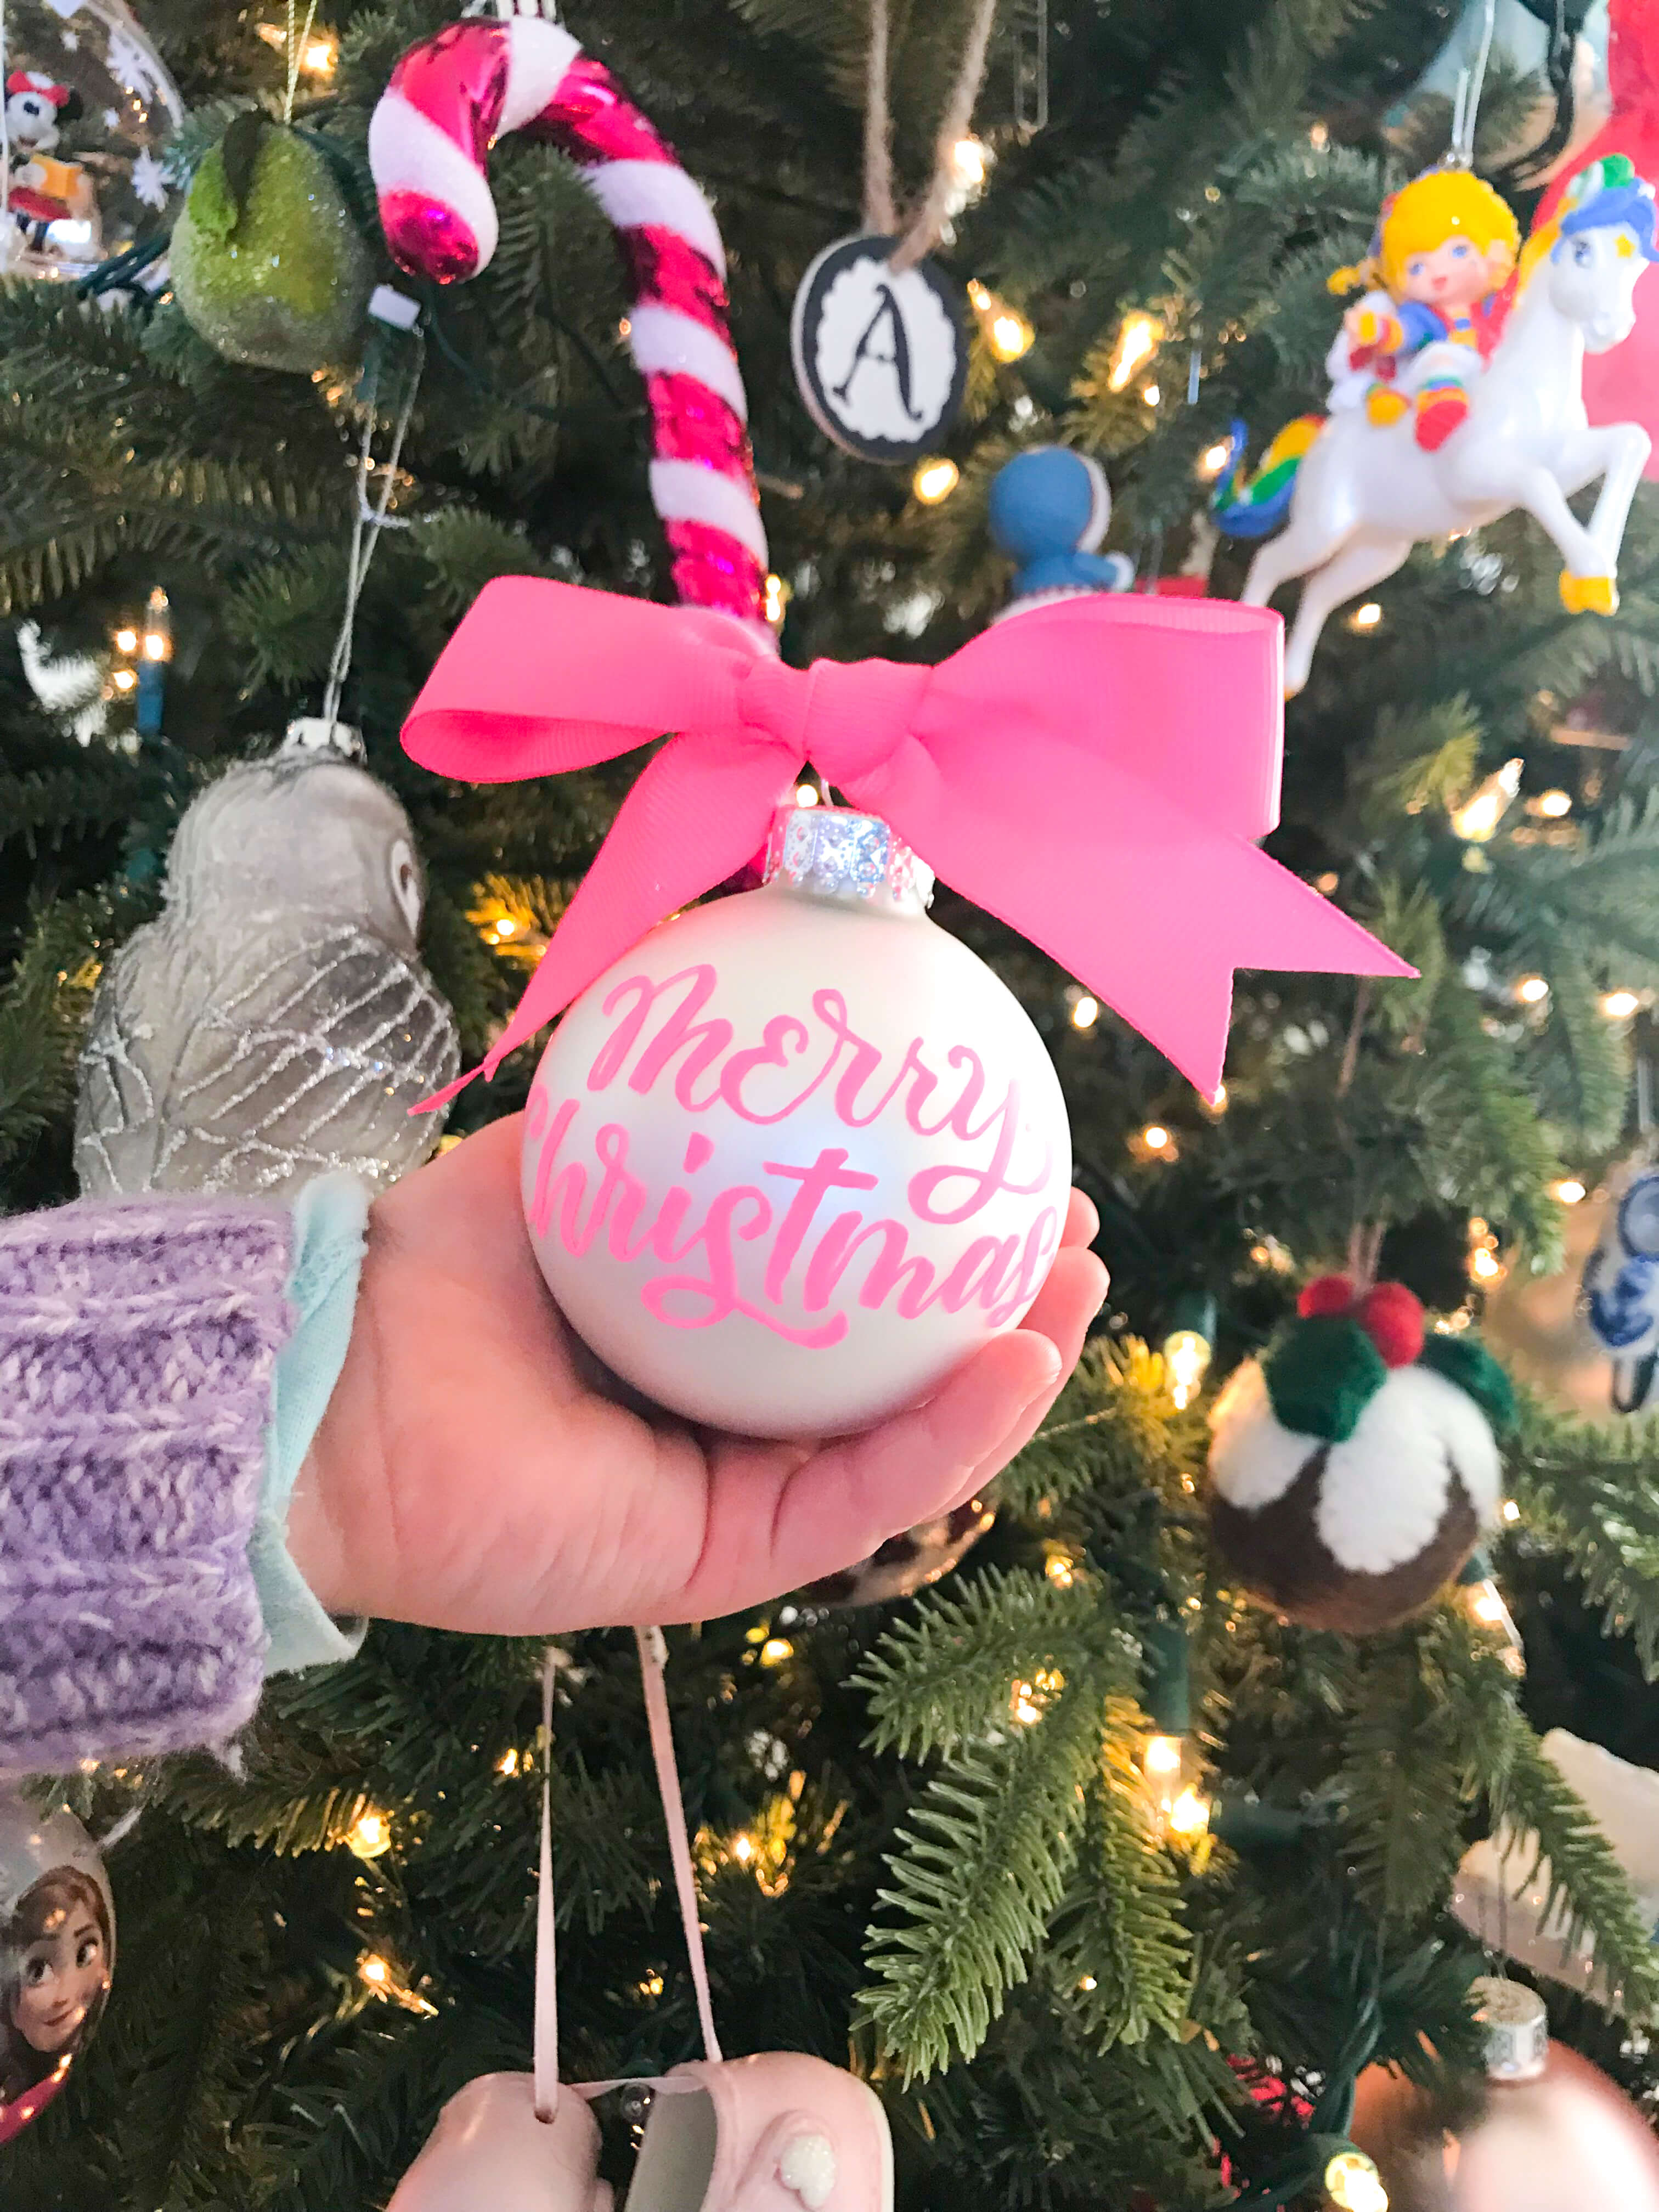
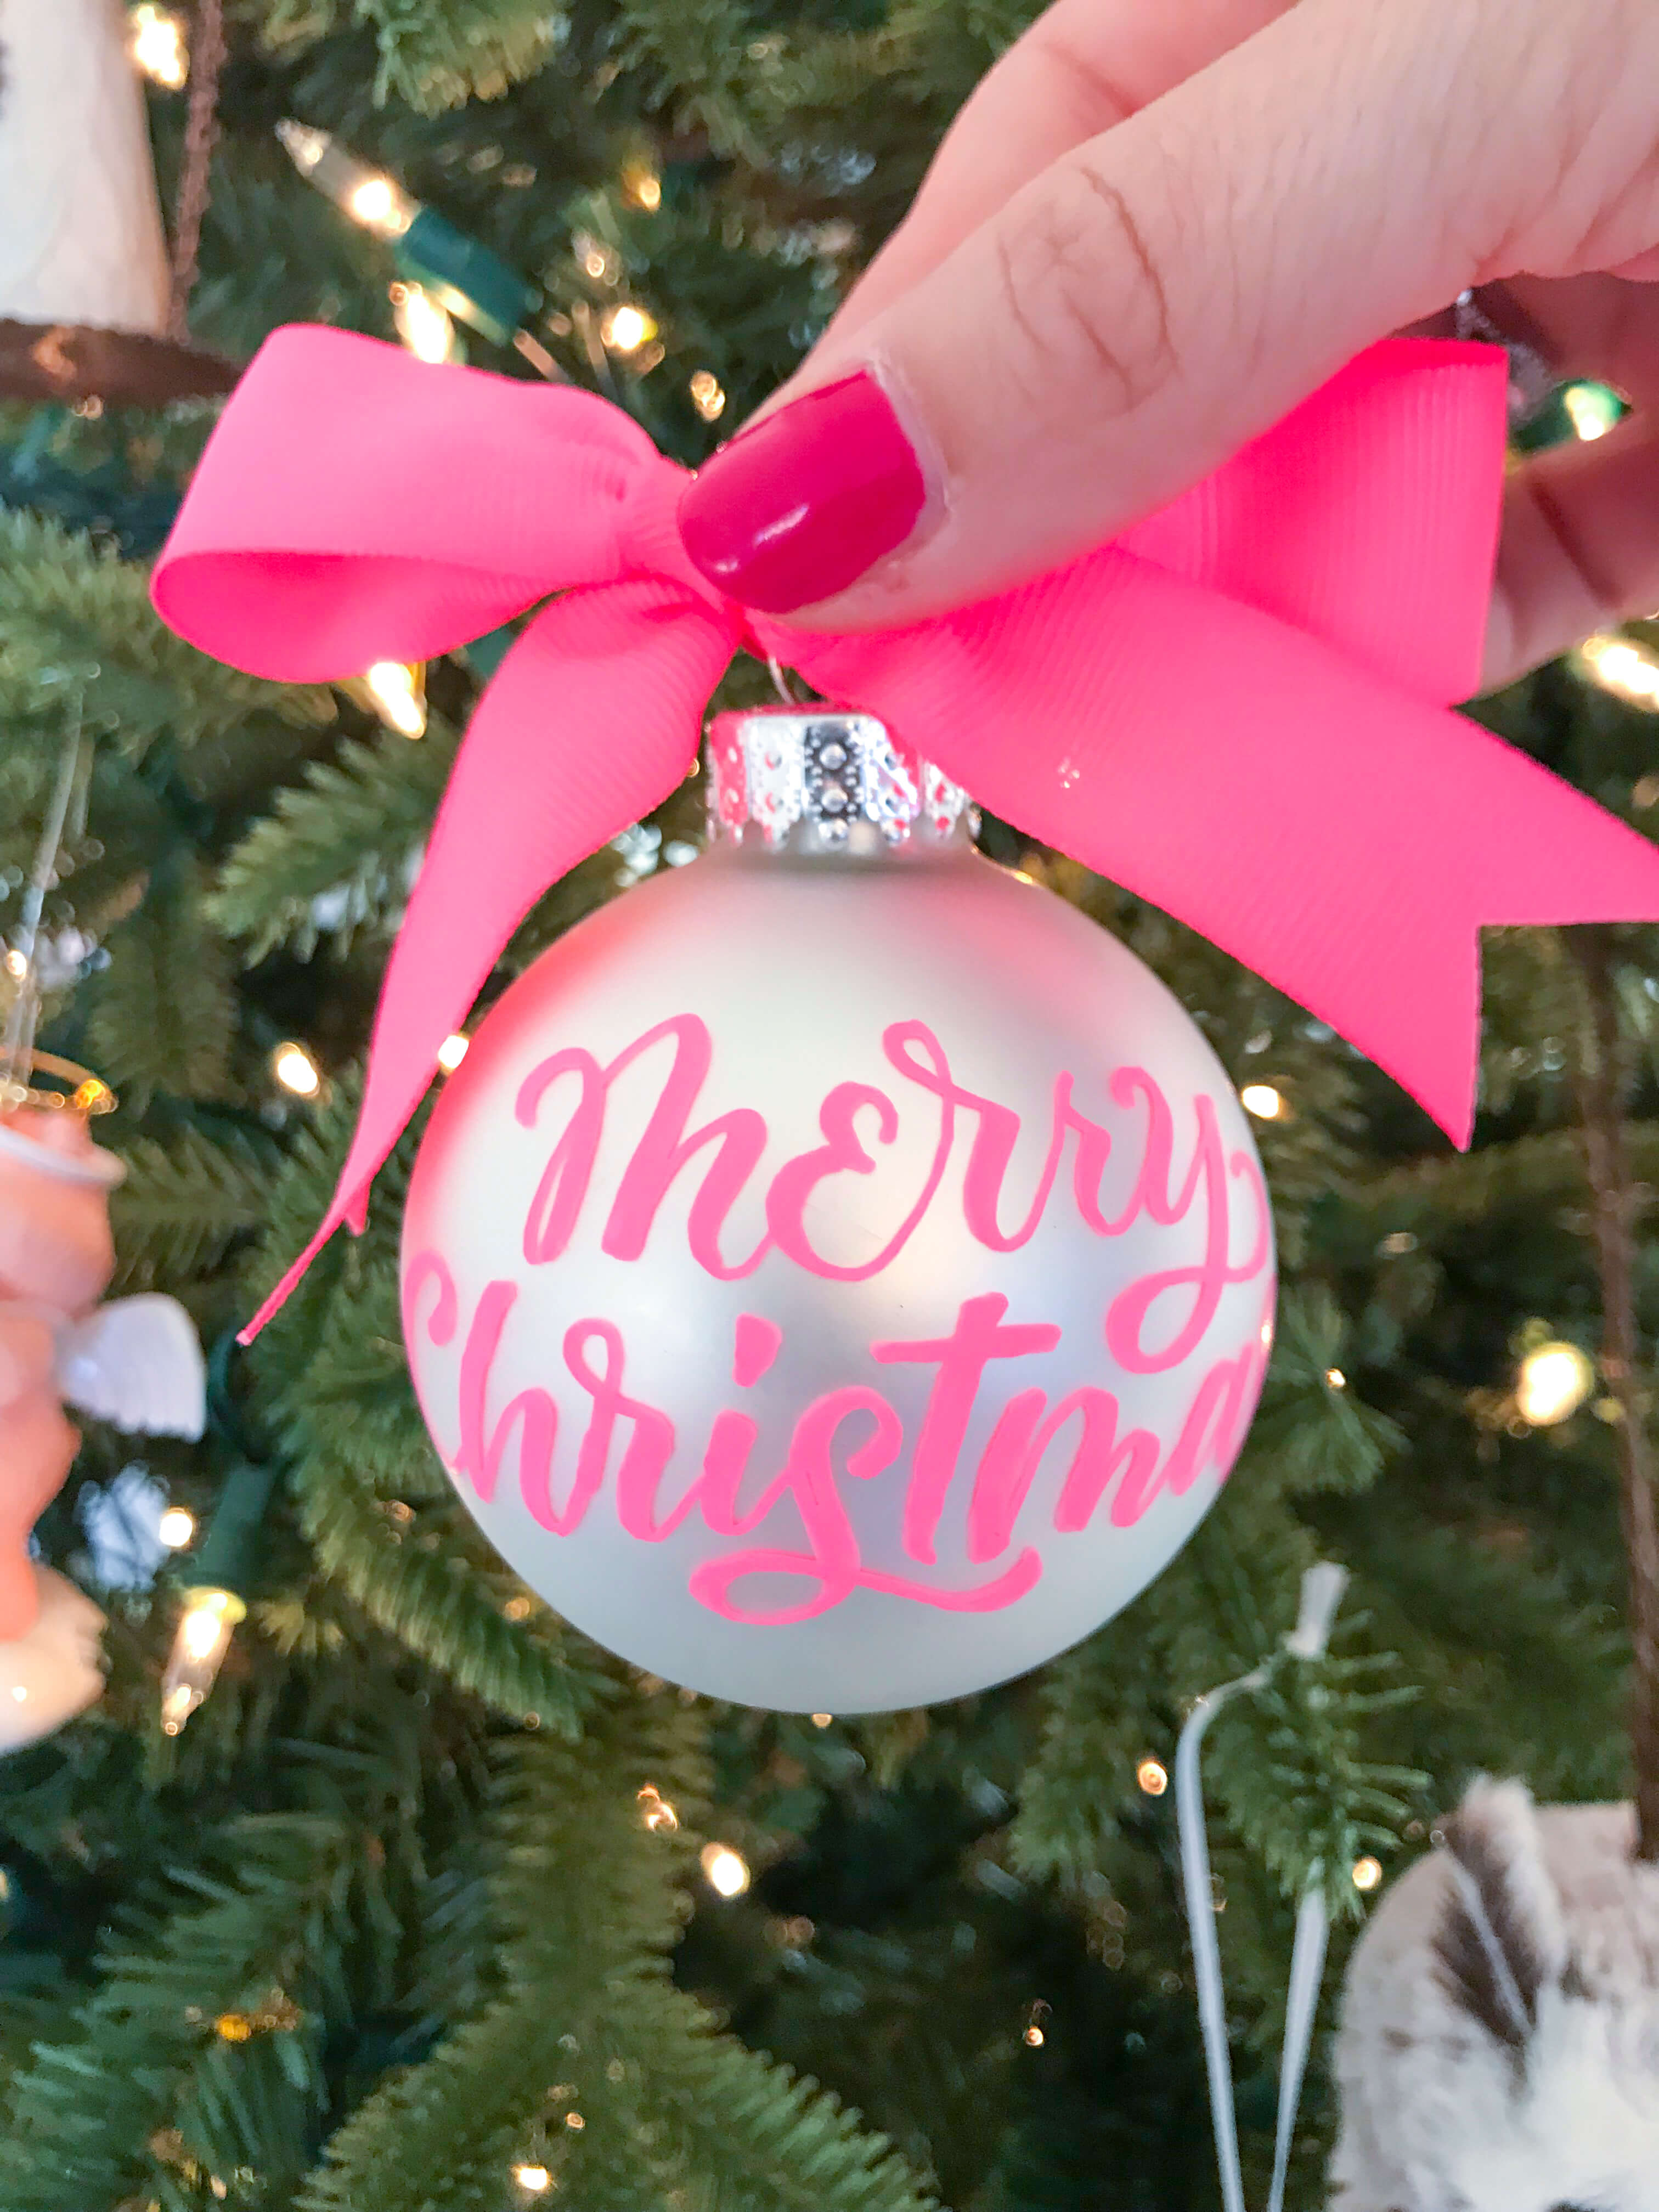
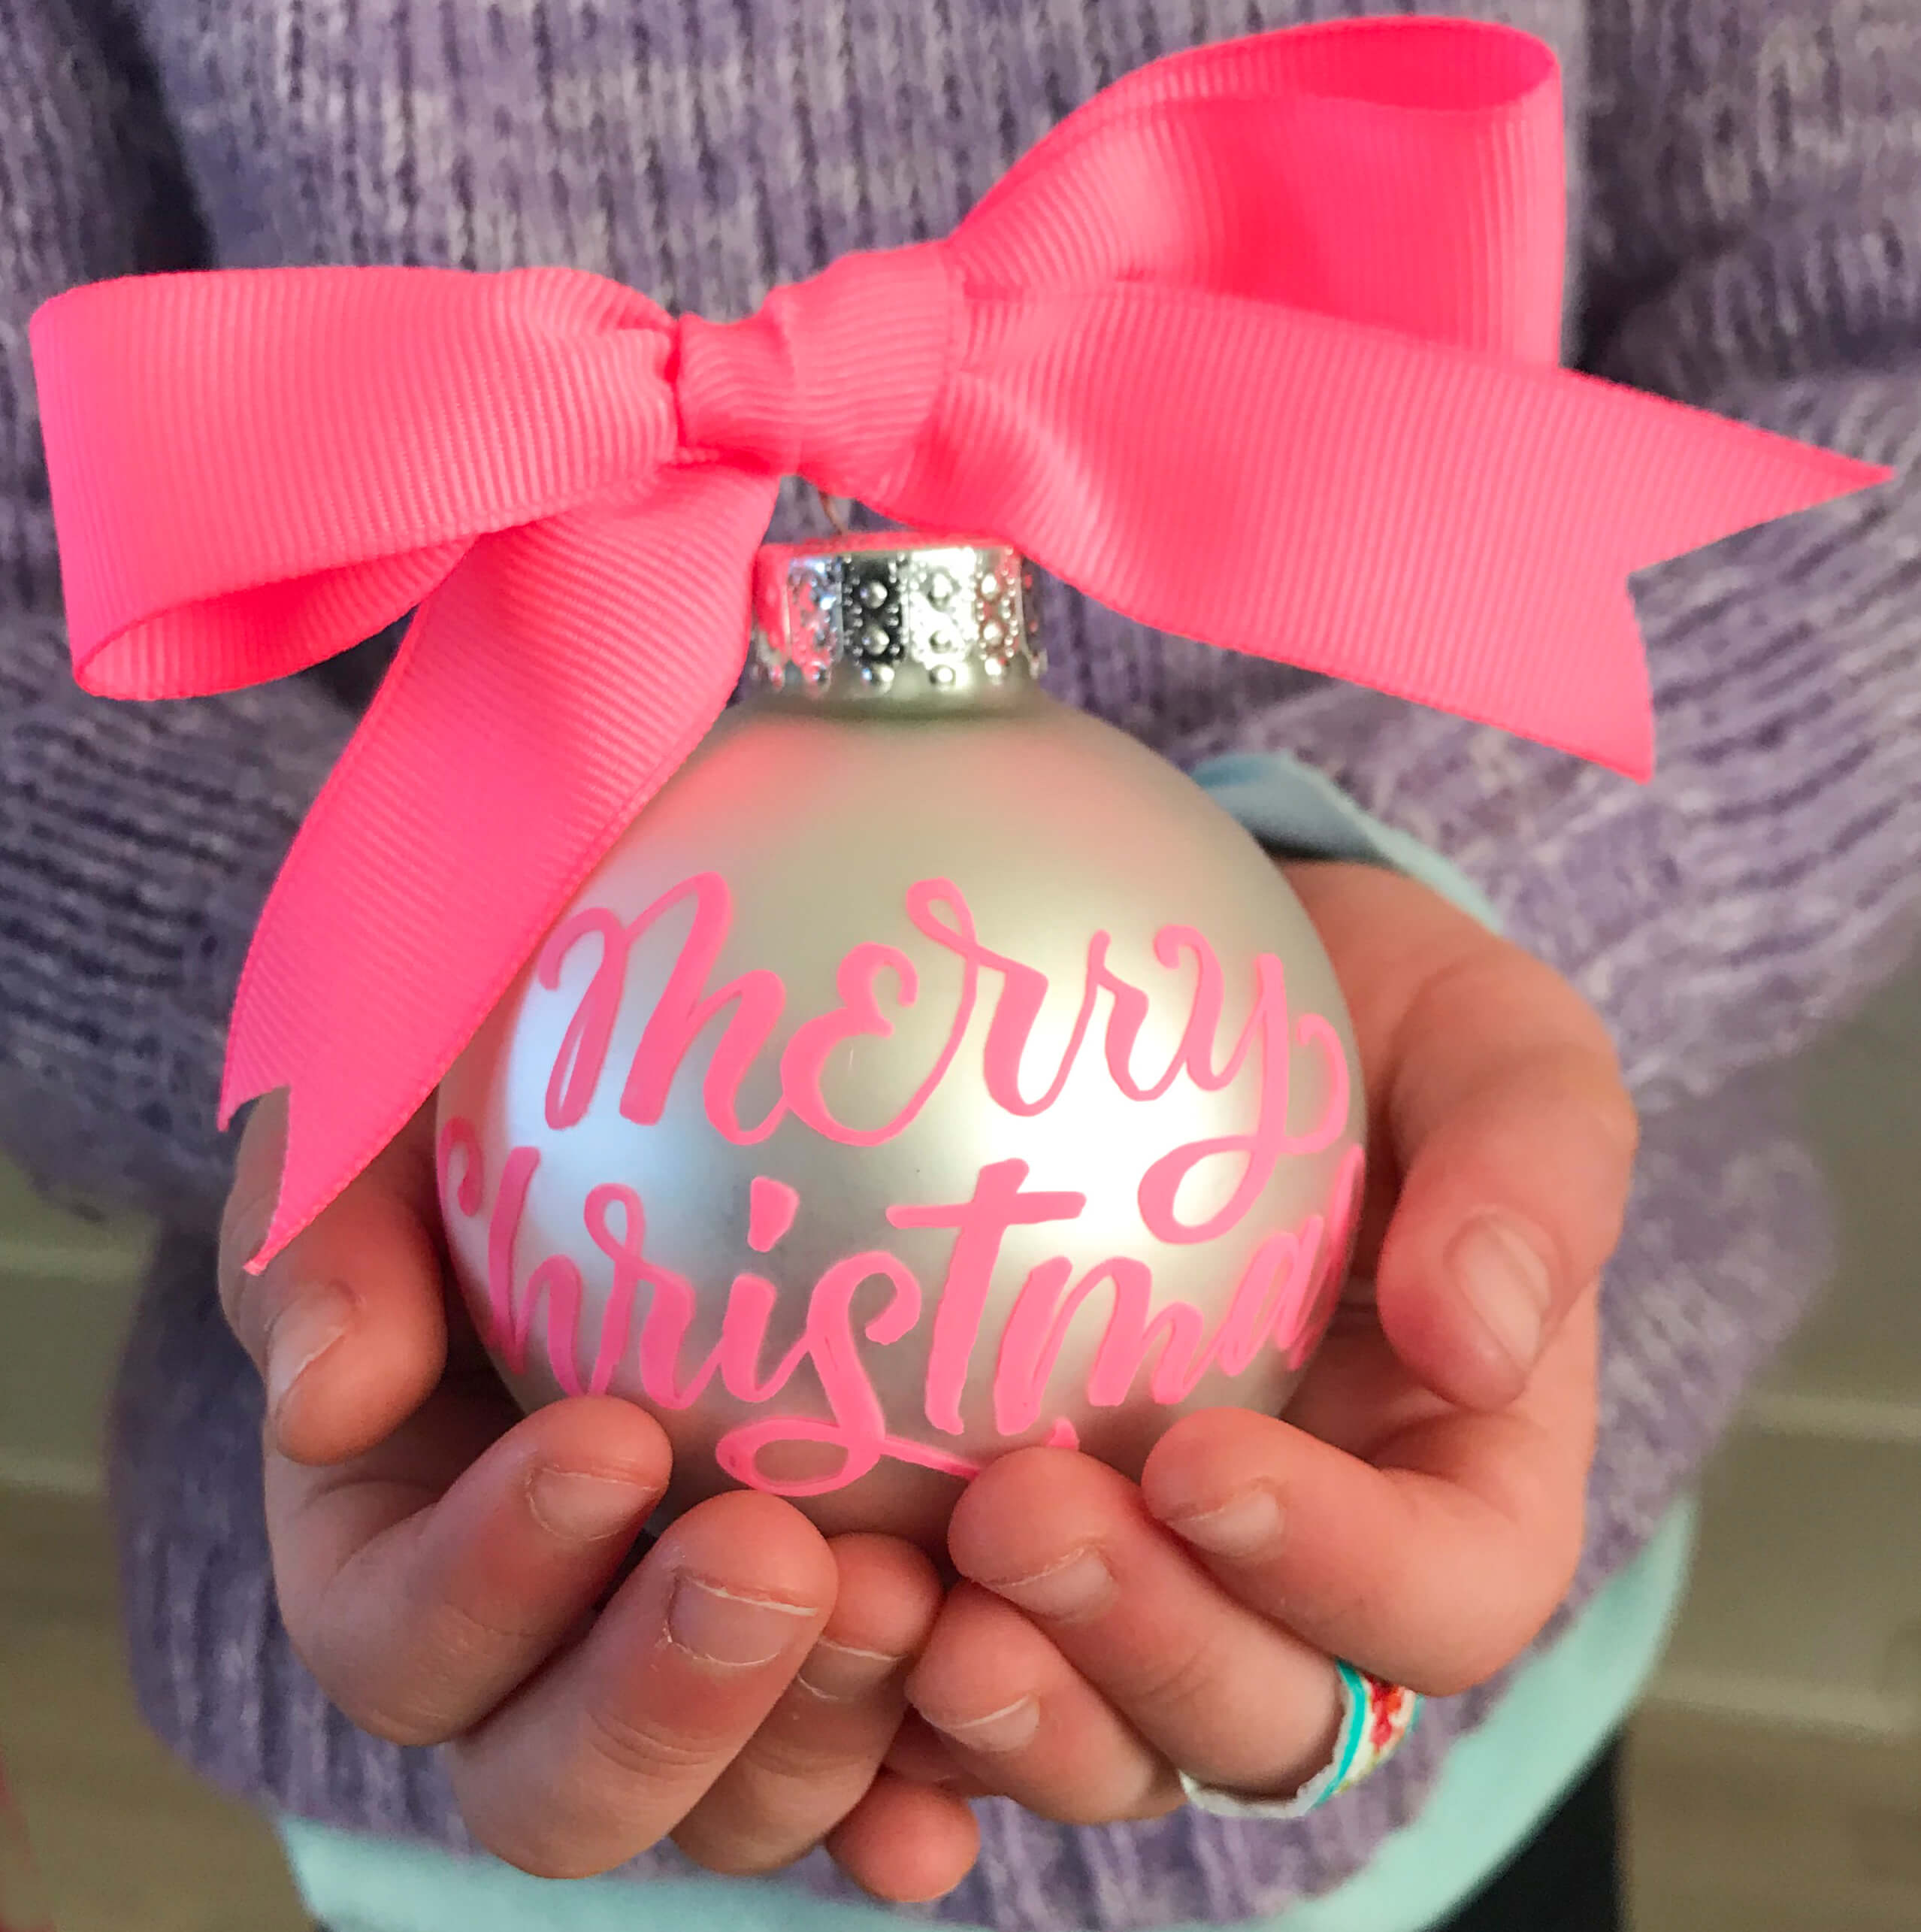
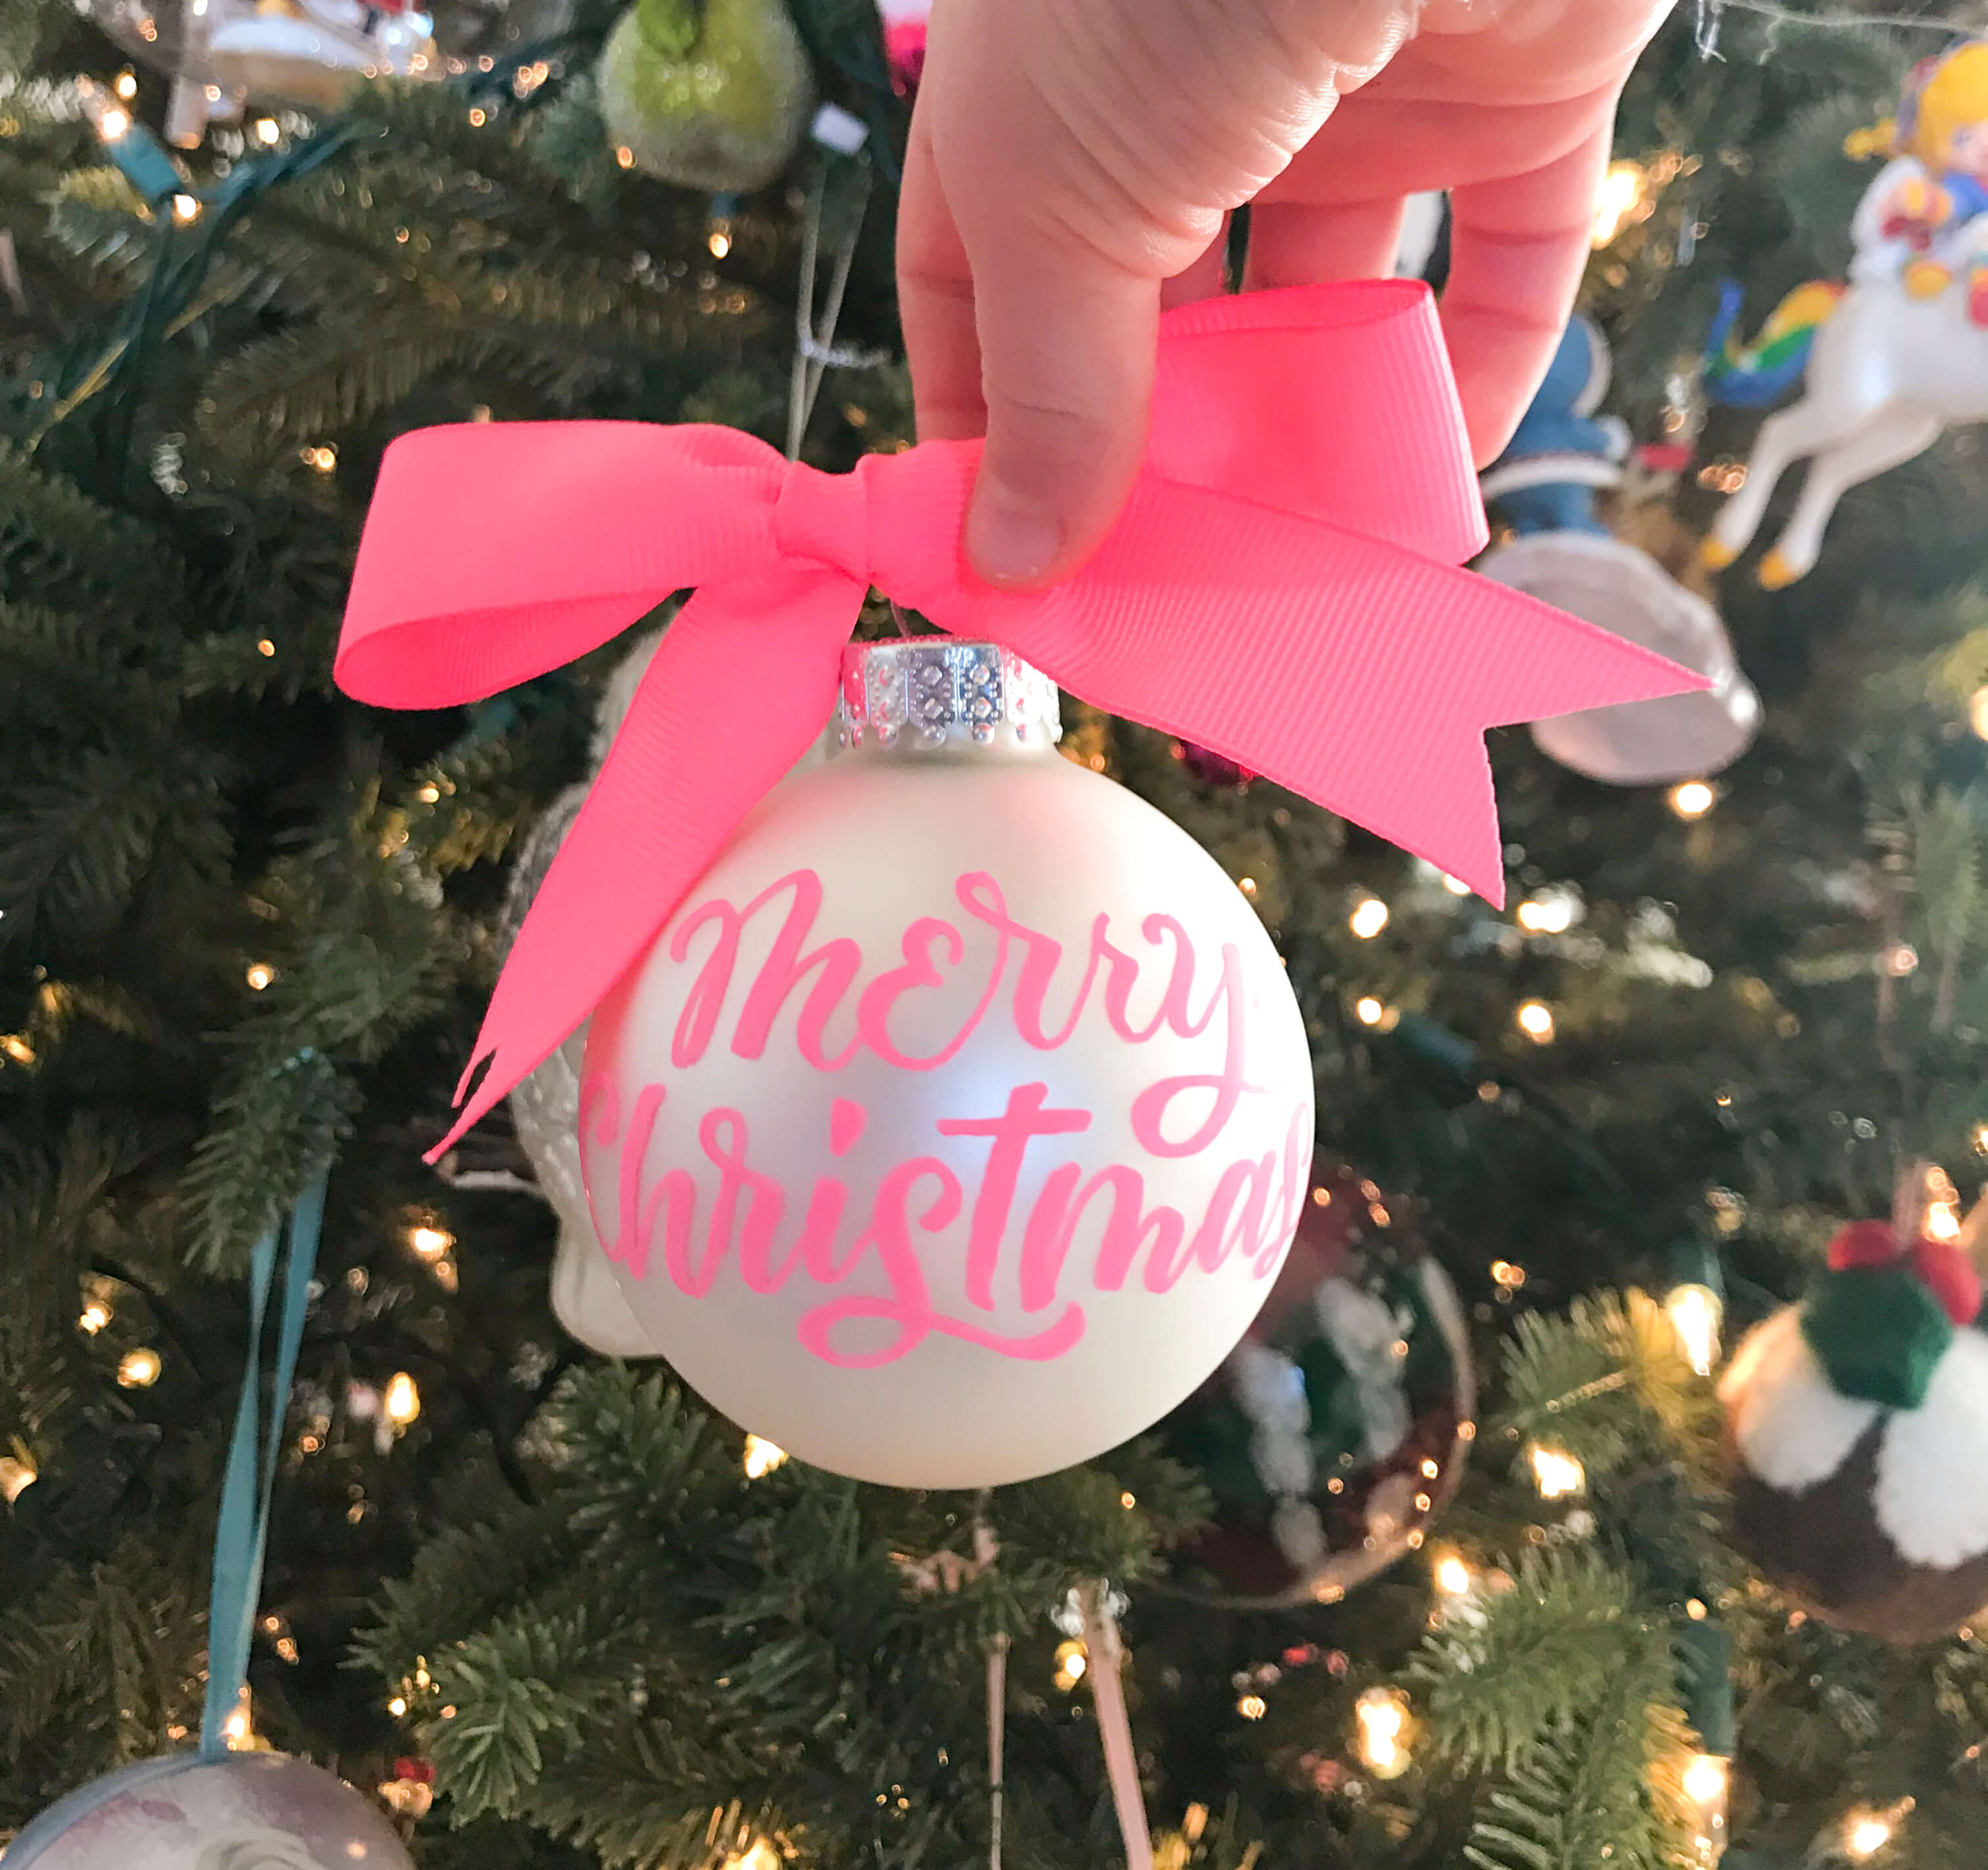
For my girls’ annual holiday card and treat exchange last year, I wanted to go a bit outside the box. The teachers and the other students’ parents consistently come to the table with amazing and creative ideas for all the yearly holiday exchanges, so the competitive fire within me was ignited for this one. Then it came to me – personalized, hand lettered Christmas ornaments! I was really happy with the outcome and I hope Lauren and Elyse’s classmates were too!
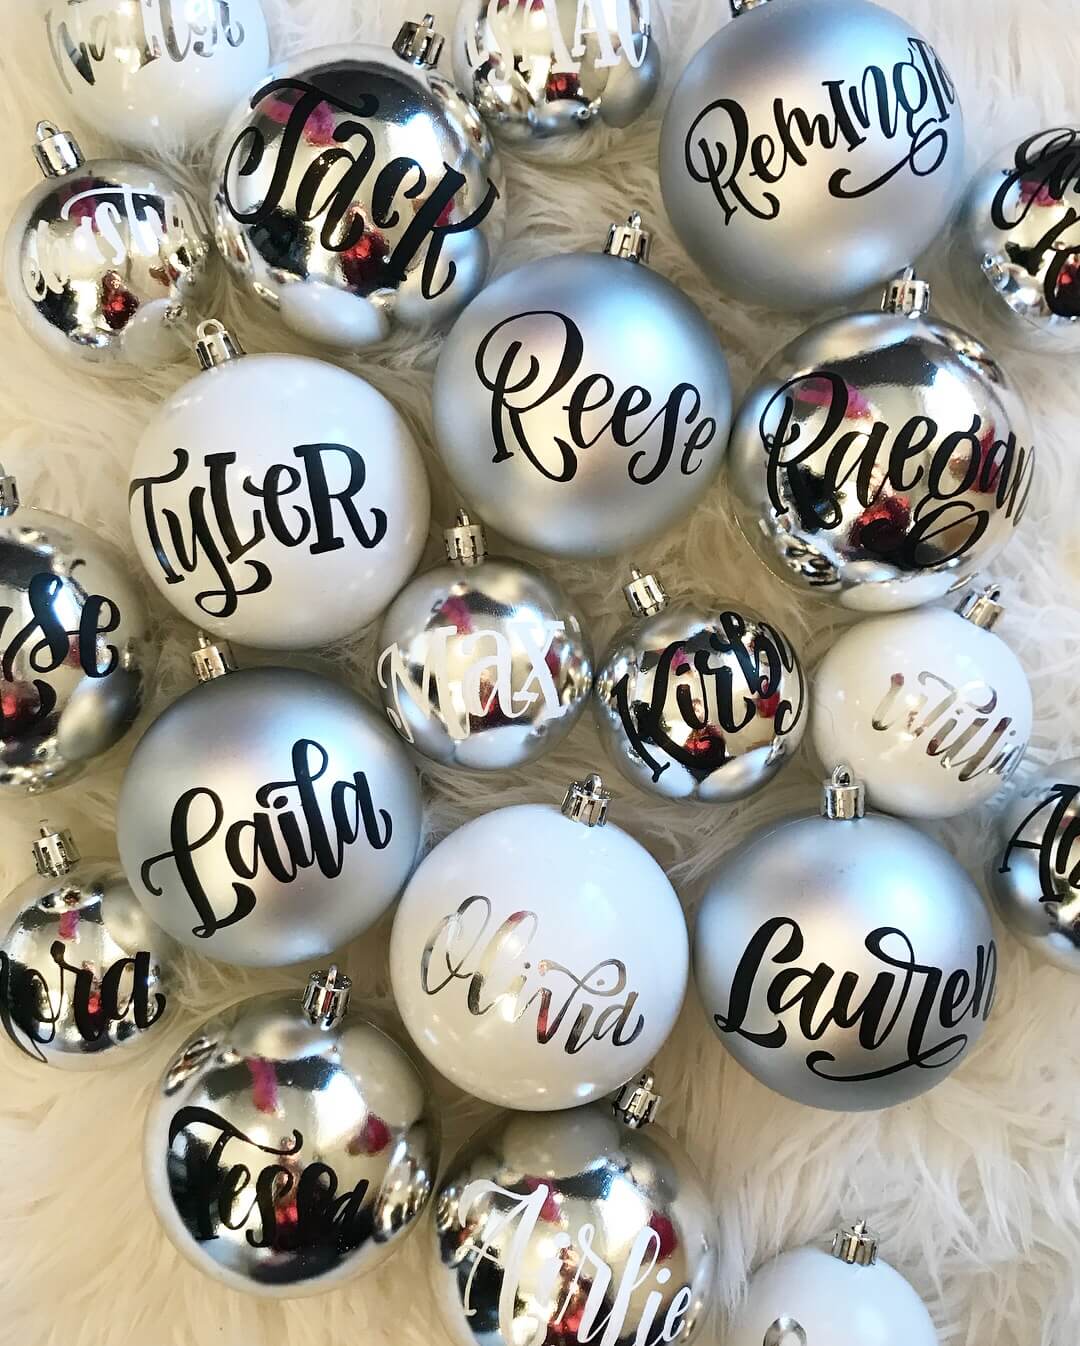
After buying many ornaments, and testing many pens, I finally found the perfect pen and ornament combinations for pretty much every ornament finish and color combination. Now I’m excited to share them all with you so that you can “win” your next gift exchange! I went with plastic ornaments for the school gift exchange (for obvious reasons), but in this tutorial I show you what will work best on beautiful glass ornaments that can hang on your tree and your loved ones’ trees for many Christmases to come.
Just scroll down to watch the full video tutorial and find the fully-linked supply list!
WATCH THE FULL VIDEO TUTORIAL HERE!
MATERIALS:
- Molotow Liquid Chrome Marker
- Sakura Pen-Touch Paint Maker
- Craftsmart Paint Pens
- Pilot Gold Permanent Paint Marker
- Liquitex Gold Paint Marker
- Molotow One4All Acrylic Marker
- Molotow One4All Acrylic Twin Marker
- Sharpie Oil Based Paint Marker
- For the tutorial I used:
- Scrap paper and pencil for your sketches
- All the ornaments! You can find them pretty much anywhere this time of year but these are the Ashland brand matte and shiny glass ornament packs from Michaels that I used
- Washi tape or any other type of non-destructive painter’s tape
- If you want to use a fixative spray, I prefer:
HOW TO:
- Sketch out your design on some scrap paper, sizing your sketch to the approximate size of the ornament’s surface so you can easily use it as a reference
- Place your washi tape on your ornament as a base guideline for your first (or only) line, trying to make your tape as straight as possible. Remember that you don’t want your design to go too close to the bottom so that it will still be visible when it is hanging on your tree
- Using your chosen marker, letter your word or saying on to your ornament. If your word has a tail, just lift up your washi tape when you come to that letter
- If you want, you can take a second pass at your first line of text on your ornament with your marker to thicken up your downstrokes
- If your design contains a second line, repeat this process for your next line of text. Use landmarks that you see in your sketch to match up the placement of the words on the two lines
TIPS & TRICKS:
- When placing your text on the ornament, avoid going too far down the ornament to keep your design visible when it is hanging in your tree. It should be shifted slightly up from center
- If your text has two lines, look for landmarks in your design where the letters match up in your sketch and try to match those up when writing the second line on your ornament
- Prepare your marker before using it on your ornament by depressing the tip on paper to load it with paint, then scribbling on some scrap paper to get rid of any excess paint
- As your write on your ornament, anchor your pinky on the ornament to help steady your hand

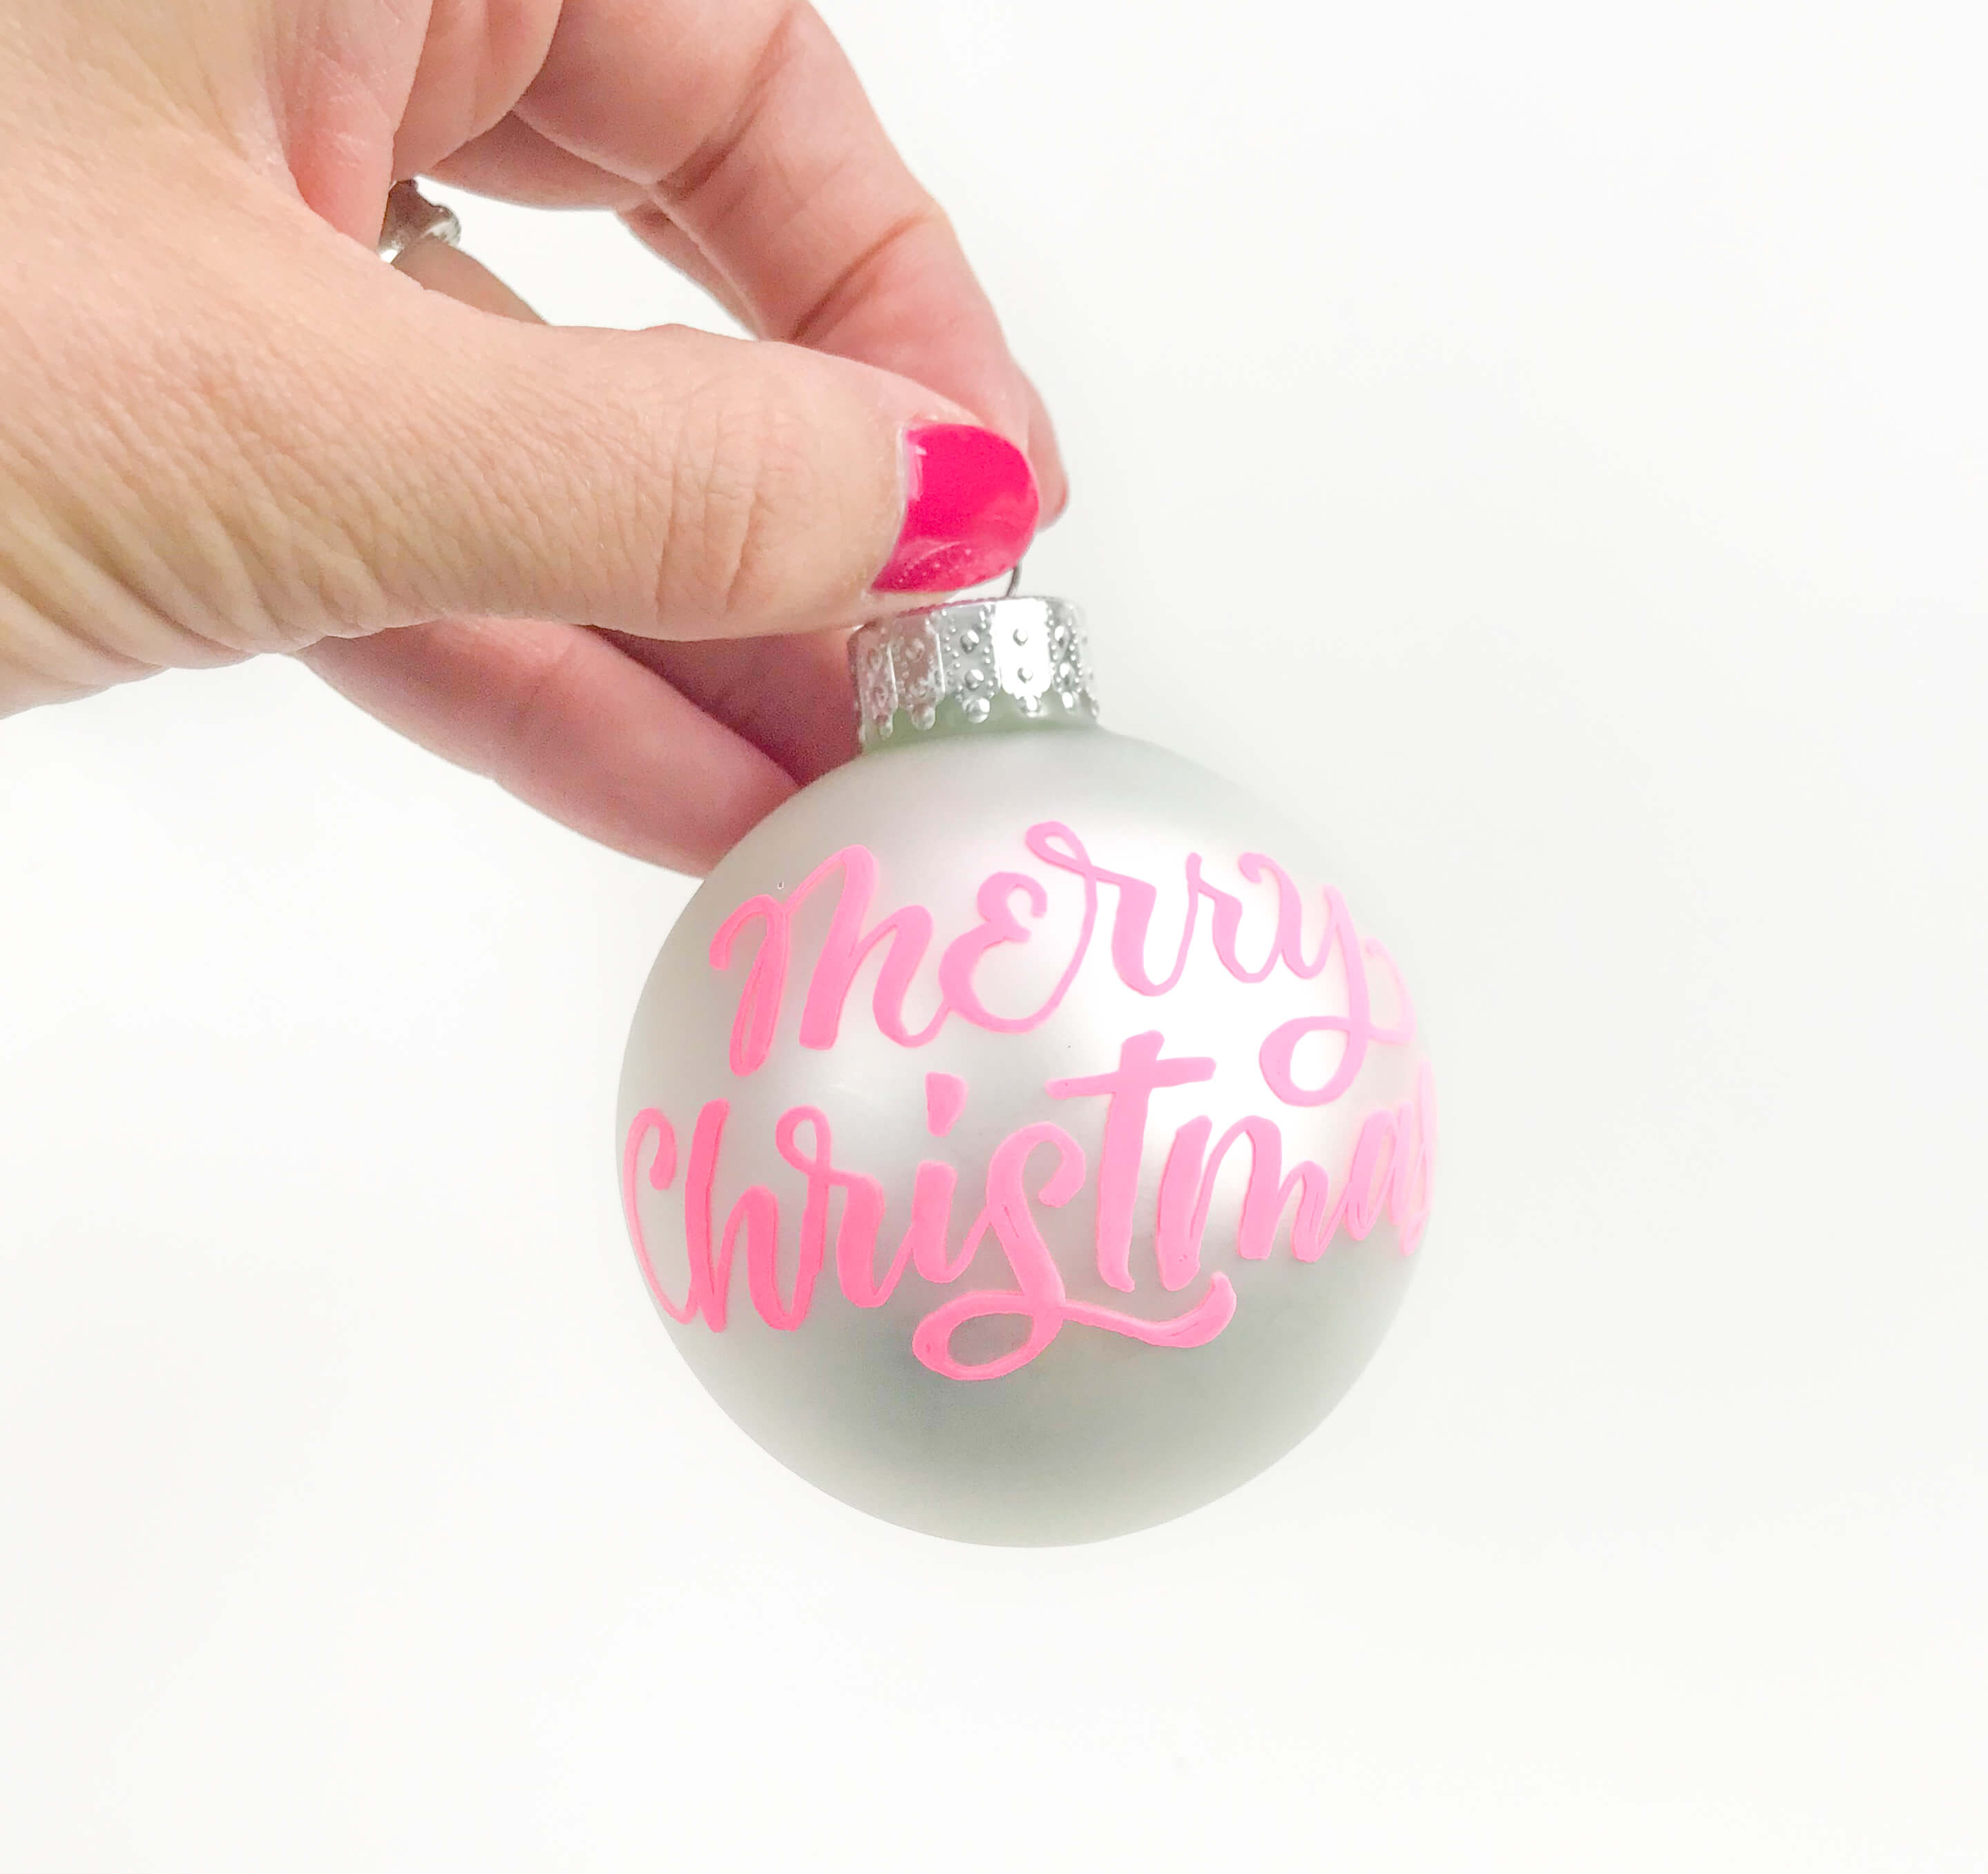
Don’t forget to use the hashtag #amandaarneillblog if you share your blog-inspired creations to social media so that I can see your beautiful work!
For our next tutorial, we will be making these hand lettered Christmas ornaments even more striking with some shiny embellishments…get ready to bust out your rhinestones!
xo Amanda
Do you need more holiday inspired tutorials so that you can create unique, customized gifts? Here are some tutorials and freebies from Christmas past that I’ve dug up for you:
Hand Lettered Christmas Throw Pillow
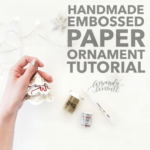
Handmade, Hand Lettered Embossed Paper Ornament
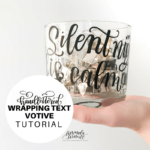
Hand Lettered Votive Candle Holder
Wine Labels (Simply download the PDF, print the labels on a color printer using a full sized label sheet like this one, cut the labels to size and place them on your wine bottles to add a unique festive touch)
Gift Tags (Just download the gift tags, print the gift tags on your choice of smooth cardstock, cut them out and punch a hole in the “x” for your ribbon)

I'm going to assume that you're here because you love calligraphy, hand lettering and art... or maybe you just want to know more about it. Either way, you're totally in the right place!
xo
Amanda


Join over 5000 others who have learned to letter (and more) with these lettering courses

