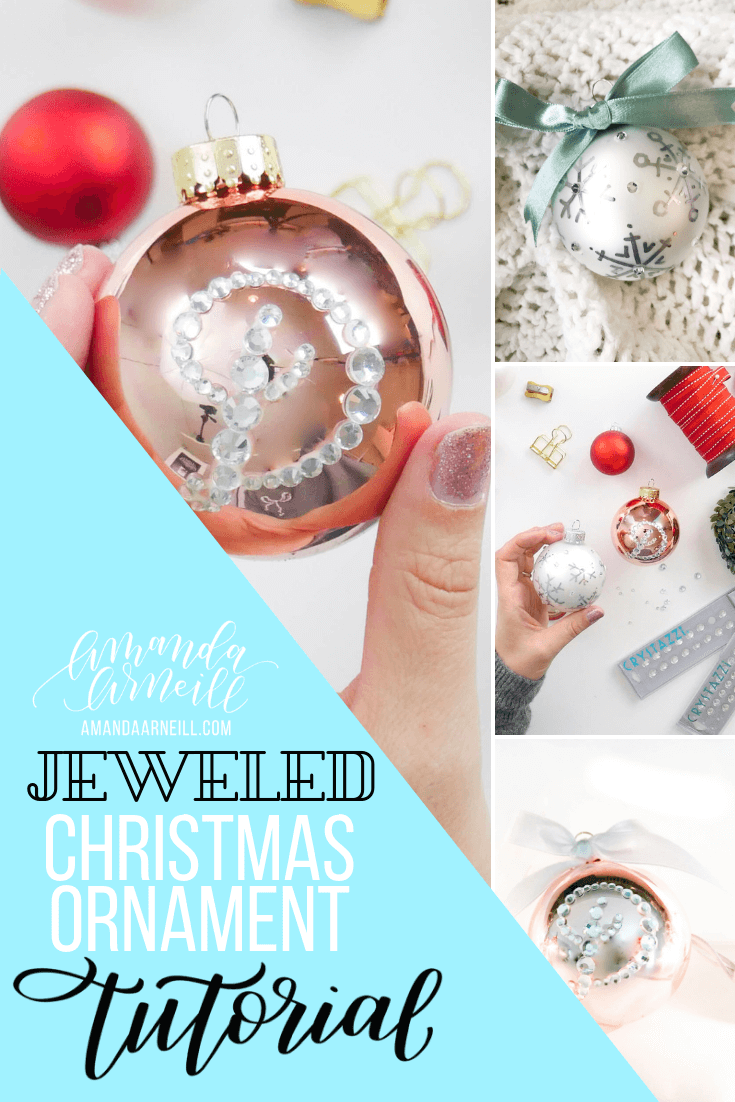
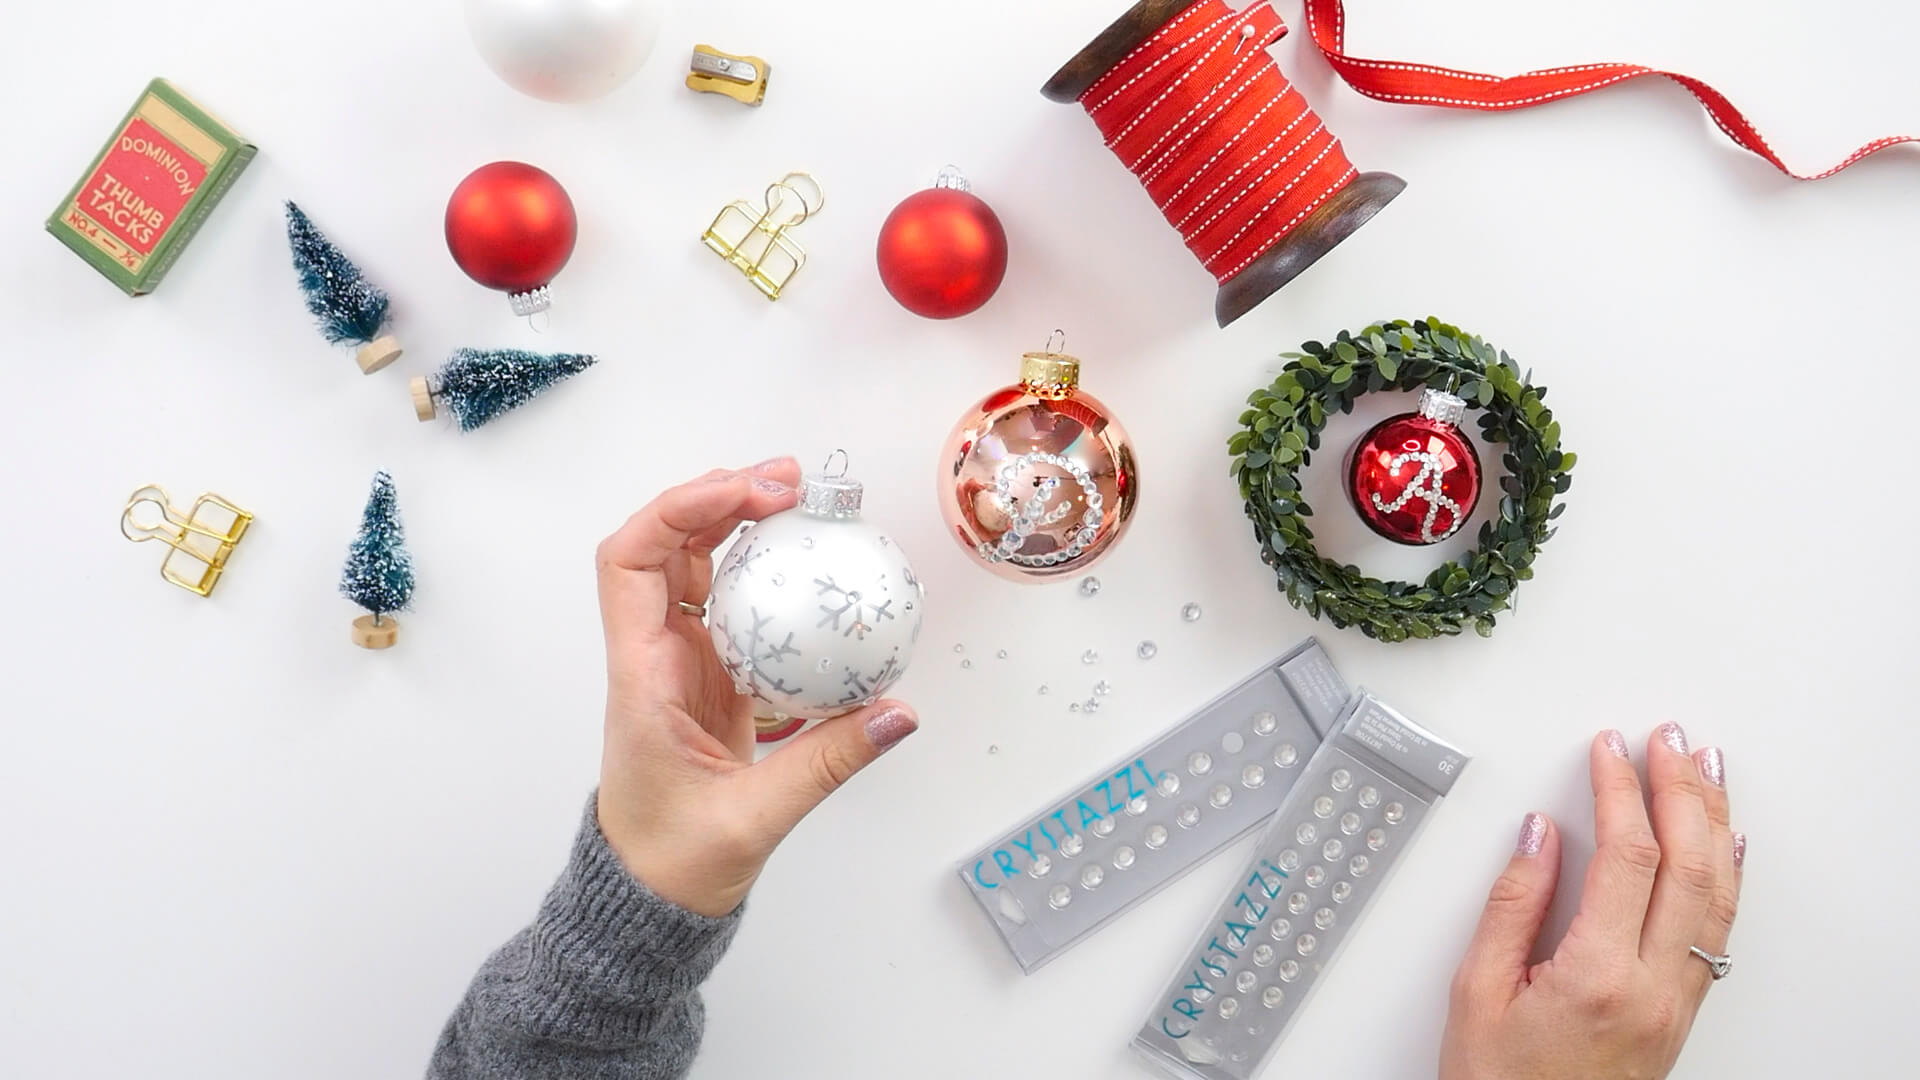
When I was preparing for last week’s hand lettered Christmas ornament tutorial, among my art supplies I stumbled across several packages of flat-back crystals that I had purchased awhile back because they were shiny and on sale (my two weaknesses). I’ve found the odd use for these jewels here and there – making hair bows for my girls, fixing an overly loved dance costume – but I’ve never been truly inspired to make great use out of them until now! It’s time for us to take those DIY Christmas ornaments that we’ve been making and take it up several notches by bejeweling them! It’s the perfect DIY gift idea that looks super fancy, but is actually quite inexpensive (especially now that all the Christmas ornaments are on sale!).
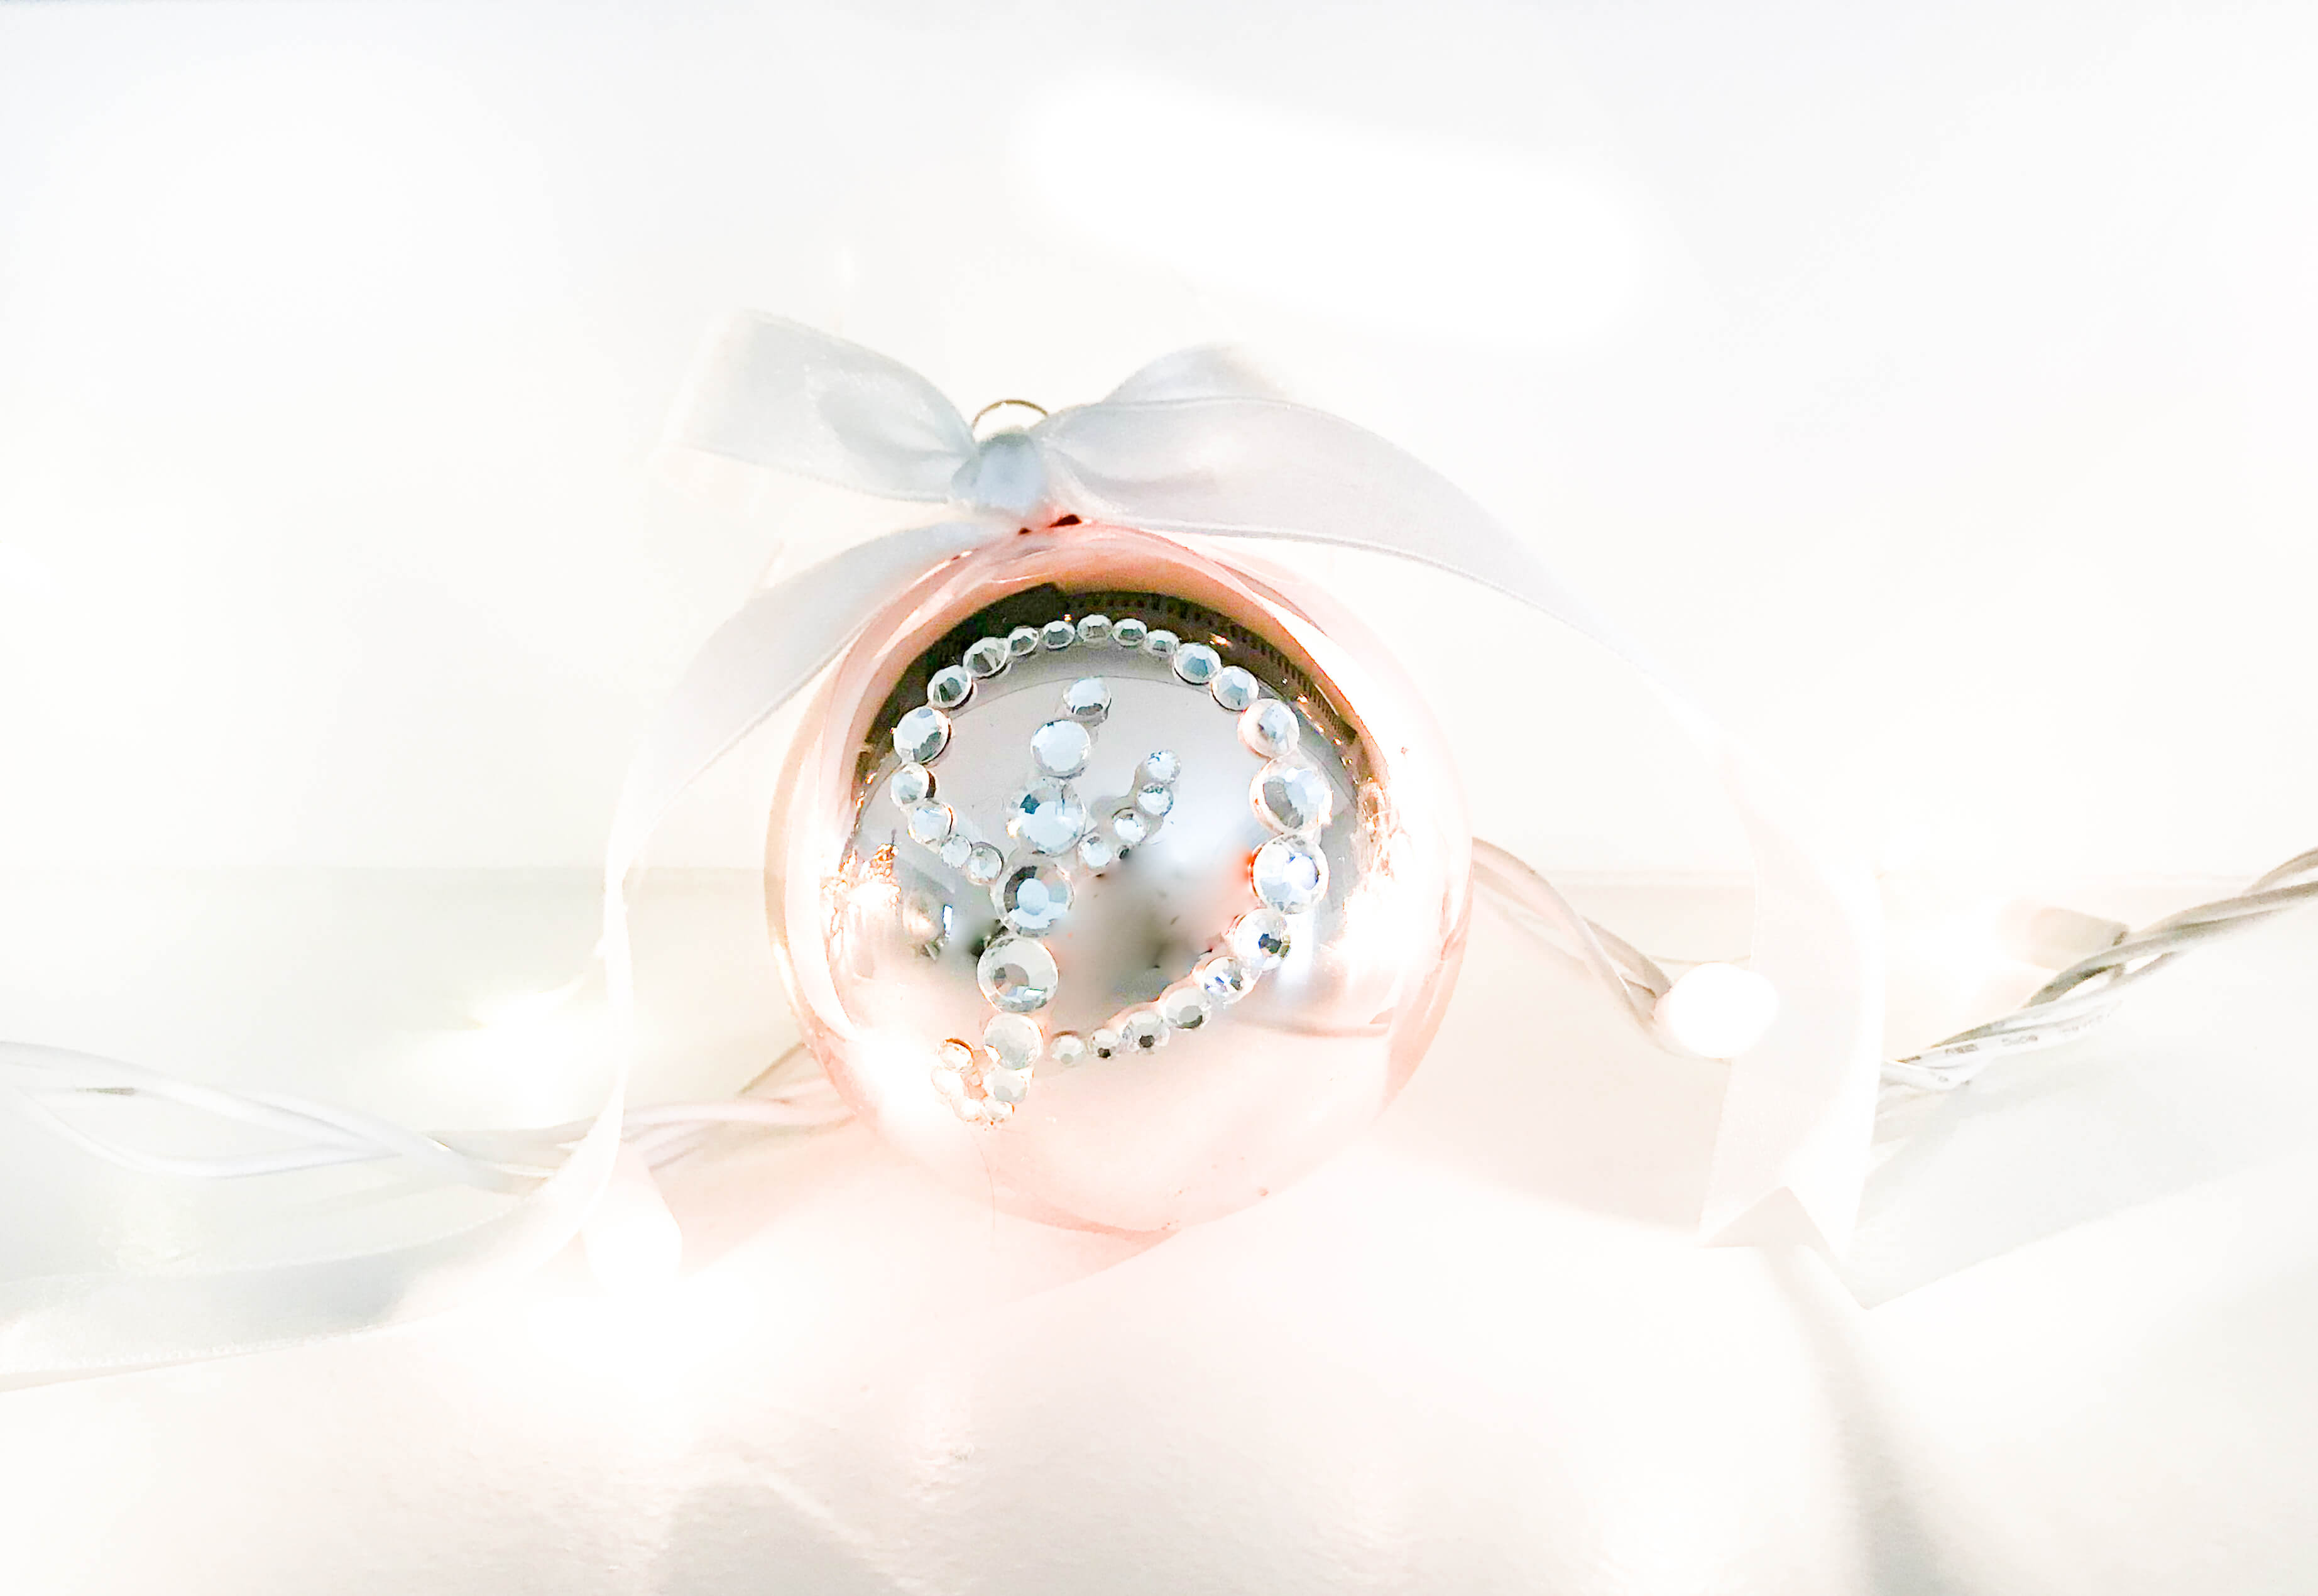
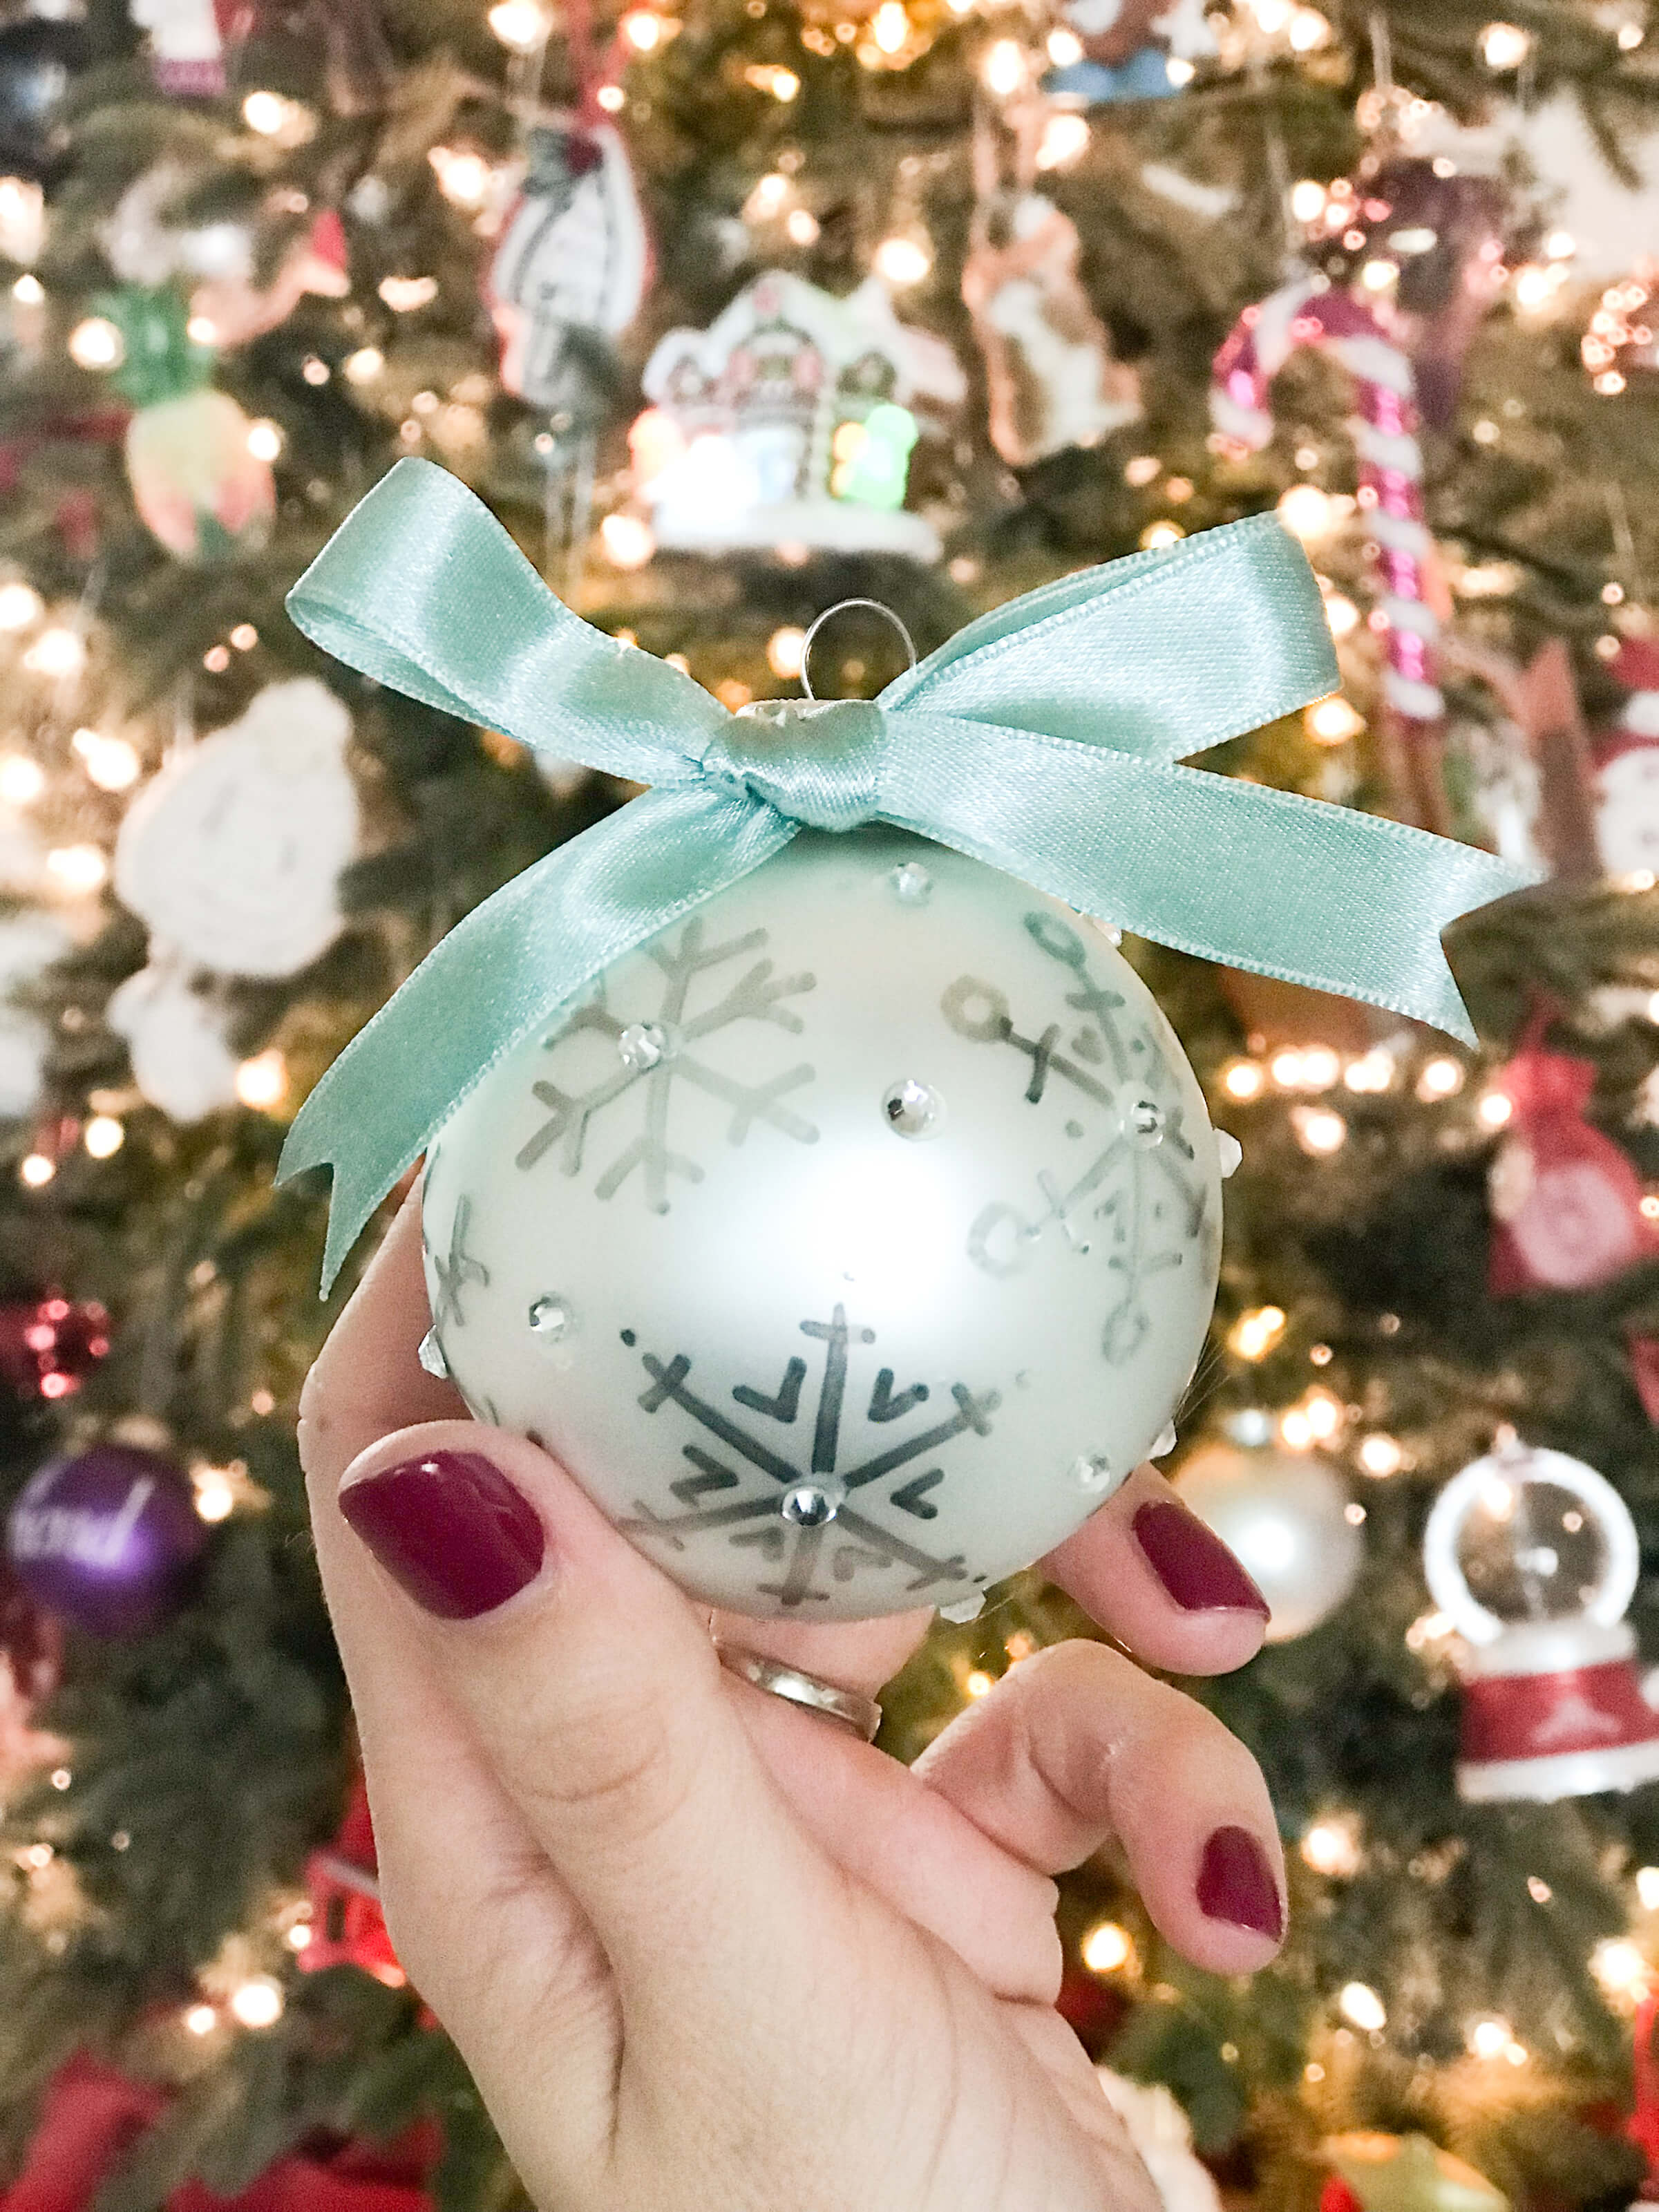
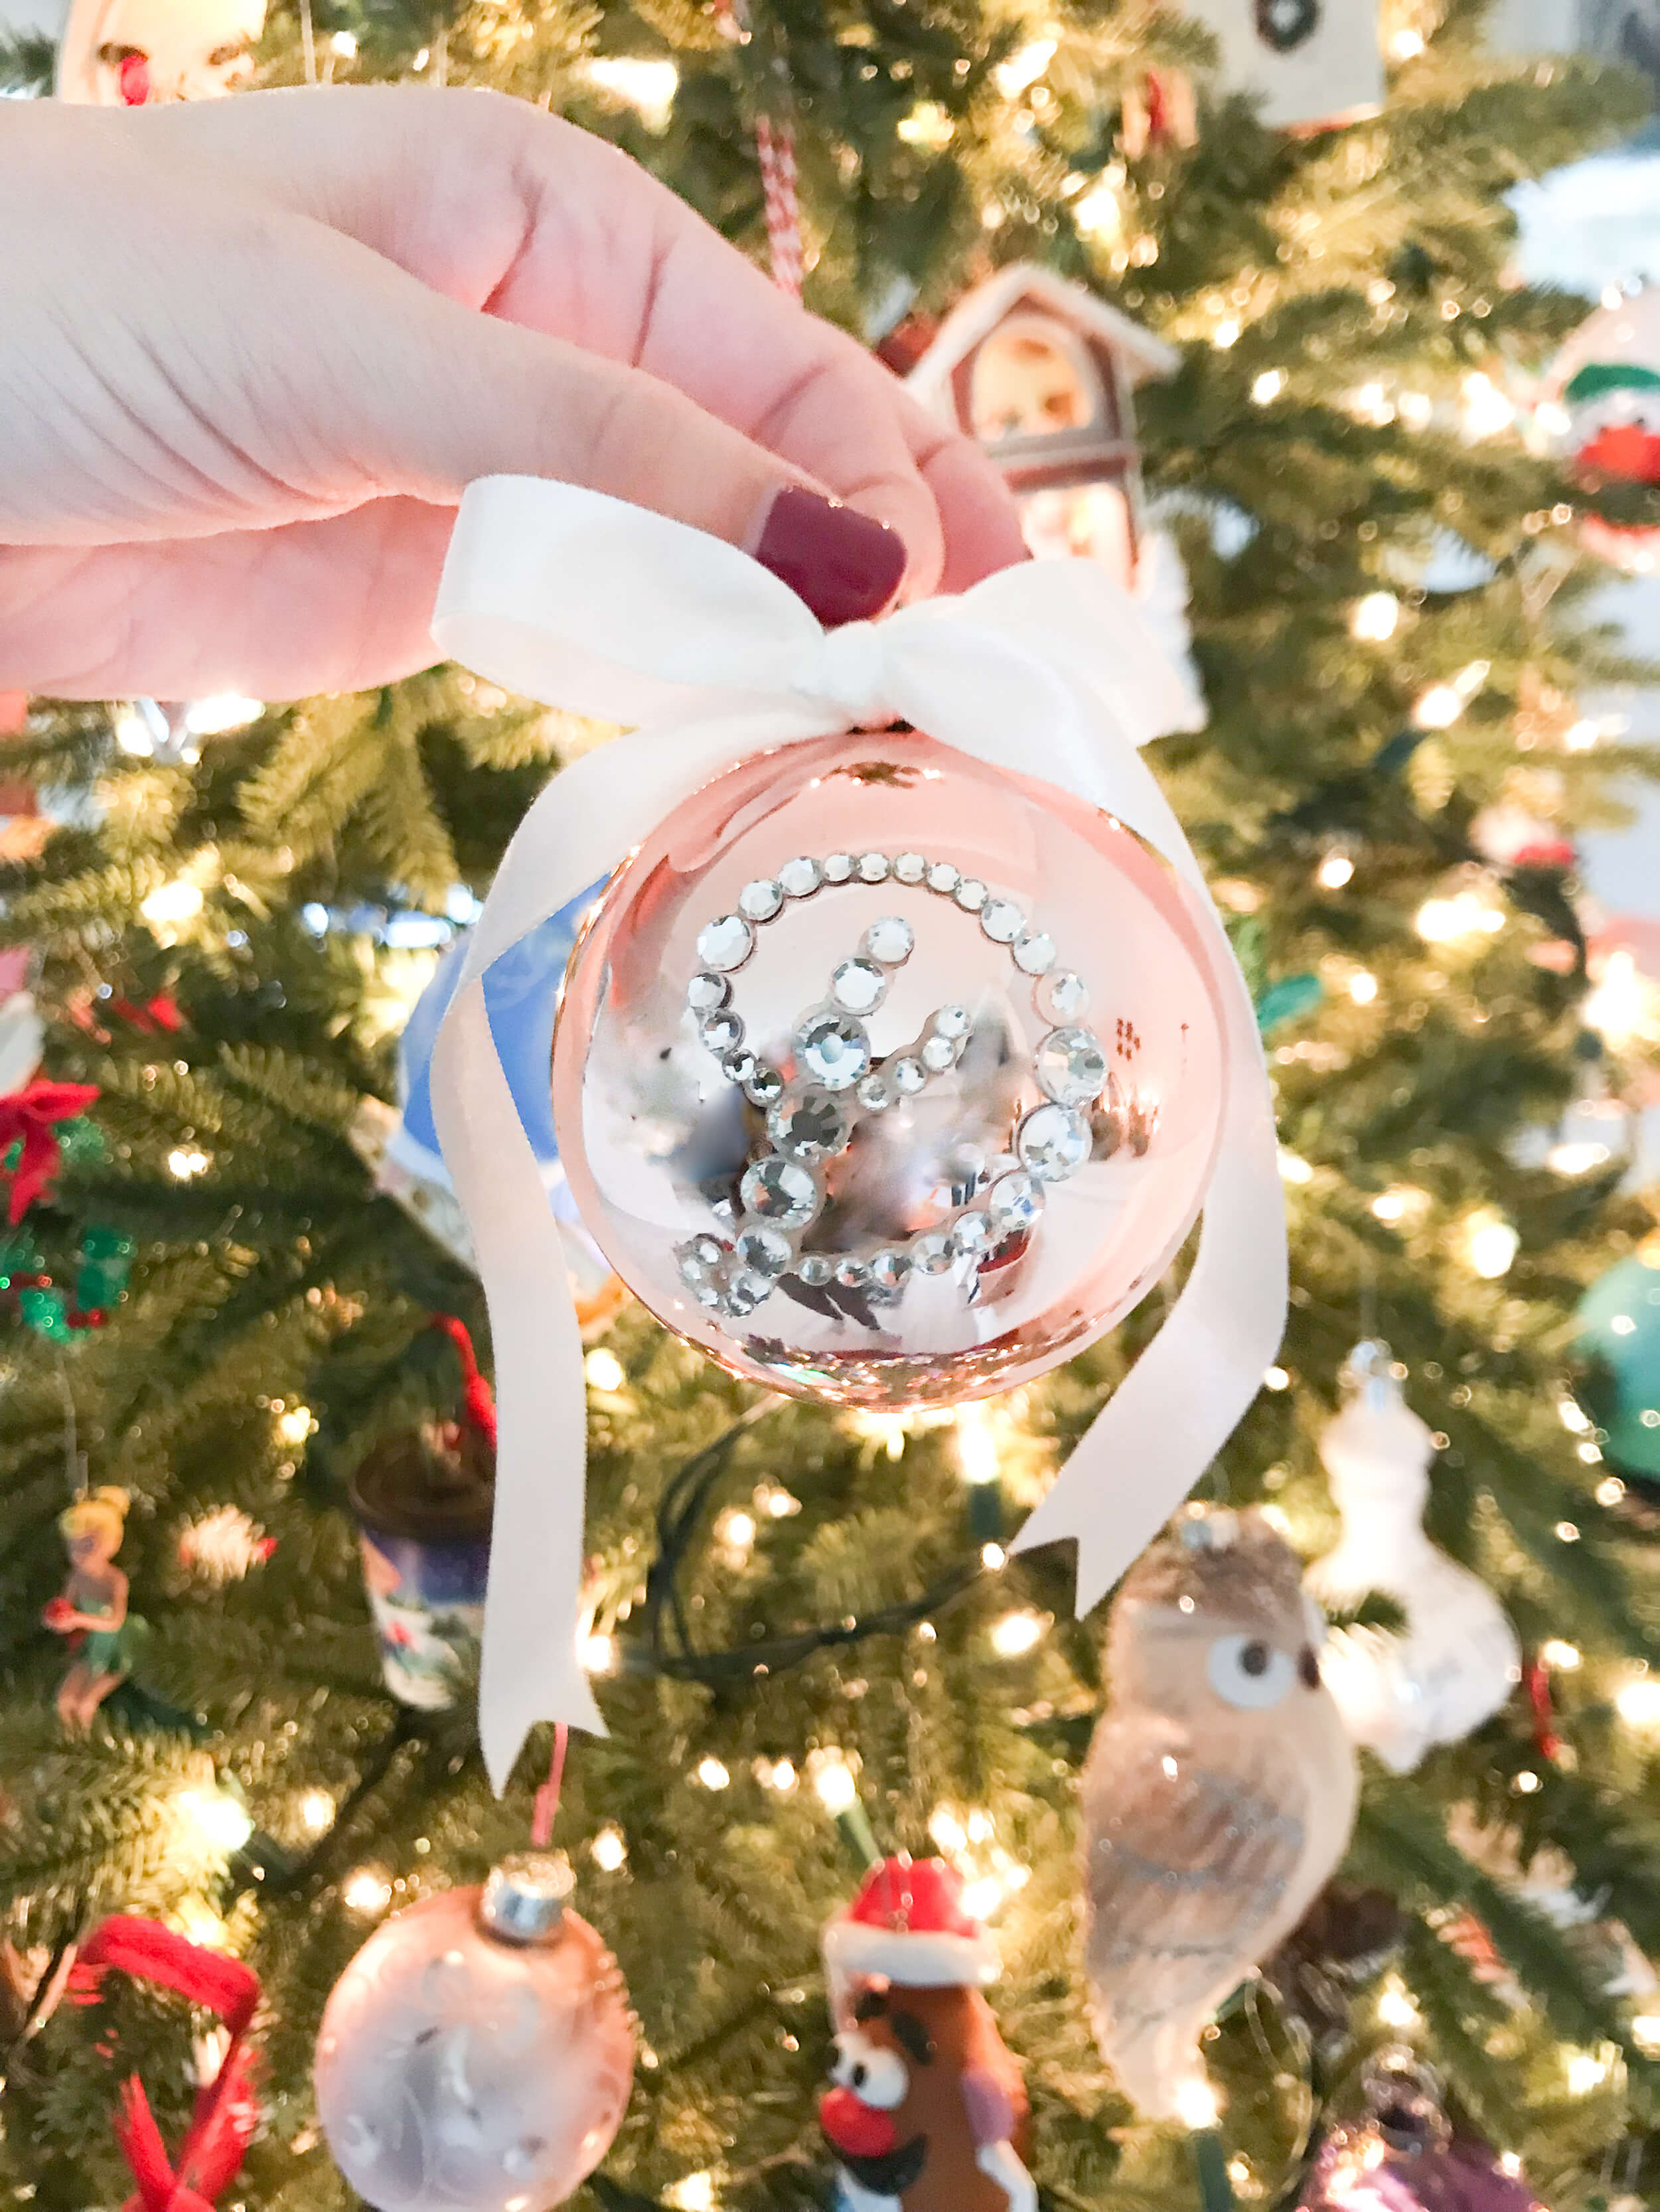
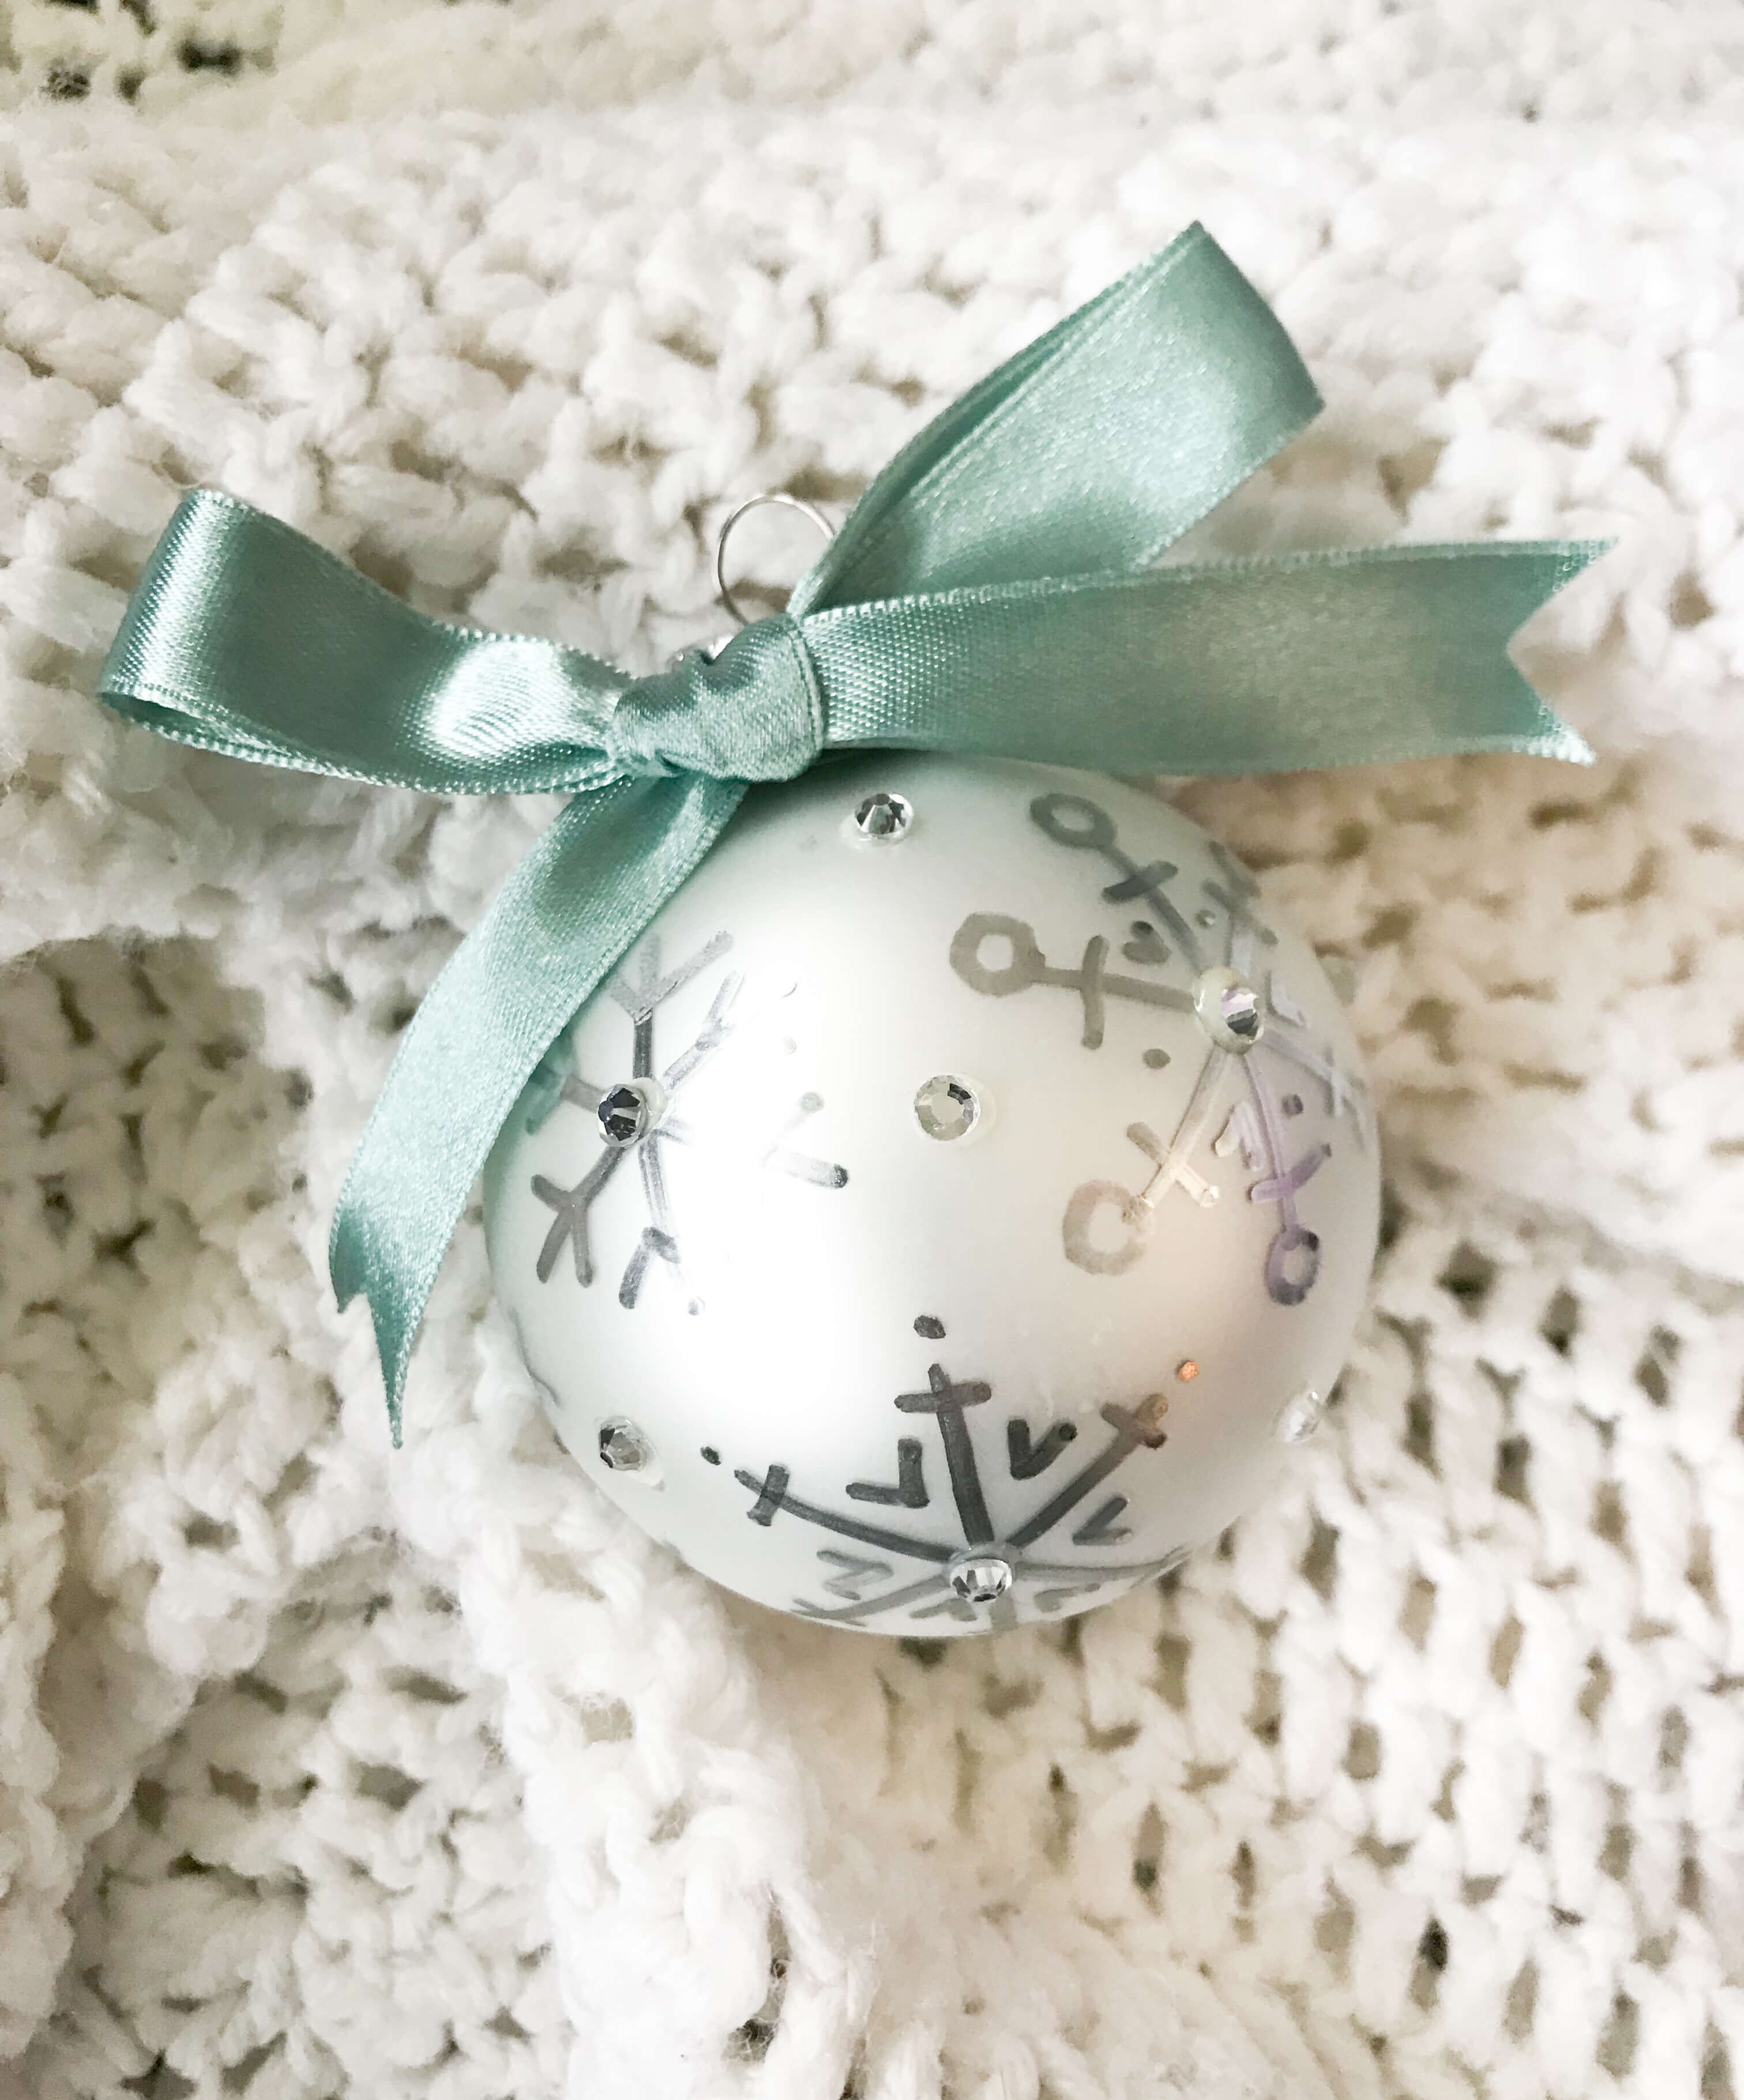
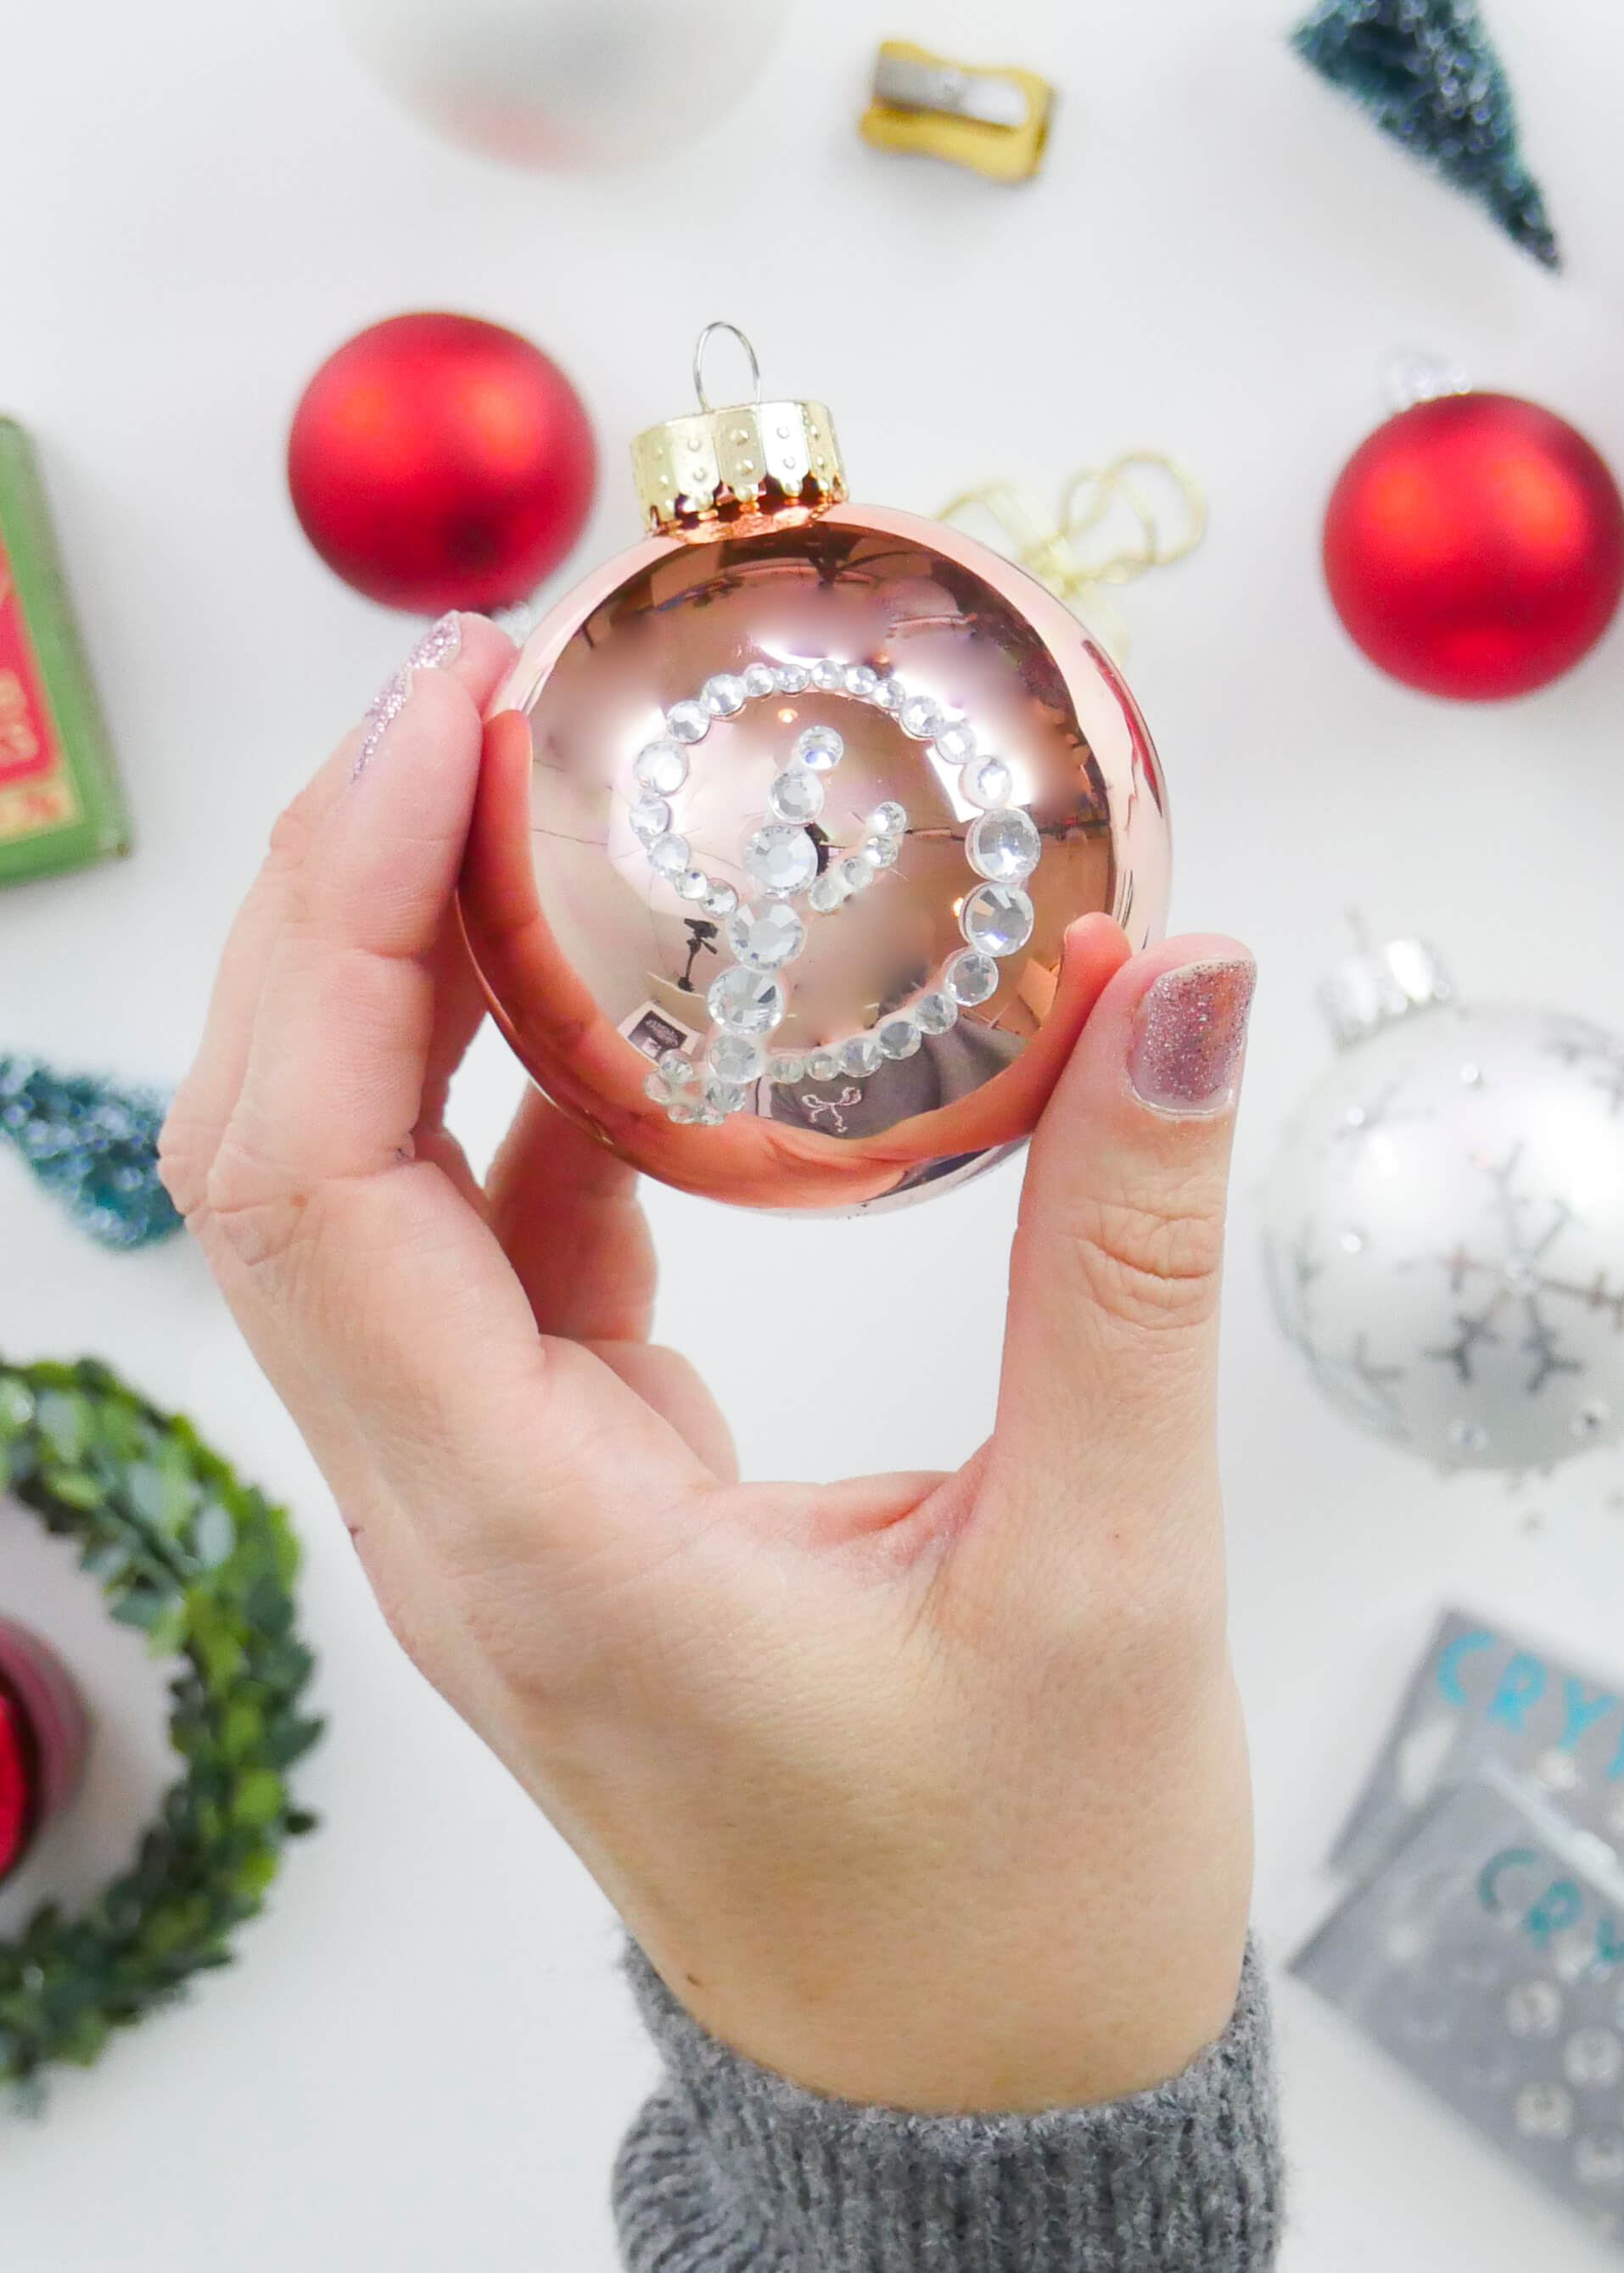
In this tutorial, I’ll show you several options for how you can create your own, eye-catching jeweled ornaments whether you want to use a wintery snowflake design, a single monoline letter, or utilize several crystal sizes to replicate the thin upstrokes and thicker downstrokes of brush lettering. I also show you video footage of the dangers of crafting – so keep an eye out for that (no pun intended – which will make sense when you see it!). But all dangers aside, the finished product is oh so worth it!
Just scroll down to watch the full video tutorial and find the fully-linked supply list!
WATCH THE FULL CHRISTMAS ORNAMENT VIDEO TUTORIAL HERE!
MATERIALS:
- Flat Back Jewels/Crystals. A variety of sizes if you want your jeweled design to replicate brush lettering style thin upstrokes and thick downstrokes. These can usually be found in the jewelry making section of your local craft store.
- Your pen of choice – I go over all of the best pens for ornaments in our first ornament tutorial. Just click here to find the full pen list
- A tacky, clear-drying glue. I used the Tombow MONO Multi Liquid Glue
- Fine Point Tweezers
- Scrap paper and pencil for your sketches
- Ornaments! You can find them pretty much anywhere this time of year but these are the Ashland brand matte and shiny glass ornament packs from Michaels that I used
- Washi tape to use as a stand for your ornament
HOW TO:
- Sketch out your design on some scrap paper
- Transfer your design on to your ornament using the pen of your choice (find the best pen for you in the first ornament tutorial). If you are going to be covering up your entire design with crystals, make sure to use a pen with a very fine tip so that the pen does not show through your final design
- Place your ornament on a roll of washi tape to keep it in place on your table
- Place small dots/lines of glue on your ornament where you want to adhere the jewels, preferably working from the top of the ornament, down
- If you are using various sizes of crystals to replicate brush lettering, slowly transition the sizes, placing at least two or three crystals before moving to the next size down or up. Work in small sections so that the glue doesn’t dry, but always make sure that you have some glue in front of your crystals
- If your design covers the entire ornament, place the crystals on one side of your ornament and allow approximately 20 minutes for the glue to somewhat harden before (carefully) moving on to the other side
- The glue will take 24 hours to fully dry, so handle your ornaments with extra care until then
Don’t forget to use the hashtag #amandaarneillblog if you share your blog-inspired creations to social media so that I can see your gorgeous projects!
I hope that you and your loved ones have a magical holiday season!
xo Amanda
Do you need more holiday inspired tutorials so that you can create unique, customized gifts? Here are some tutorials and freebies from Christmas past that I’ve dug up for you:
Hand Lettered Christmas Ornaments
Hand Lettered Christmas Throw Pillow
Handmade, Hand Lettered Embossed Paper Ornament
Hand Lettered Votive Candle Holder
Wine Labels (Simply download the PDF, print the labels on a color printer using a full sized label sheet like this one, cut the labels to size and place them on your wine bottles to add a unique festive touch)
Gift Tags (Just download the gift tags, print the gift tags on your choice of smooth cardstock, cut them out and punch a hole in the “x” for your ribbon)

I'm going to assume that you're here because you love calligraphy, hand lettering and art... or maybe you just want to know more about it. Either way, you're totally in the right place!
xo
Amanda


Join over 5000 others who have learned to letter (and more) with these lettering courses

